Engineering
November 11, 2021
8 min read

How to Customize Your Kong Developer Portal

Sven Walther

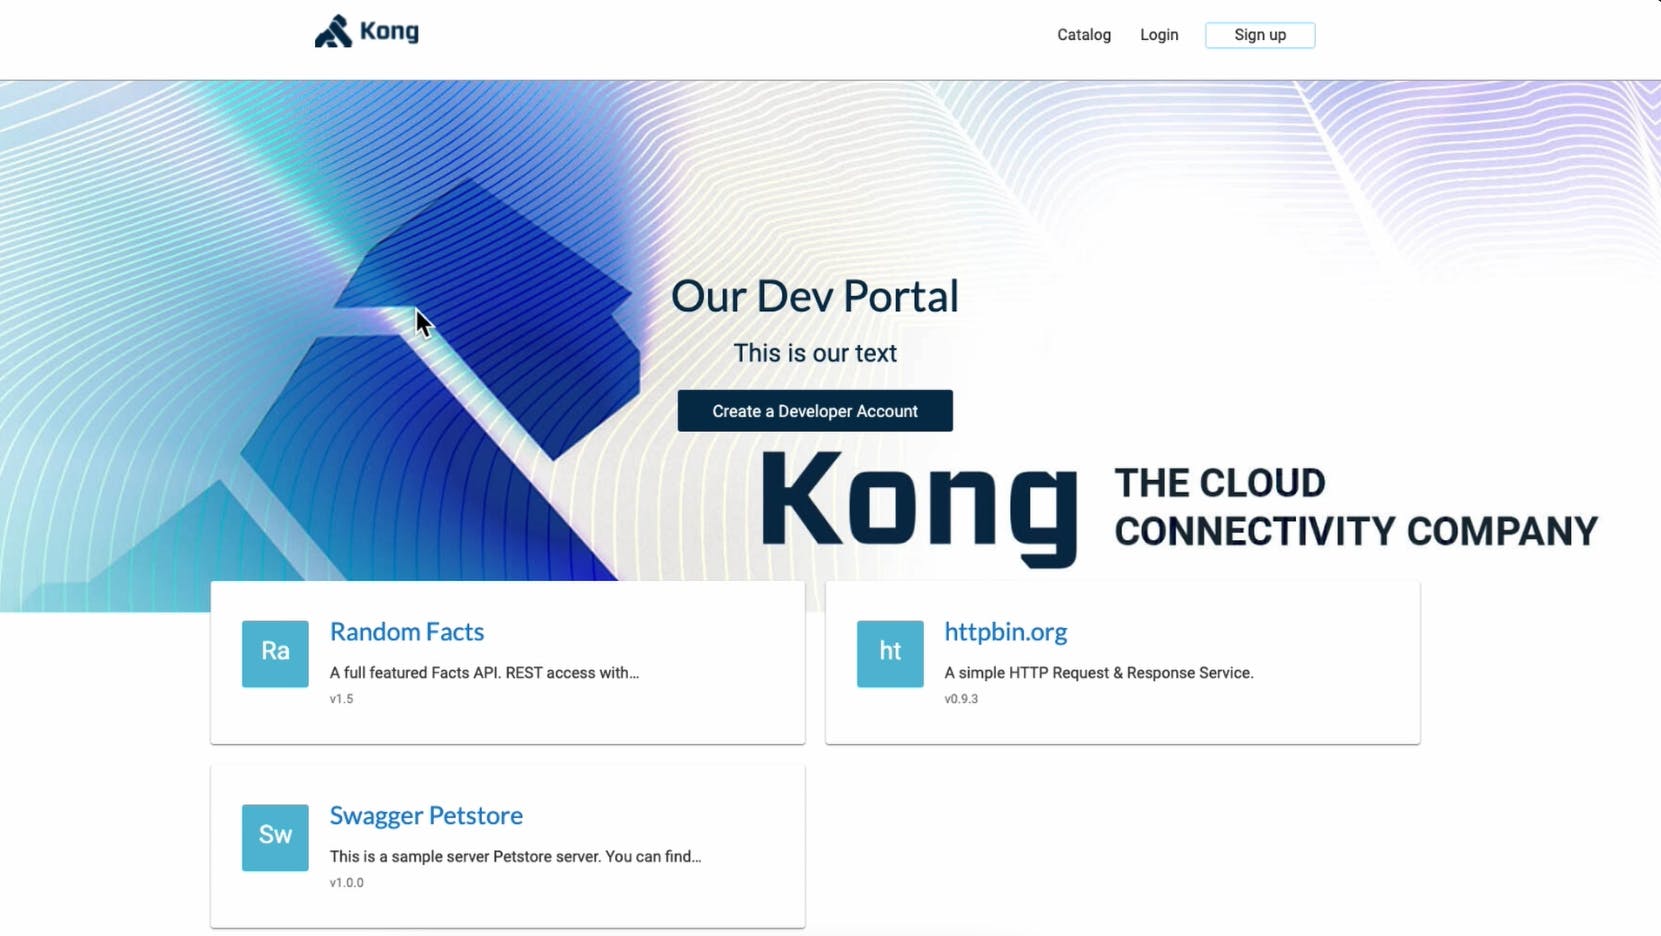
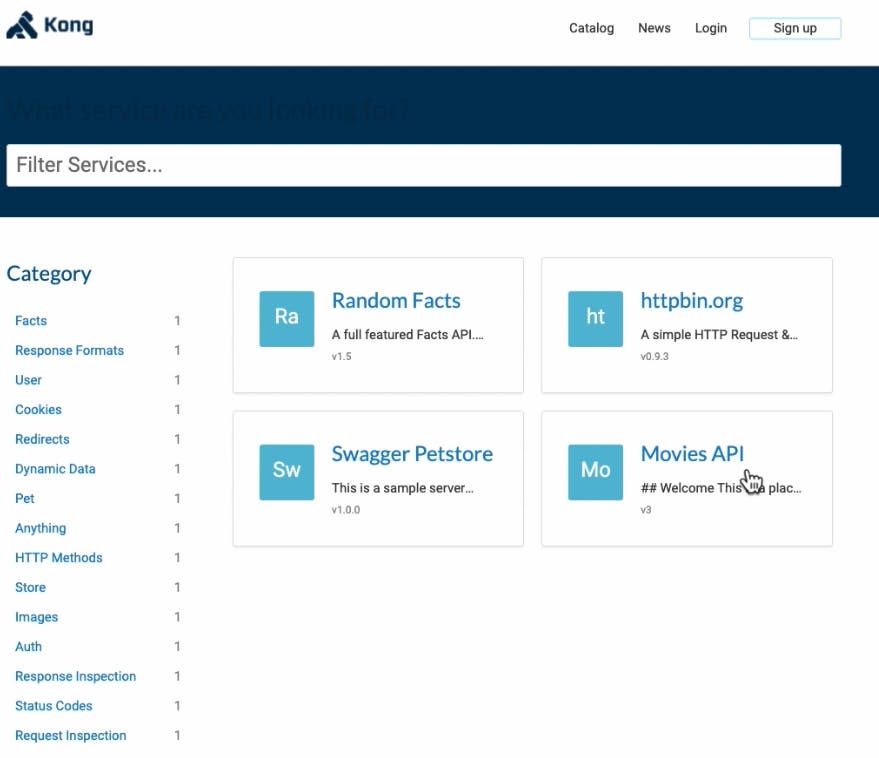
A developer portal is a storefront to your APIs (the products) that internal and external developers are trying to consume.

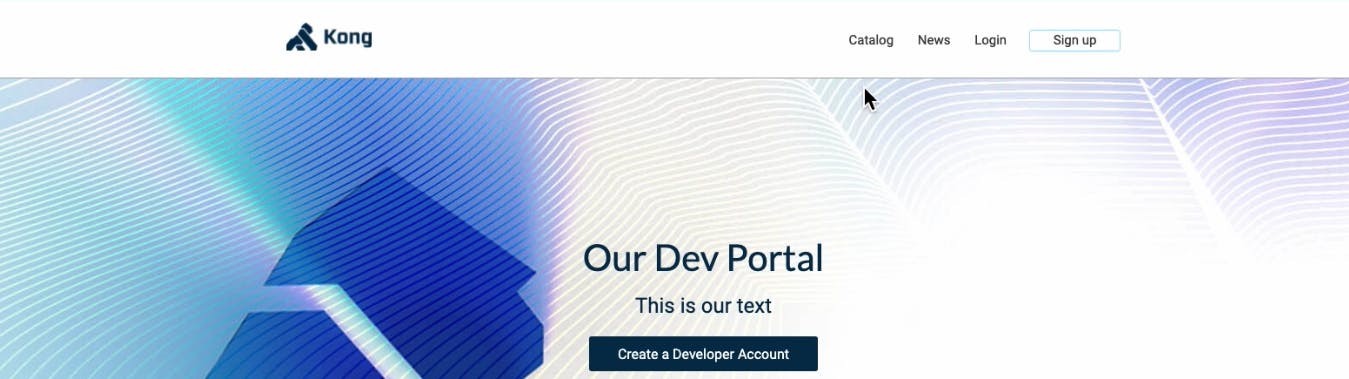
The Kong Developer Portal provides a single source of truth for all developers to locate, access and consume services. With intuitive content management for documentation, streamlined developer onboarding and role-based access controls (RBAC), Kong's Developer Portal provides a comprehensive solution for creating a unified developer experience. To take your developer experience to the next level, customers can customize the developer portal to reflect their organization's unique branding.

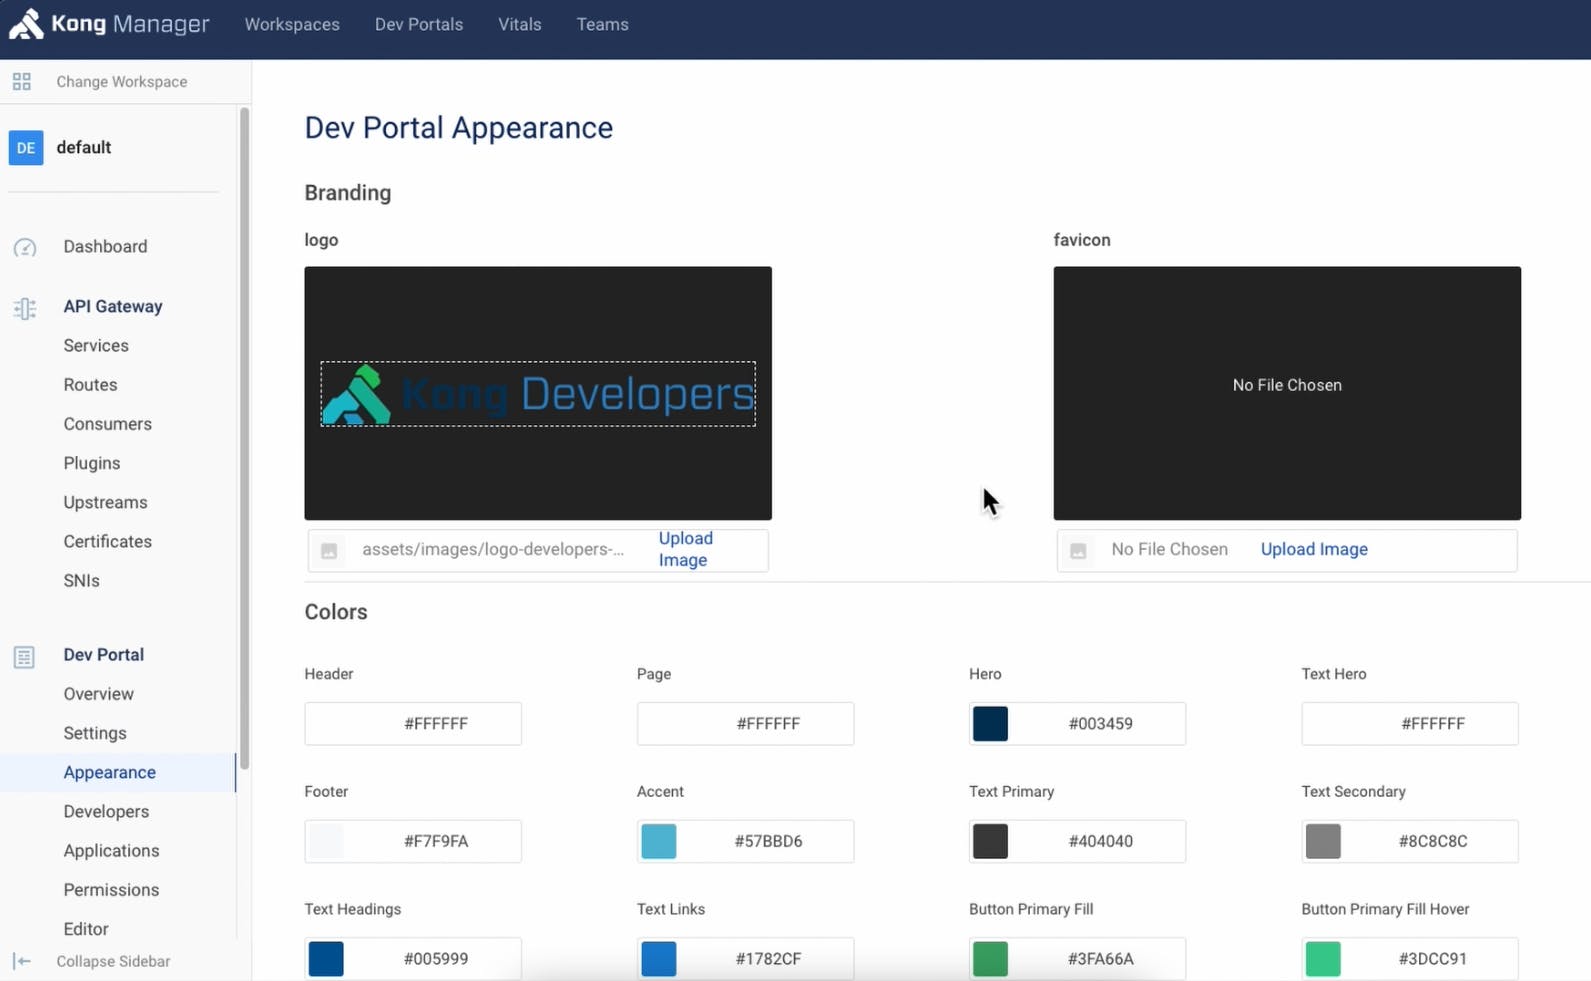
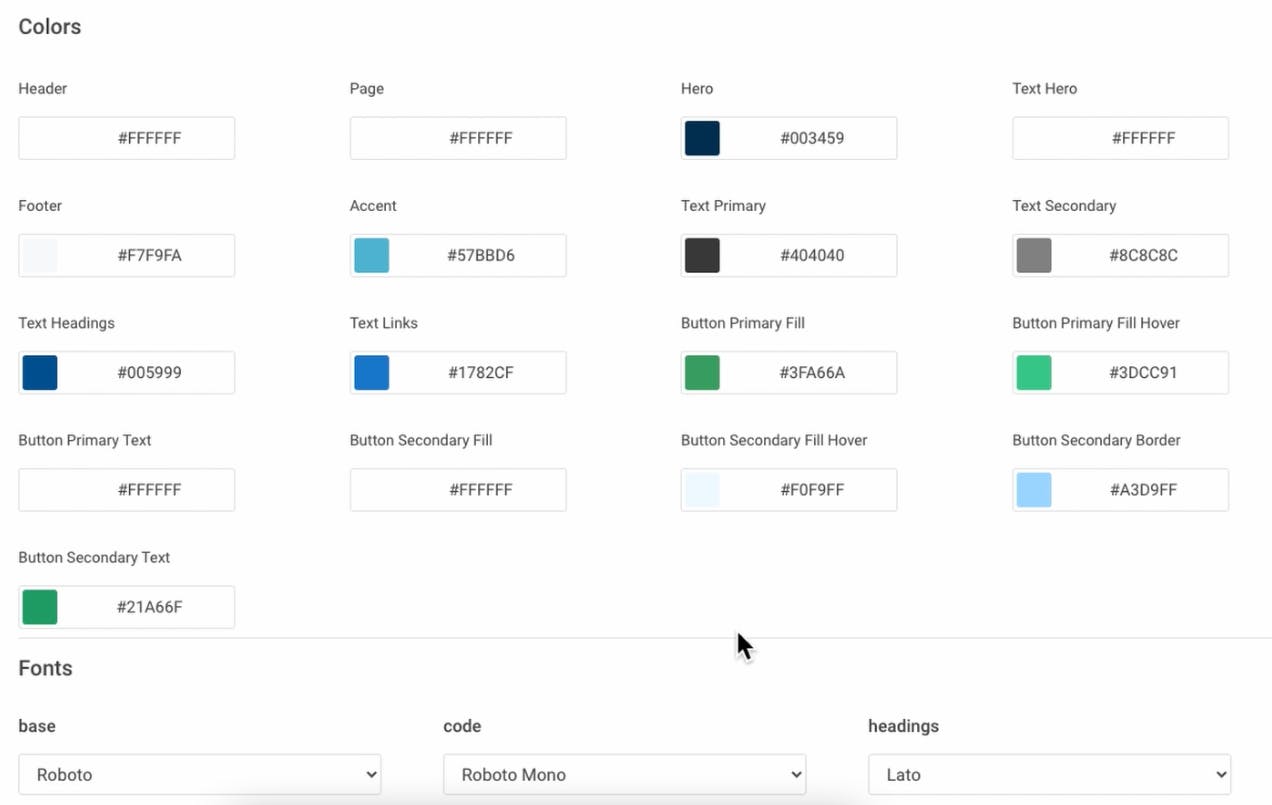
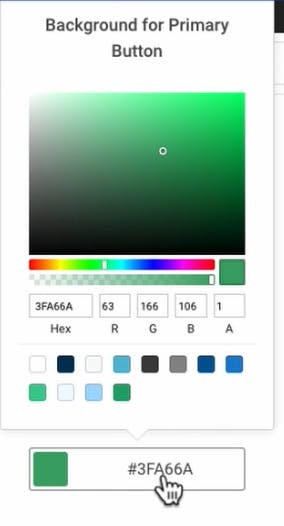
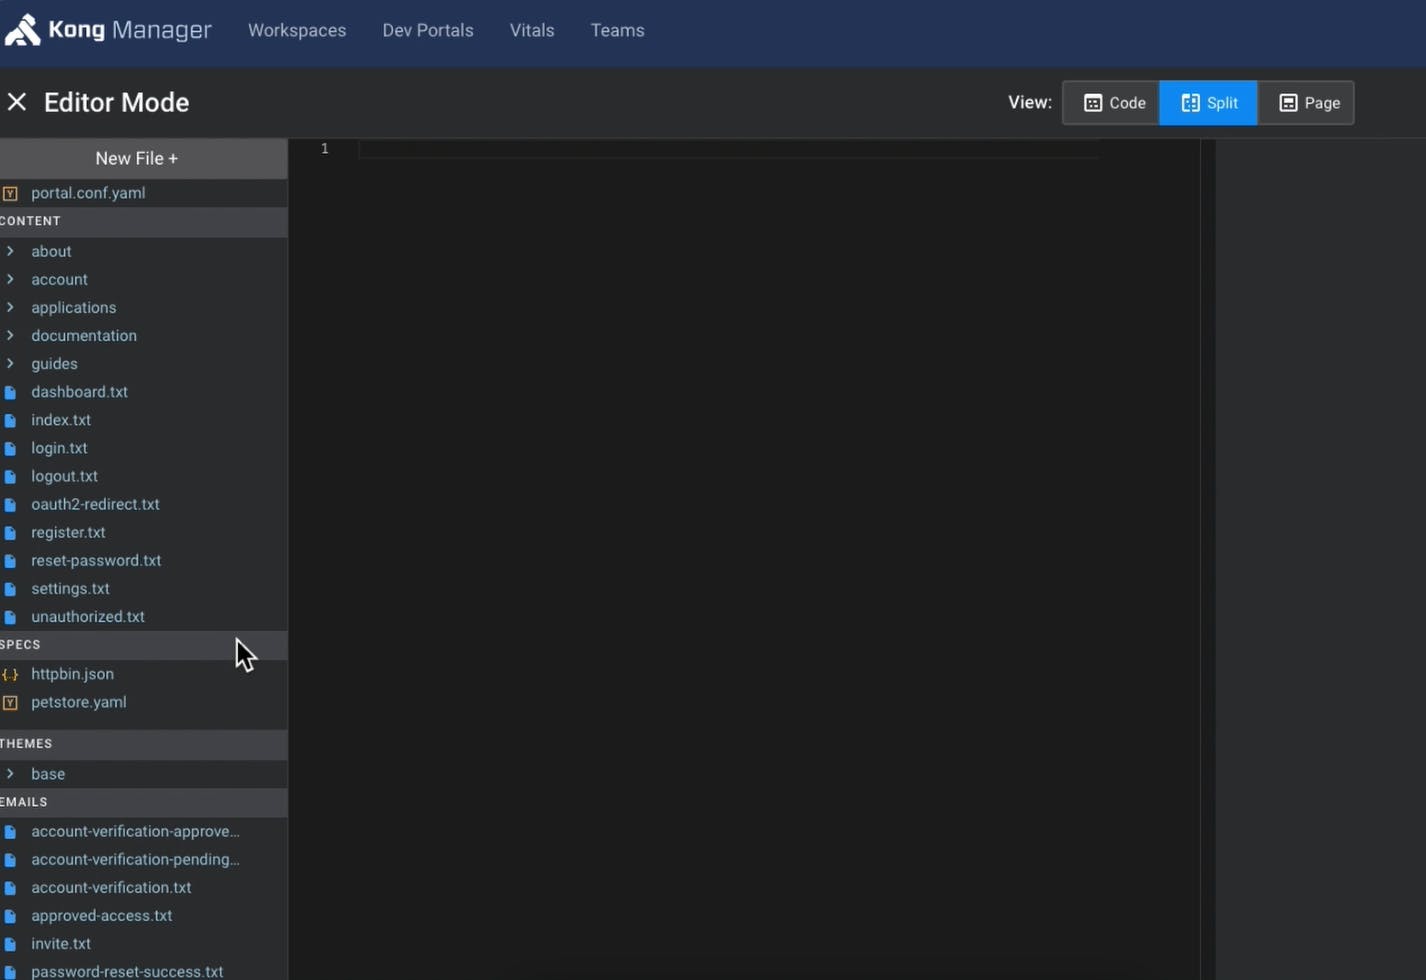
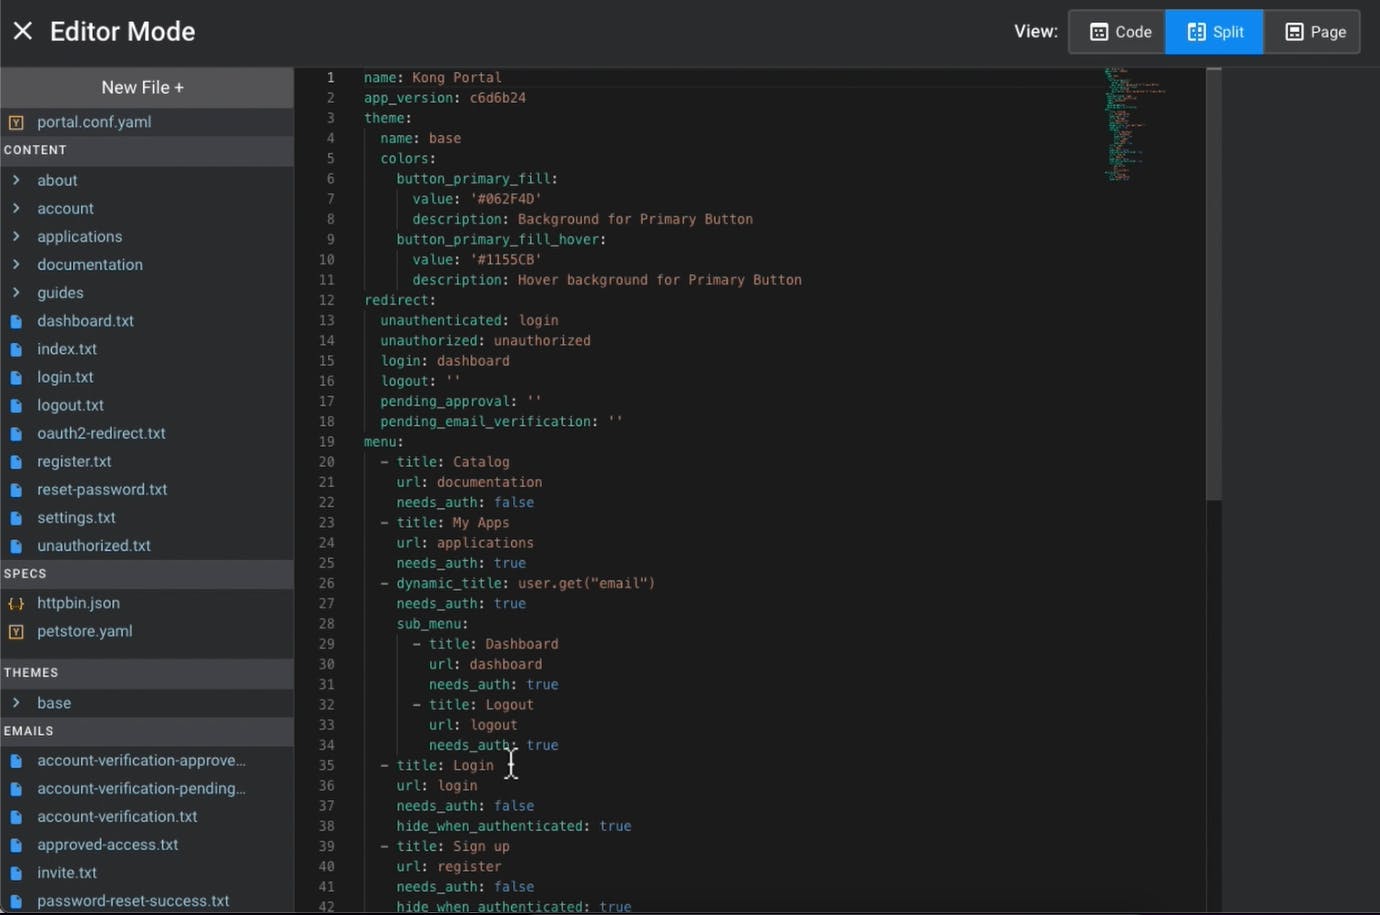
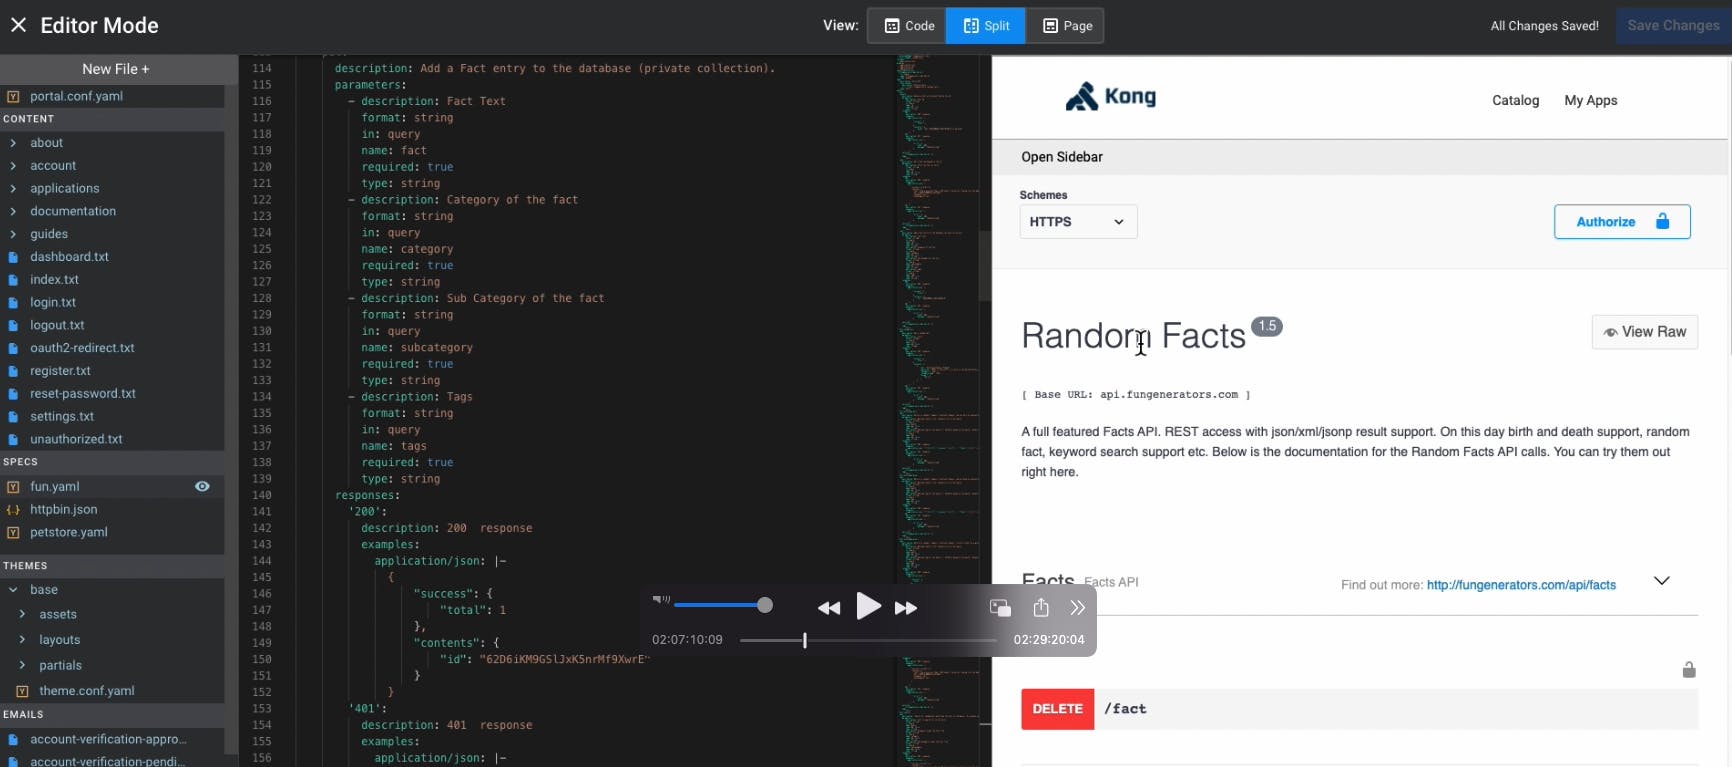
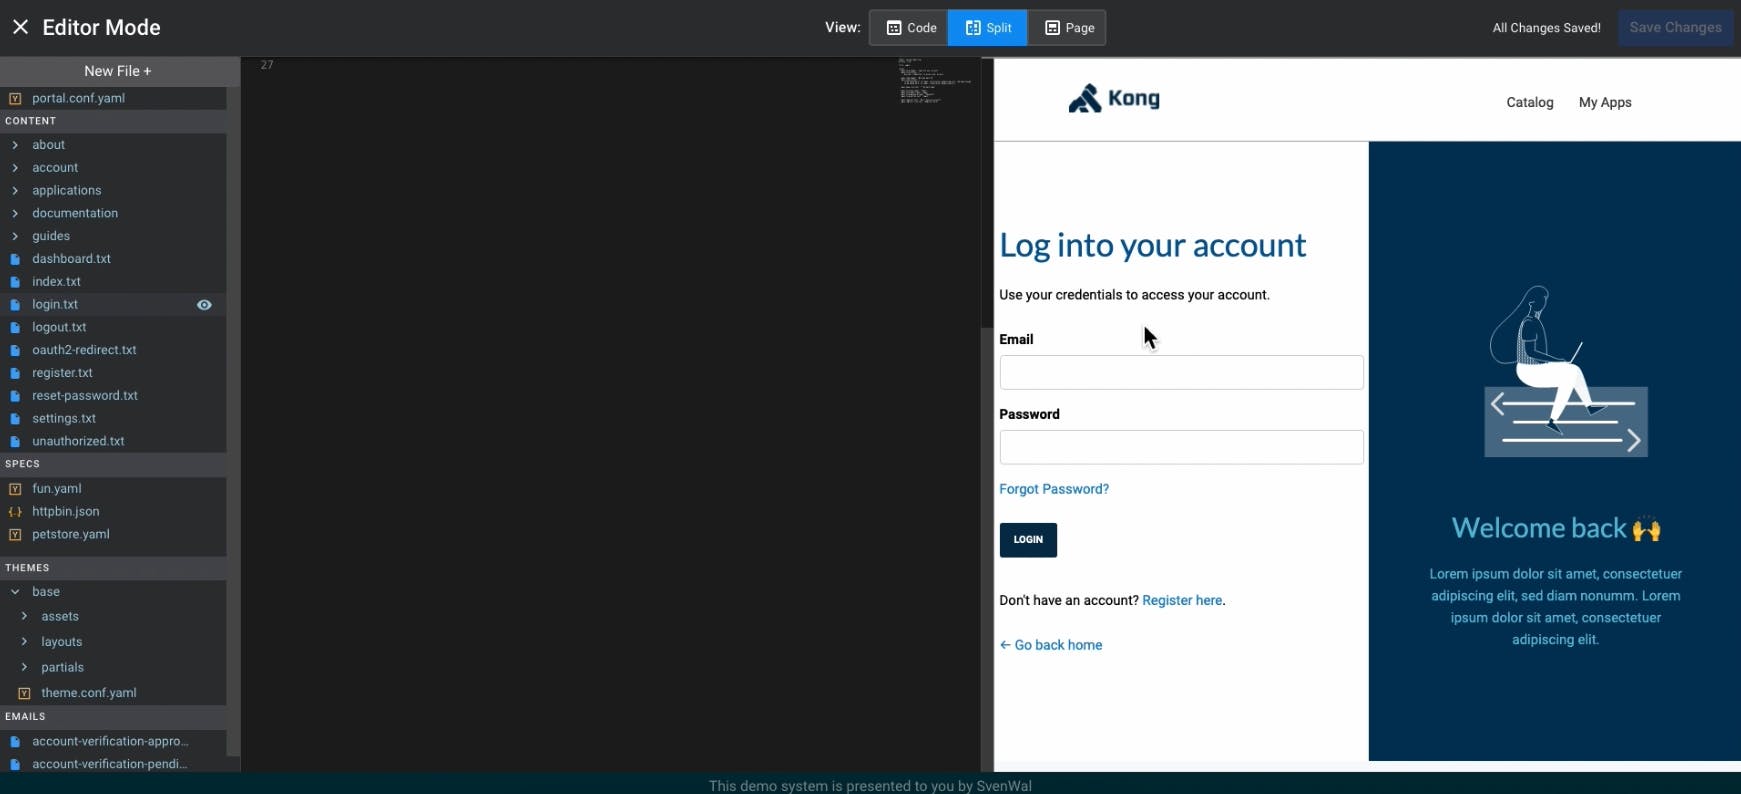
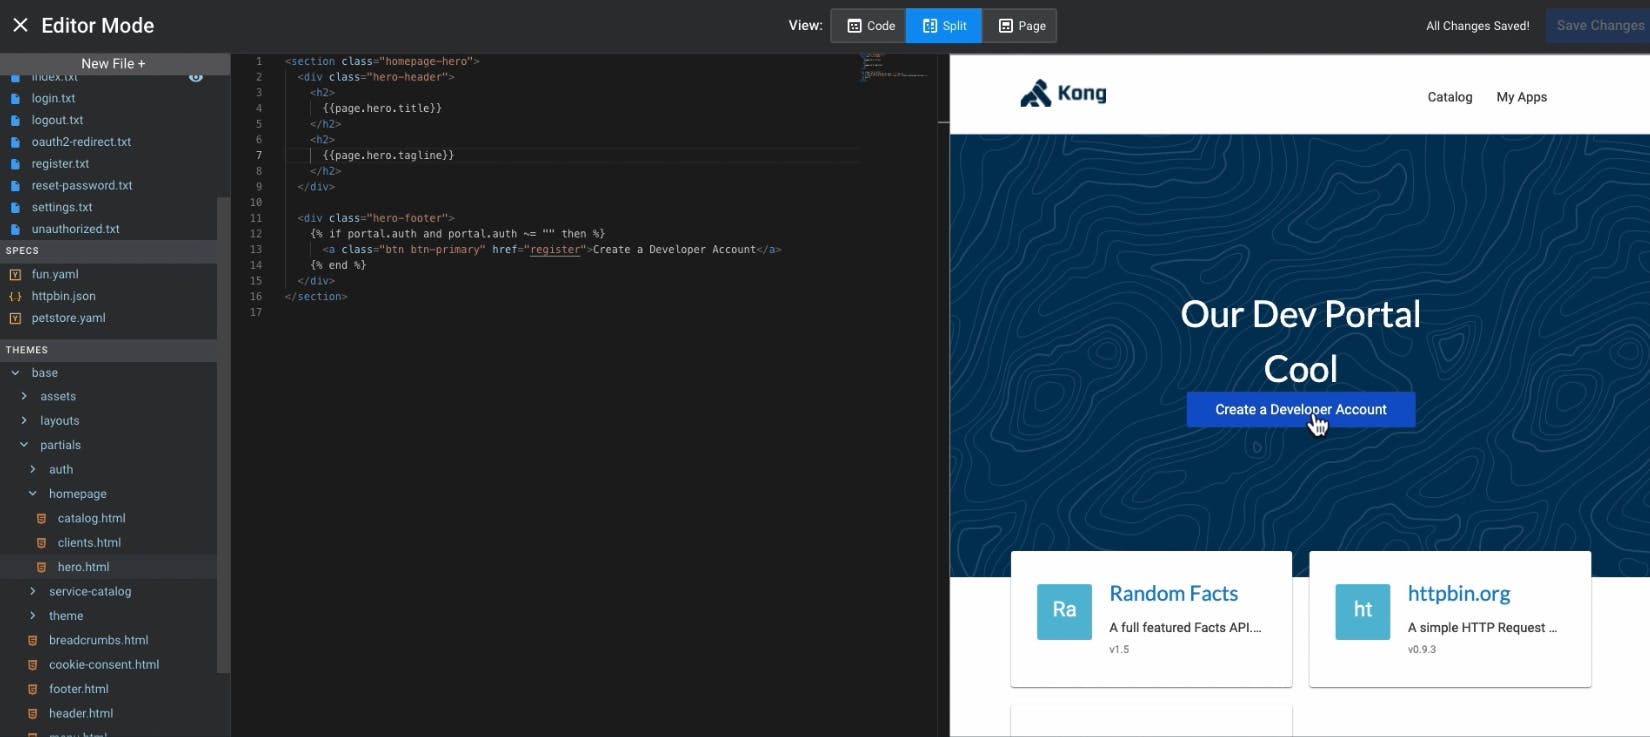
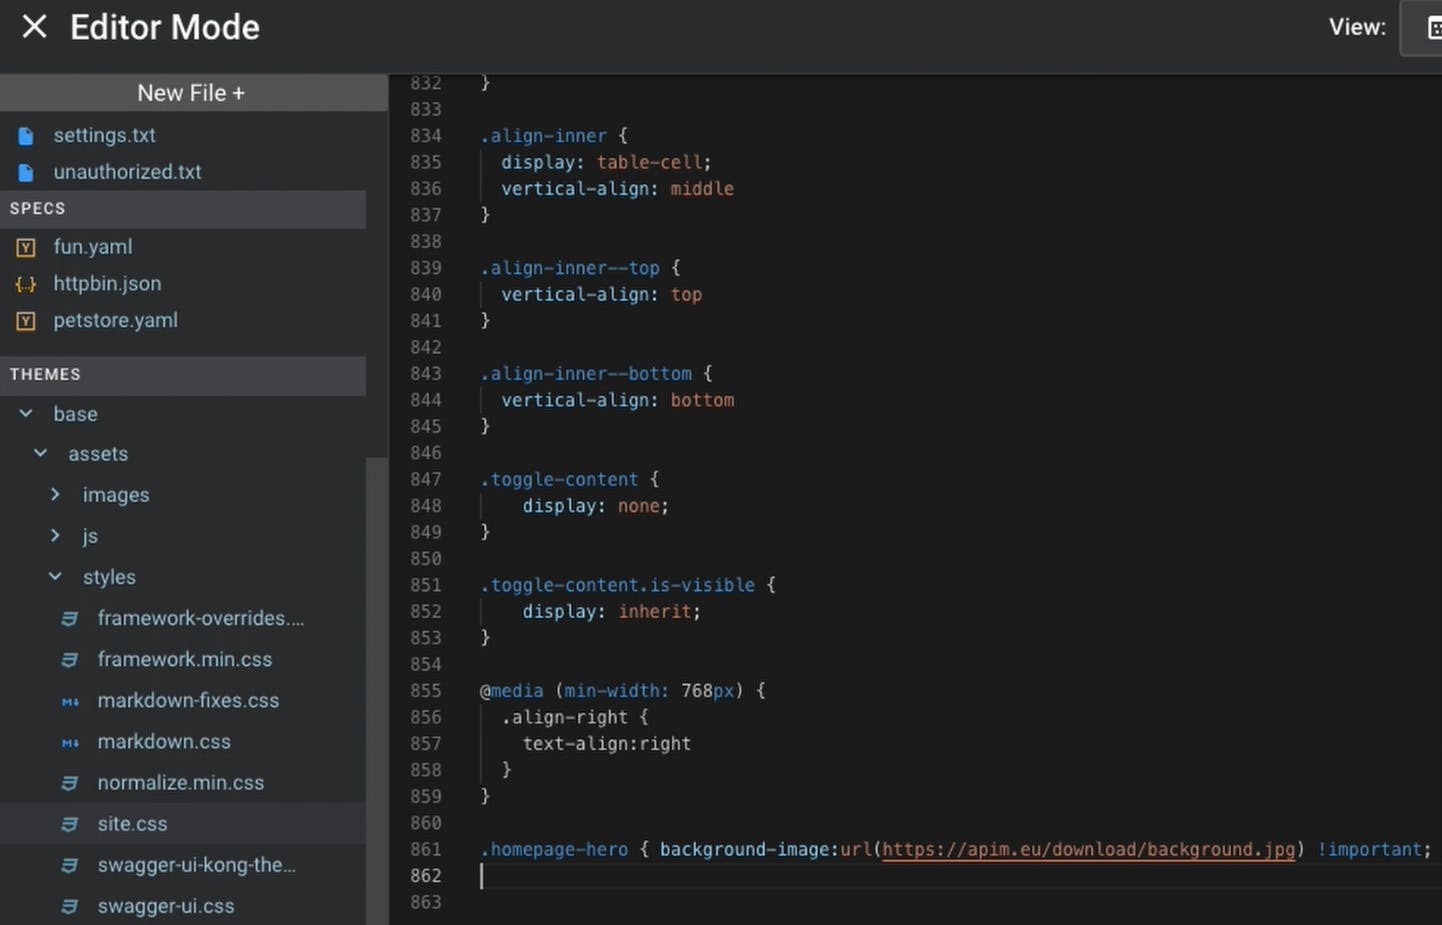
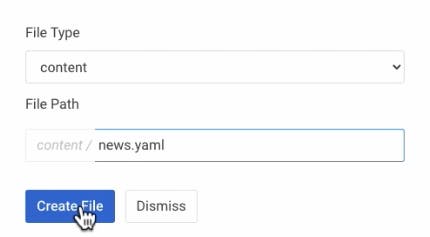
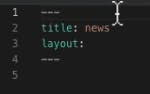
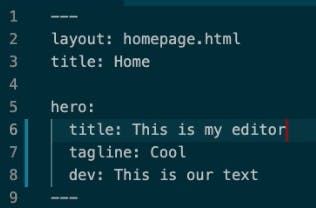
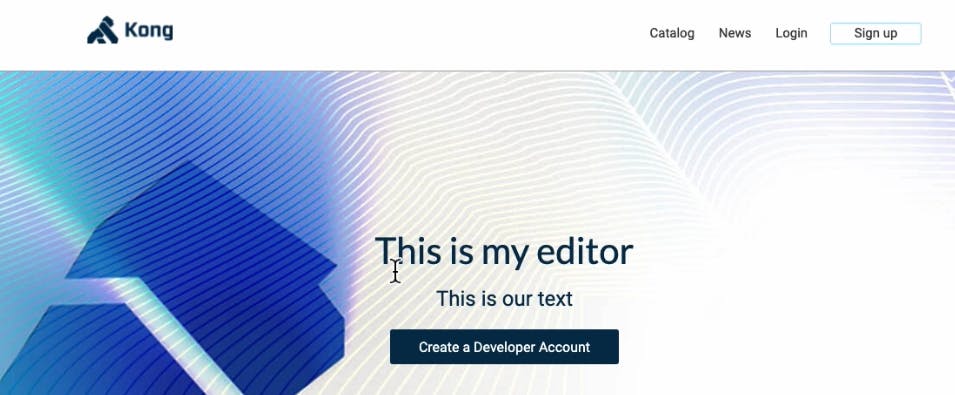
In this post and video, we'll walk through how easy it is to change the look and feel, create pages and add automation to the Kong Developer Portal.

1. Enable or Access Your Developer Portal

We'll go to our Kong Manager to access our developer portal, a tool to configure the whole cluster from the Kong Gateway. If you haven't already enabled your Kong Enterprise Developer Portal, follow our Kong documentation to complete this step and come back.

In the Workspace section of our Kong Manager, we'll find the Dev Portal section. In this section, you can do many things, including setting up authentication, registration permissions, appearance and more. In this tutorial, we'll be covering how to customize the Dev Portal appearance.

2. Update the Basic Appearance

The Dev Portal Appearance section of Kong makes it easy to change basic branding and colors.

All we have to do is click Upload Image and select the logo and favicon images we'd like to use from our device. Then, click Save Changes at the bottom of the page.

Let's go back to our developer portal to see if it worked. We now have our dark blue Kong logo and the favicon with GRUCEO, our Kong gorilla, in our navigation tab.

Change Colors and Fonts

What else can we change in the appearance settings? We can change text colors, footer colors, button colors and fonts.

Let’s say we want to have dark blue buttons that align with our corporate branding guidelines. We could either use the picker or color code for the exact matching button or button hover color. Then, we Save Changes again at the bottom of the page.

3. Leverage Kong Dev Portal Editor Mode

Let's look under the hood to see what more we can do beyond changing colors and logos. In the Dev Portal Editor, you can change the whole Dev Portal in every aspect.

Edit a Configuration File

We'll start by going to the portal.conf.yaml file to see there is some text and data to be set.

We can, for example, change the name to Our Developer Portal. Reload again, and we'll see "Our Developer Portal" in the page name.

Update the Theme Configuration File

In our theme configuration file, we can see the fonts, colors and images we're using. Everything we did in step two is also available to update here in a YAML file. This is great for CI/CD users who want to speed things up by auto-generating those files.

We could extend what we did earlier by automating the reuse of our company color in different places with my_company_color and Save Changes.

In the Dev Portal Appearance section, we'll now see "My company color" as an option to select from the UI.

Upload a New Specification

If we have a new OpenAPI or Swagger 2.0/3.0 that we want to upload, we would go to Editor Mode > New File + > File Type=spec > File Path=fun.yaml (the name of the file) > click Create File. Then, copy and paste the YAML file in the new spec. Once that's saved, we'll immediately see a live preview of everything we are changing.

When we reload our Dev Portal, we'll see the random facts YAML we just uploaded.

That’s the first glimpse of how we can change some content in our folder structure to have an OpenAPI file in place.

Let’s get under the hood now and look at how we can customize things in a little more detail.

Customize the Content

On our Dev Portal homepage, we have a “Built with Kong” welcome message. Let's change that in the Content section of our Dev Portal Editor.

The files in the content section are available pages in our Dev Portal. There's a login page, register page, index page, homepage page, etc.

Let's start by changing the title to Our Dev Portal and the tagline to Cool. Save Changes. And right away, we can see the change in the dev portal preview.

How does Kong know how to render that file? The top of index.txt describes this. It’s using the layout called homepage.html, which leads us to the central concept of Kong: Every content is a YAML file like we see here. A template renders each of those YAML files. In this case, homepage.html.

Change Themes With HTML

Here we see some HTML for the homepage consisting of sub-templates, hero, catalog and clients. We can customize everything with HTML, JavaScript, CSS, etc.

Let's edit the homepage hero by making the "Cool" tagline text as big as the title.

When customizing the Kong Dev Portal, we can create our own structures, templates, partials, layouts, etc.

Alter Themes With CSS

Next, let's change something that's with CSS—the background image. In the site.css section of our styles assets, we'll add this line and Save Changes.

If we reload our dev portal, we'll see the customized banner is now uploaded.

Create a Custom Content Template

Let’s get to the next level by creating our custom template and rendering it in our dev portal. We'll add a news section to our dev portal.

We'll create a New File + in our content section in the editor, which we want to call news.yaml.

And we’re getting here a skeleton of an entry.

Let’s flesh it out more. We'll add a section called News. Underneath News, we'll add a title: Our headline and our text: This is the news entry with everything… We'll also add layout: news.html.

As we have done before, we can now choose our layout. Save Changes. Why has nothing happened? Instead of a news.html layout, we have a 404/Page Not Found.

To create a layout, we can add a new file in our Themes folder. Create File.

To pull from our news.yaml file, we'll add the following:

Add New Page to Navigation

To add a News menu entry next to the catalog, just add it to the portal configuration file:

If we reload our Developer Portal, we'll see the updated navigation:

4. Automate Kong Developer Portal Updates

We're living in a CI/CD world and DevOps world, and so far, we have done everything using the browser as an interface, and we want to automate such changes and uploads. And here we come back to a very core principle of Kong, which is that everything in Kong is an API, which is also true for the whole developer portal.

Let's look at the administration API running on 8001. We can remote control our installation completely. And there’s one endpoint called files.

On files, we get the whole developer portal that we could see in our editor. All those files, contents, specs and themes are on this endpoint.

We can go to http :8001/files/content/news.yaml for the news file we created.

The Kong Developer Portal provides a full API to automate everything, including creating files, updating files and deleting files.

For example, we can use the API to upload another specification, like a movies specification.

We can use the admin API /files and say, we want to upload it, we want to upload it to the specs folder. In our system, we want to call it movies.json. And then the contents we also want to get from that file.

If we go back to our catalog, we'll see that our movies API was automatically added.

Is there another way to create such files that would be more convenient for our web developers? Of course!

5. Use the Kong Developer Portal CLI

On our GitHub, there’s a Kong Developer Portal CLI. That’s a tool, which I already have installed, where you can remote control your portal using a CLI. To do so, as described down here, you want to clone the Portal Templates repo first to your machine.

Here we have the standard layout from the repo, which is the same one we started earlier today with the standard graphics and so on. They're all in here.

So if I go here and make an ls workspaces/default/content, you see there’s a portal Kong file, there are the contents like the index page, but still, the one which has been there from the beginning.

So if I look at that content/index page, that’s the standard one as it comes out of the box. That’s the one the system applied when we just created a new developer portal.

Now we can work with the portal CLI. I already had it installed on my machine.

We want to use Portal to fetch an existing dev portal, and that’s the one from my default workspace.

And now, let’s have a look at the same file again. And we will notice our changes.

6. Keep Your Preferred Editor

In your editor of choice, you can go ahead and see here all the contents-all about the page. What else do we do? We also did the content part with the news.yaml file. Or we did change the templates, themes and layouts. And we can change everything here.

Let's portal deploy -W default to deploy back to Kong what I’m changing here in my local distribution.

Let's change some of the text on our homepage hero.

And already, if I reload it here, you can see it’s updated.

Why is that the case? When I said portal deploy, I also had this -W, which means I’m watching everything I’m doing locally, so we will immediately upload everything I change here. So the moment I saved the index file, it got uploaded to my dev portal.

This is a very nice way for developers to create designs with their most beloved editors and frameworks. They can just work on their local machine and then have a live updating system up and running here.

Ready to Try Out Kong Dev Portal?

Contact Sales to start providing APIs as a product to your external teams to consume through a customized portal that leverages your existing CRM or repos as the source of truth.