# Centralized Kong Management with Active Directory/LDAP
Felderi Santiago
Vice President Solutions Engineering - Americas
Kong Enterprise provides customers with the fastest, most scalable and flexible API management solution in the market. One of Kong's main advantages is the ability to quickly deploy and integrate with a customer's ecosystem of already-deployed solutions for identity management and monitoring.
As customers choose Kong to drive the decentralization of their applications, it’s critical to empower teams for end-to-end deployment while maintaining security and compliance. To do this, application groups should have enough access to accomplish their goals of rapid/automated deployments without granting too much access which could impact other teams.
If you're new to Kong, a Kong Workspace is the ability to segment a single Kong installation into micro Kong environments that can be used by multiple teams.
For this blog post, we will look at Engineering Manager Fel Santiago and how we can use Active Directory to provide Fel the access he needs to manage his applications with Kong.
In particular, we will look at how Kong Workspaces, Teams and RBAC capabilities allow centralized access to be driven by the corporate Active Directory environment. This blog post equally applies to any Enterprise LDAP directory. In particular, we will accomplish the following:
- Integrate Kong with Active Directory
- Confirm AD user Fel can authenticate to Kong Manager
- Create a new Workspace for the Engineering group
- Assign an AD group a Kong role in the Engineering Workspace to confirm AD groups can be used to drive access to Kong
To follow along and perform this integration your environment, you'll need:
## **Step 1 – Confirm Kong Is Installed Correctly and the Kong Nodes Can Communicate with AD**
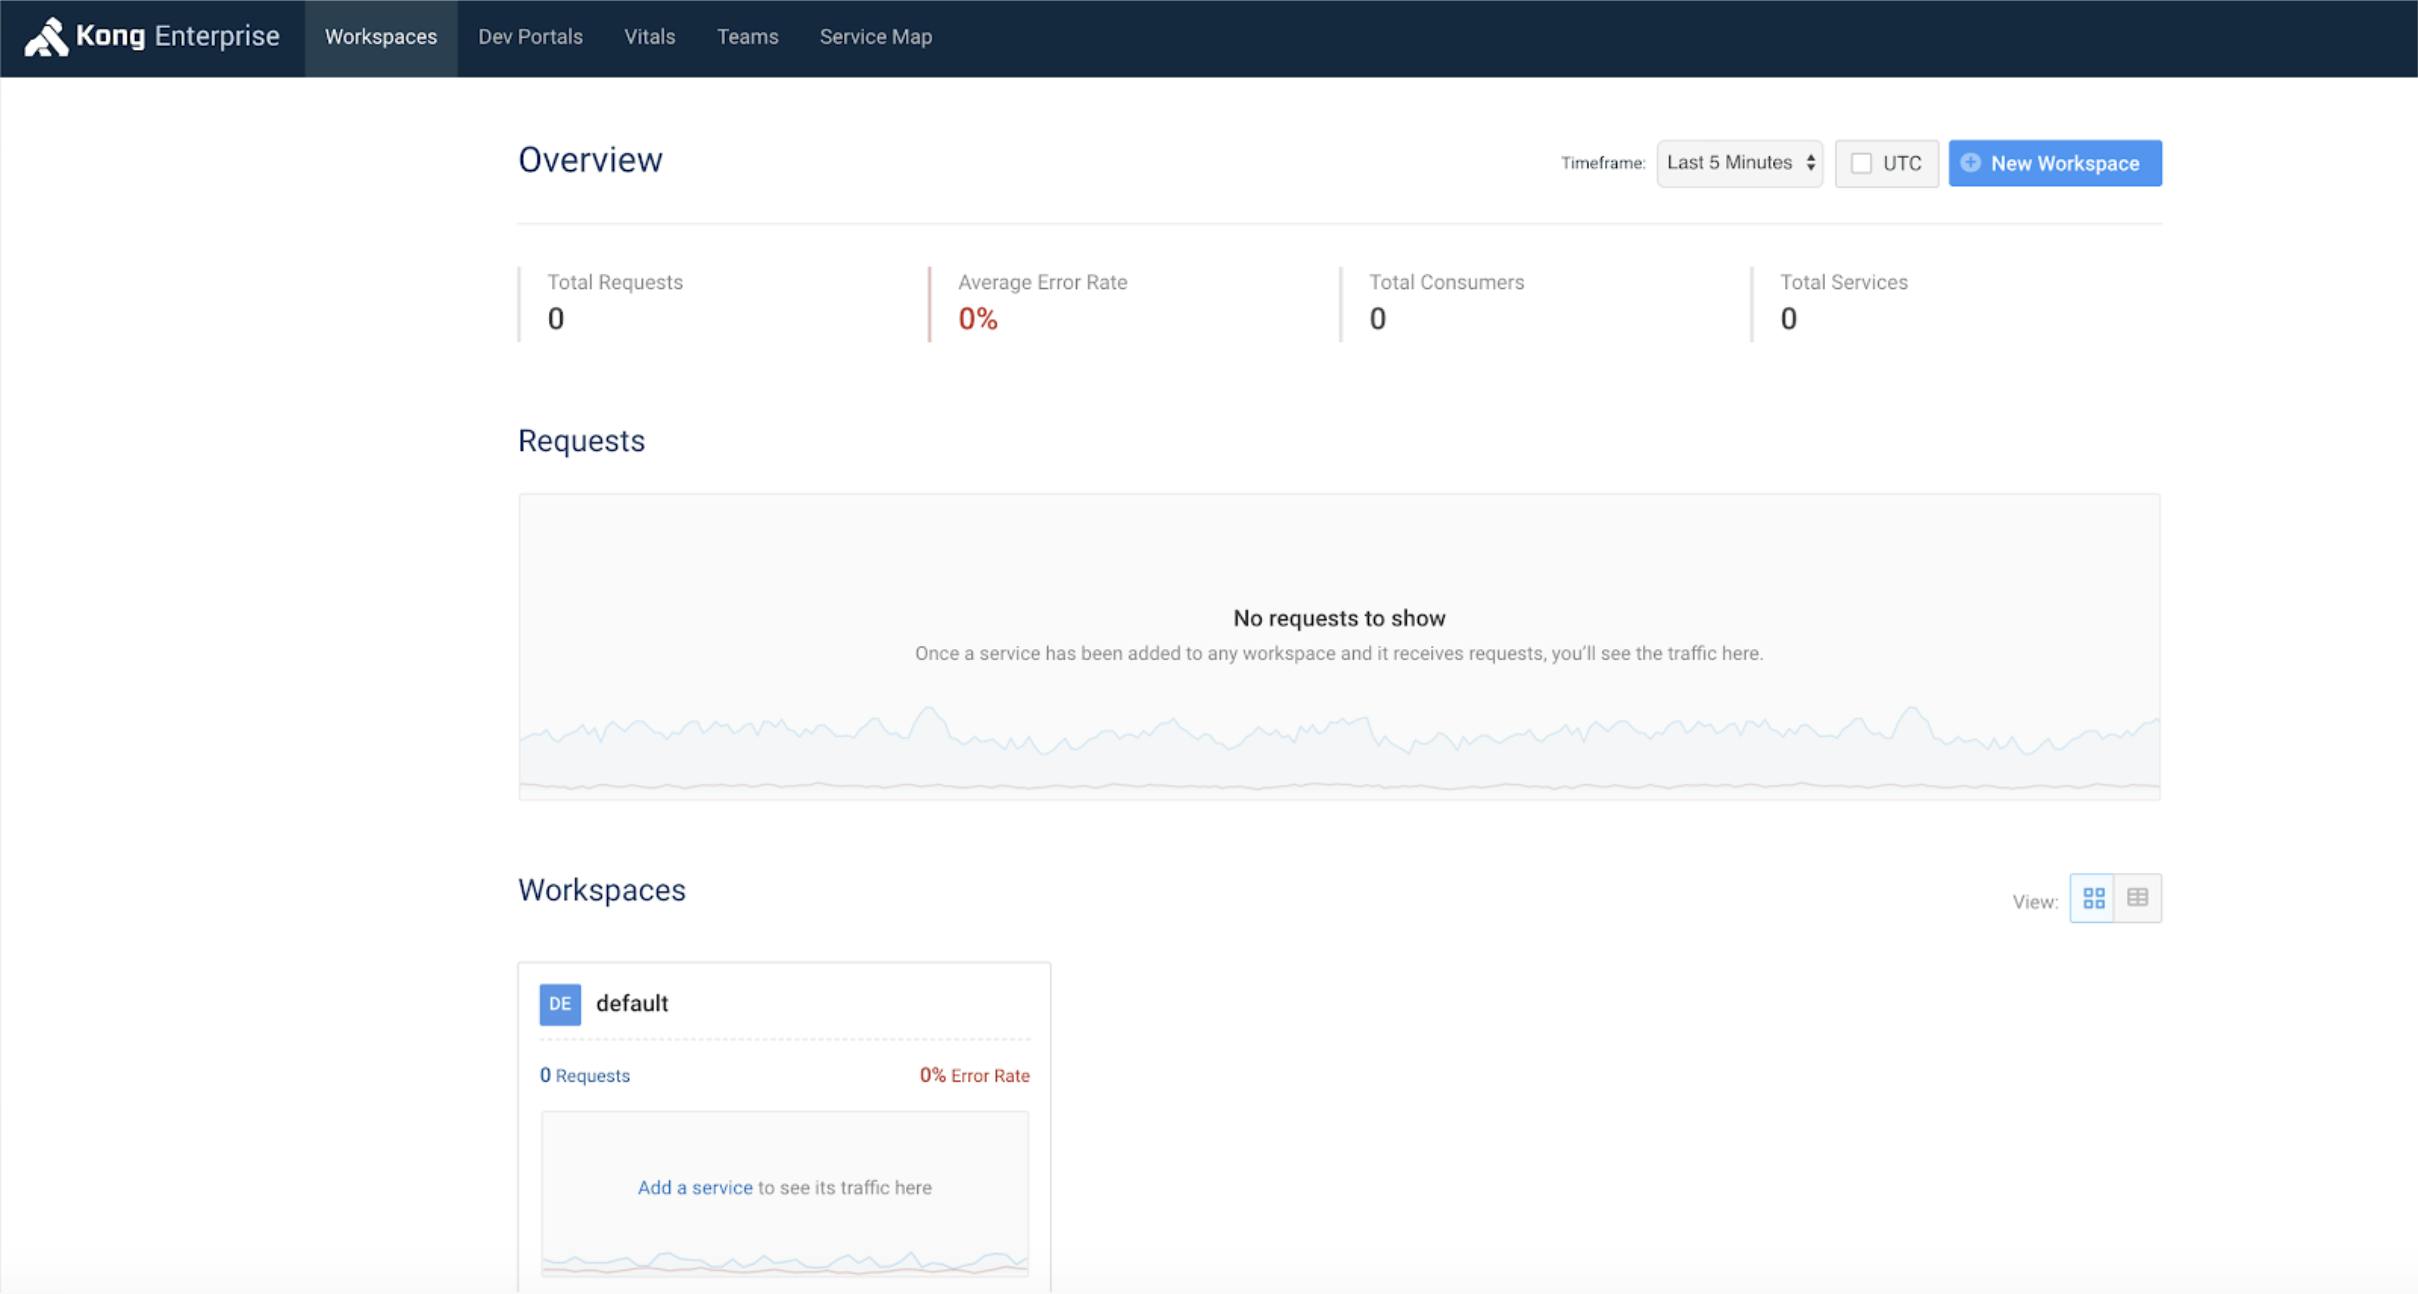
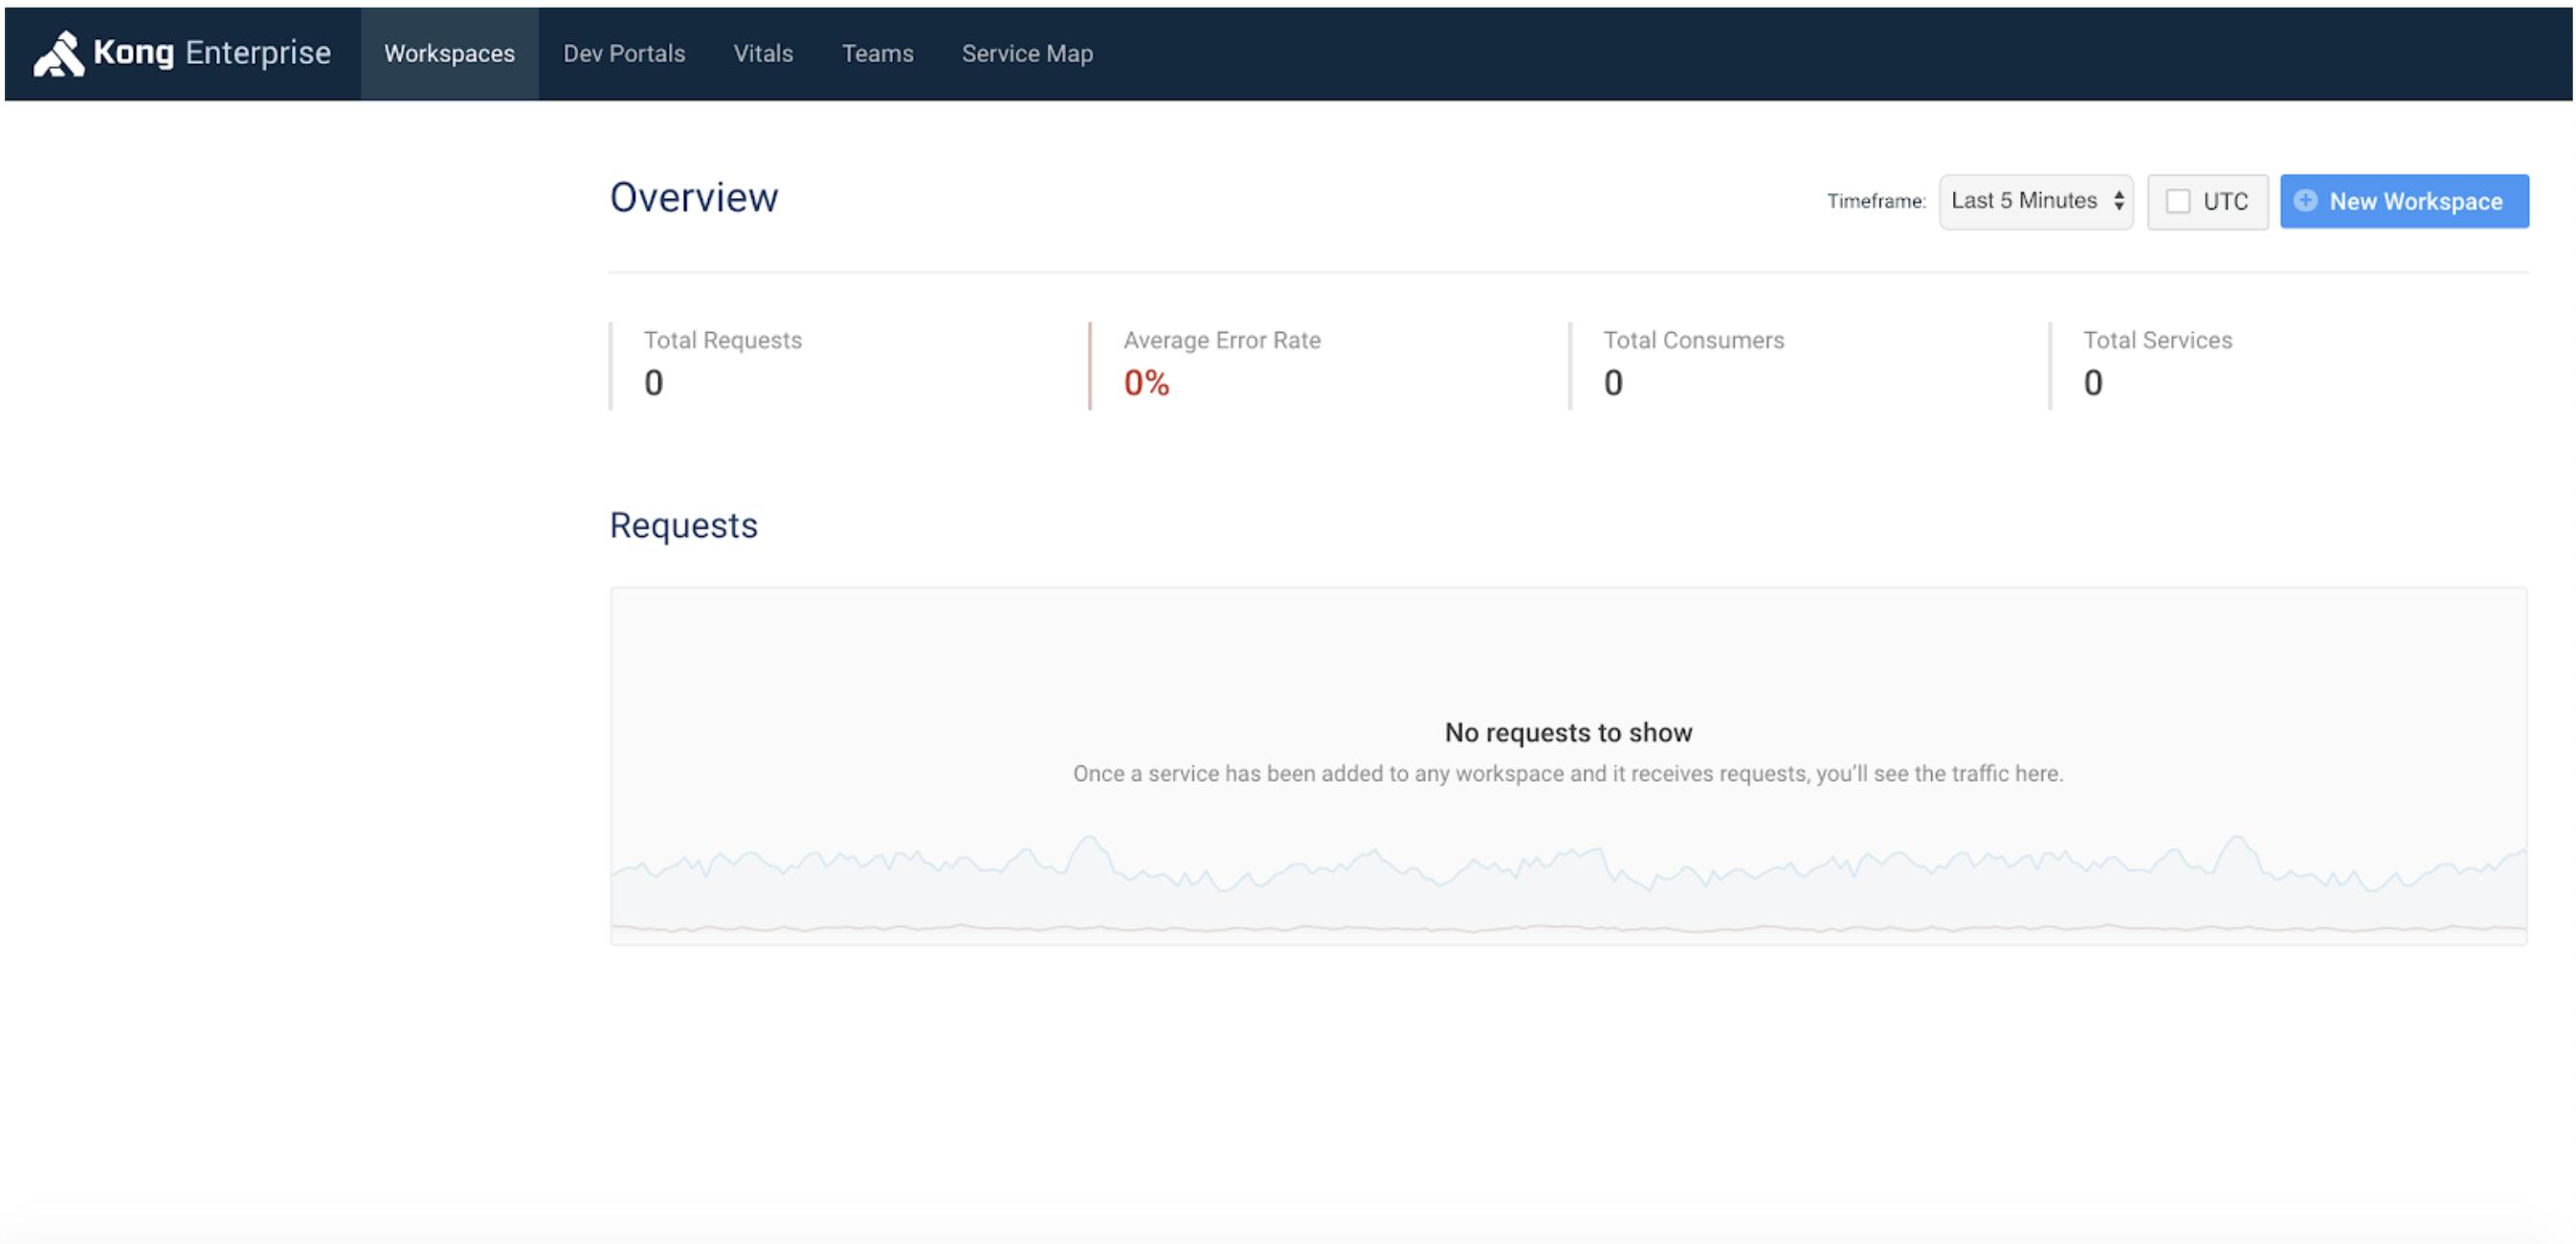
Confirm Kong Enterprise is properly installed and Kong Manager is enabled by opening a browser and visiting http://<your_host>:8002 where <your_host> is the IP or hostname/fqdn of the host where Kong Manager is running.
If Kong is running and Kong Manager is properly configured, you will see Kong Manager load successfully.
Next, let's confirm the Kong nodes can communicate with the AD environment to authenticate and look up users/groups. There are a number of ways to do this, but a simple ping to the domain, if your environment allows, should confirm. The AD environment I will be using is kongad.com.
$ ping kongad.com
PING kongad.com (192.168.125.149) 56(84) bytes of data.
64 bytes from kongad.com (192.168.125.149): icmp_seq=1 ttl=128 time=0.490 ms
64 bytes from kongad.com (192.168.125.149): icmp_seq=2 ttl=128 time=0.610 ms
## **Step 2 – Set Up the Access Model**
The next step is to configure Admins, Groups and Roles in Kong to drive the appropriate level of access.
In this environment, we will set up the following access model:
- Create a new Workspace for our Engineering group named Engineering
- Create a mapping between the Kong Workspace admin role and the AD group to allow the AD group to drive access
- Create a new Kong Admin that maps to an AD user that should have access to Kong
The end result is the AD user should be able to authenticate to Kong Manager with AD credentials and have access to only the Engineering Workspace as a Workspace admin.
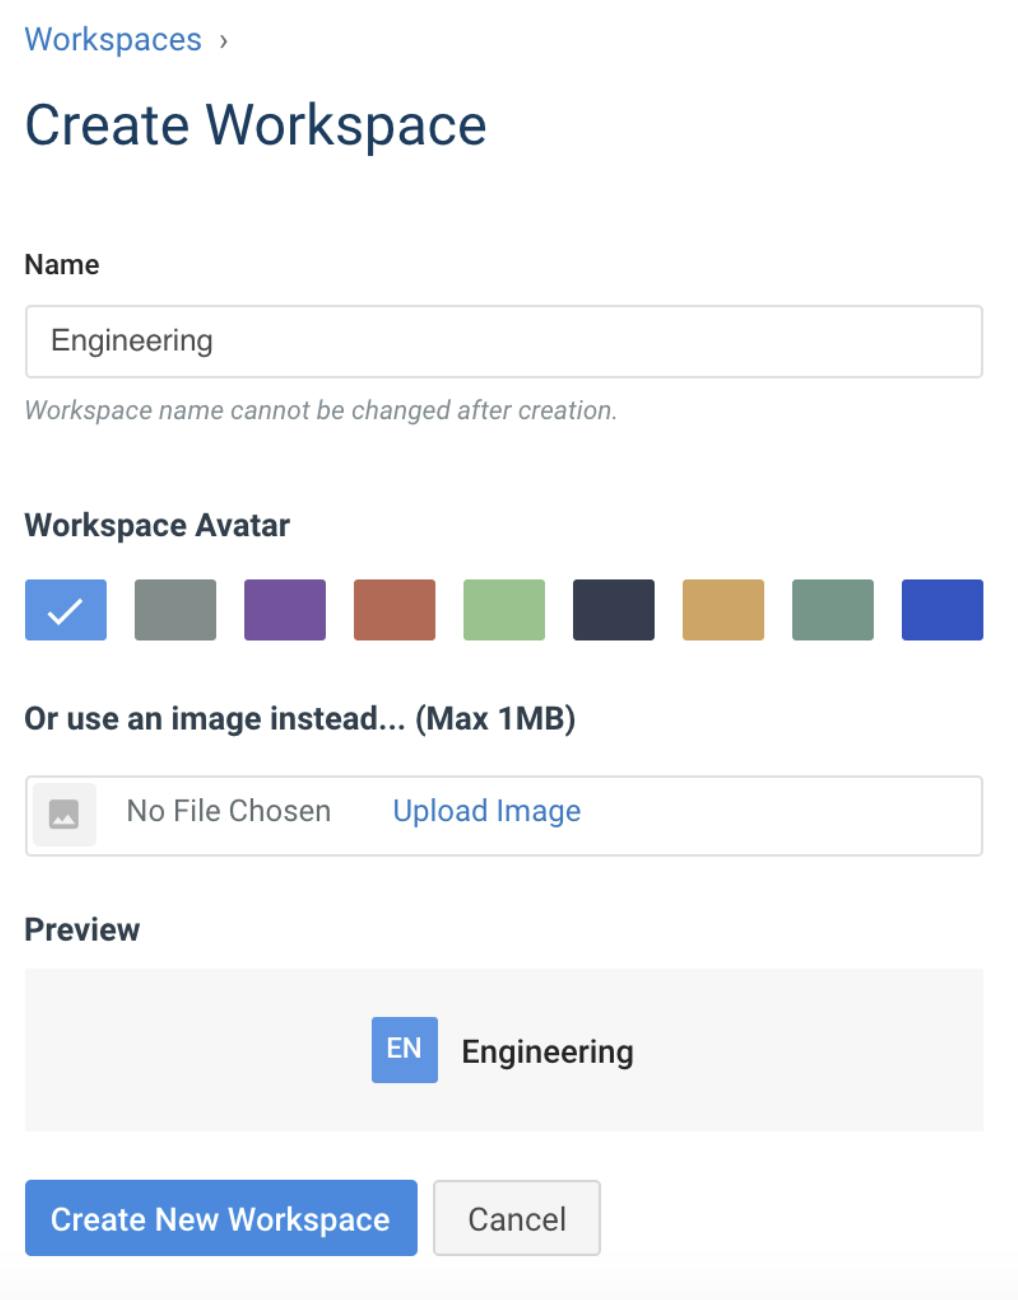
**Create a Workspace**
Let's create a Workspace by clicking on the New Workspace button, providing the name Engineering and picking our preferred color.
Once completed, Kong will open the Engineering Workspace.
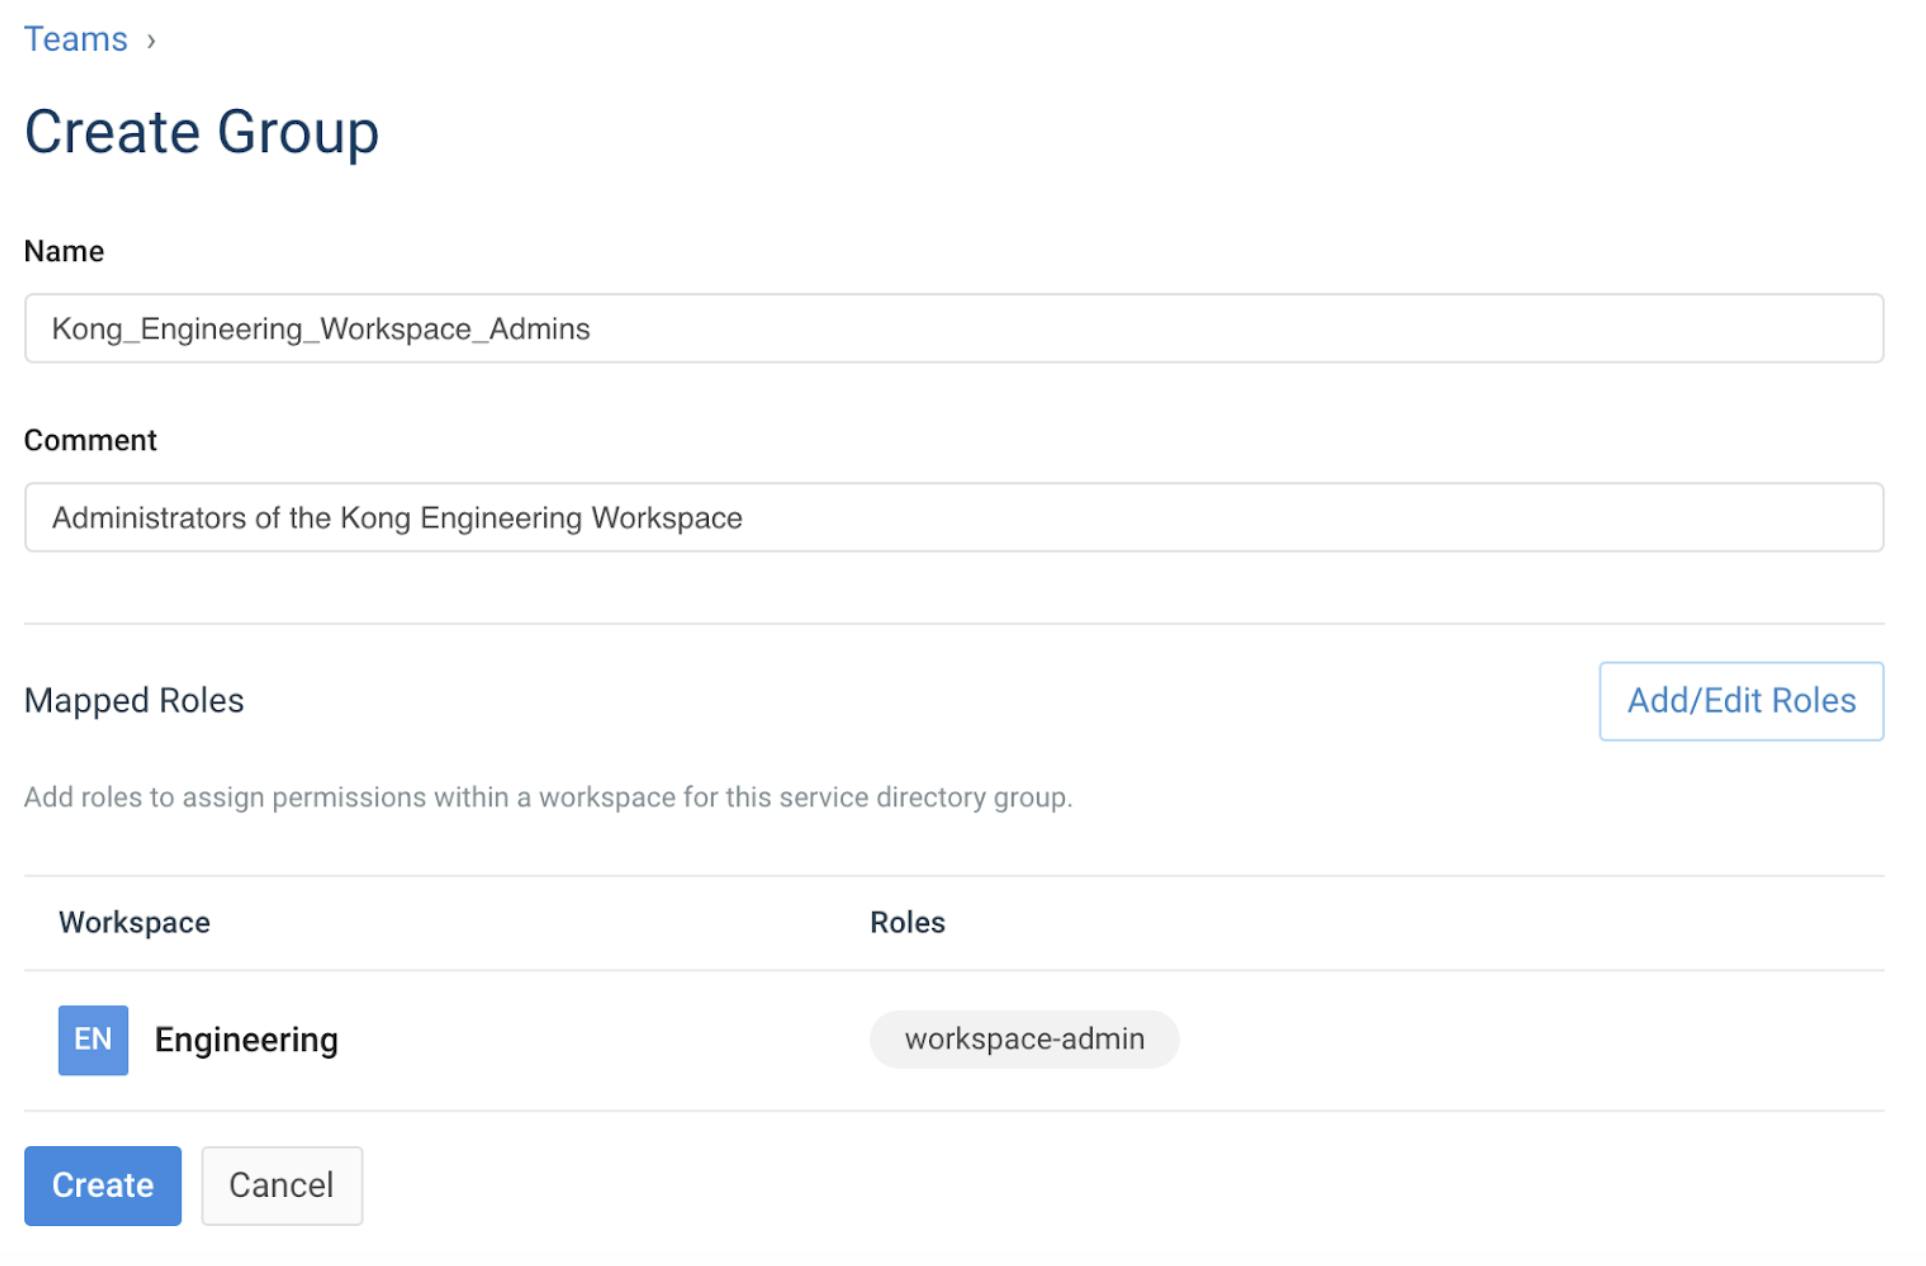
**Mapping Groups to Kong Roles**
Let's now map a group in Kong to an AD group. To do this, we select Teams in the navigation bar, select the Groups tab and click New Group. Give the group the same name as the AD group you want to map, click Add/Edit Roles and select the Engineering Workspace-Admin role.
Any AD user that's a member of this group will be a Workspace Admin in the Engineering Workspace.
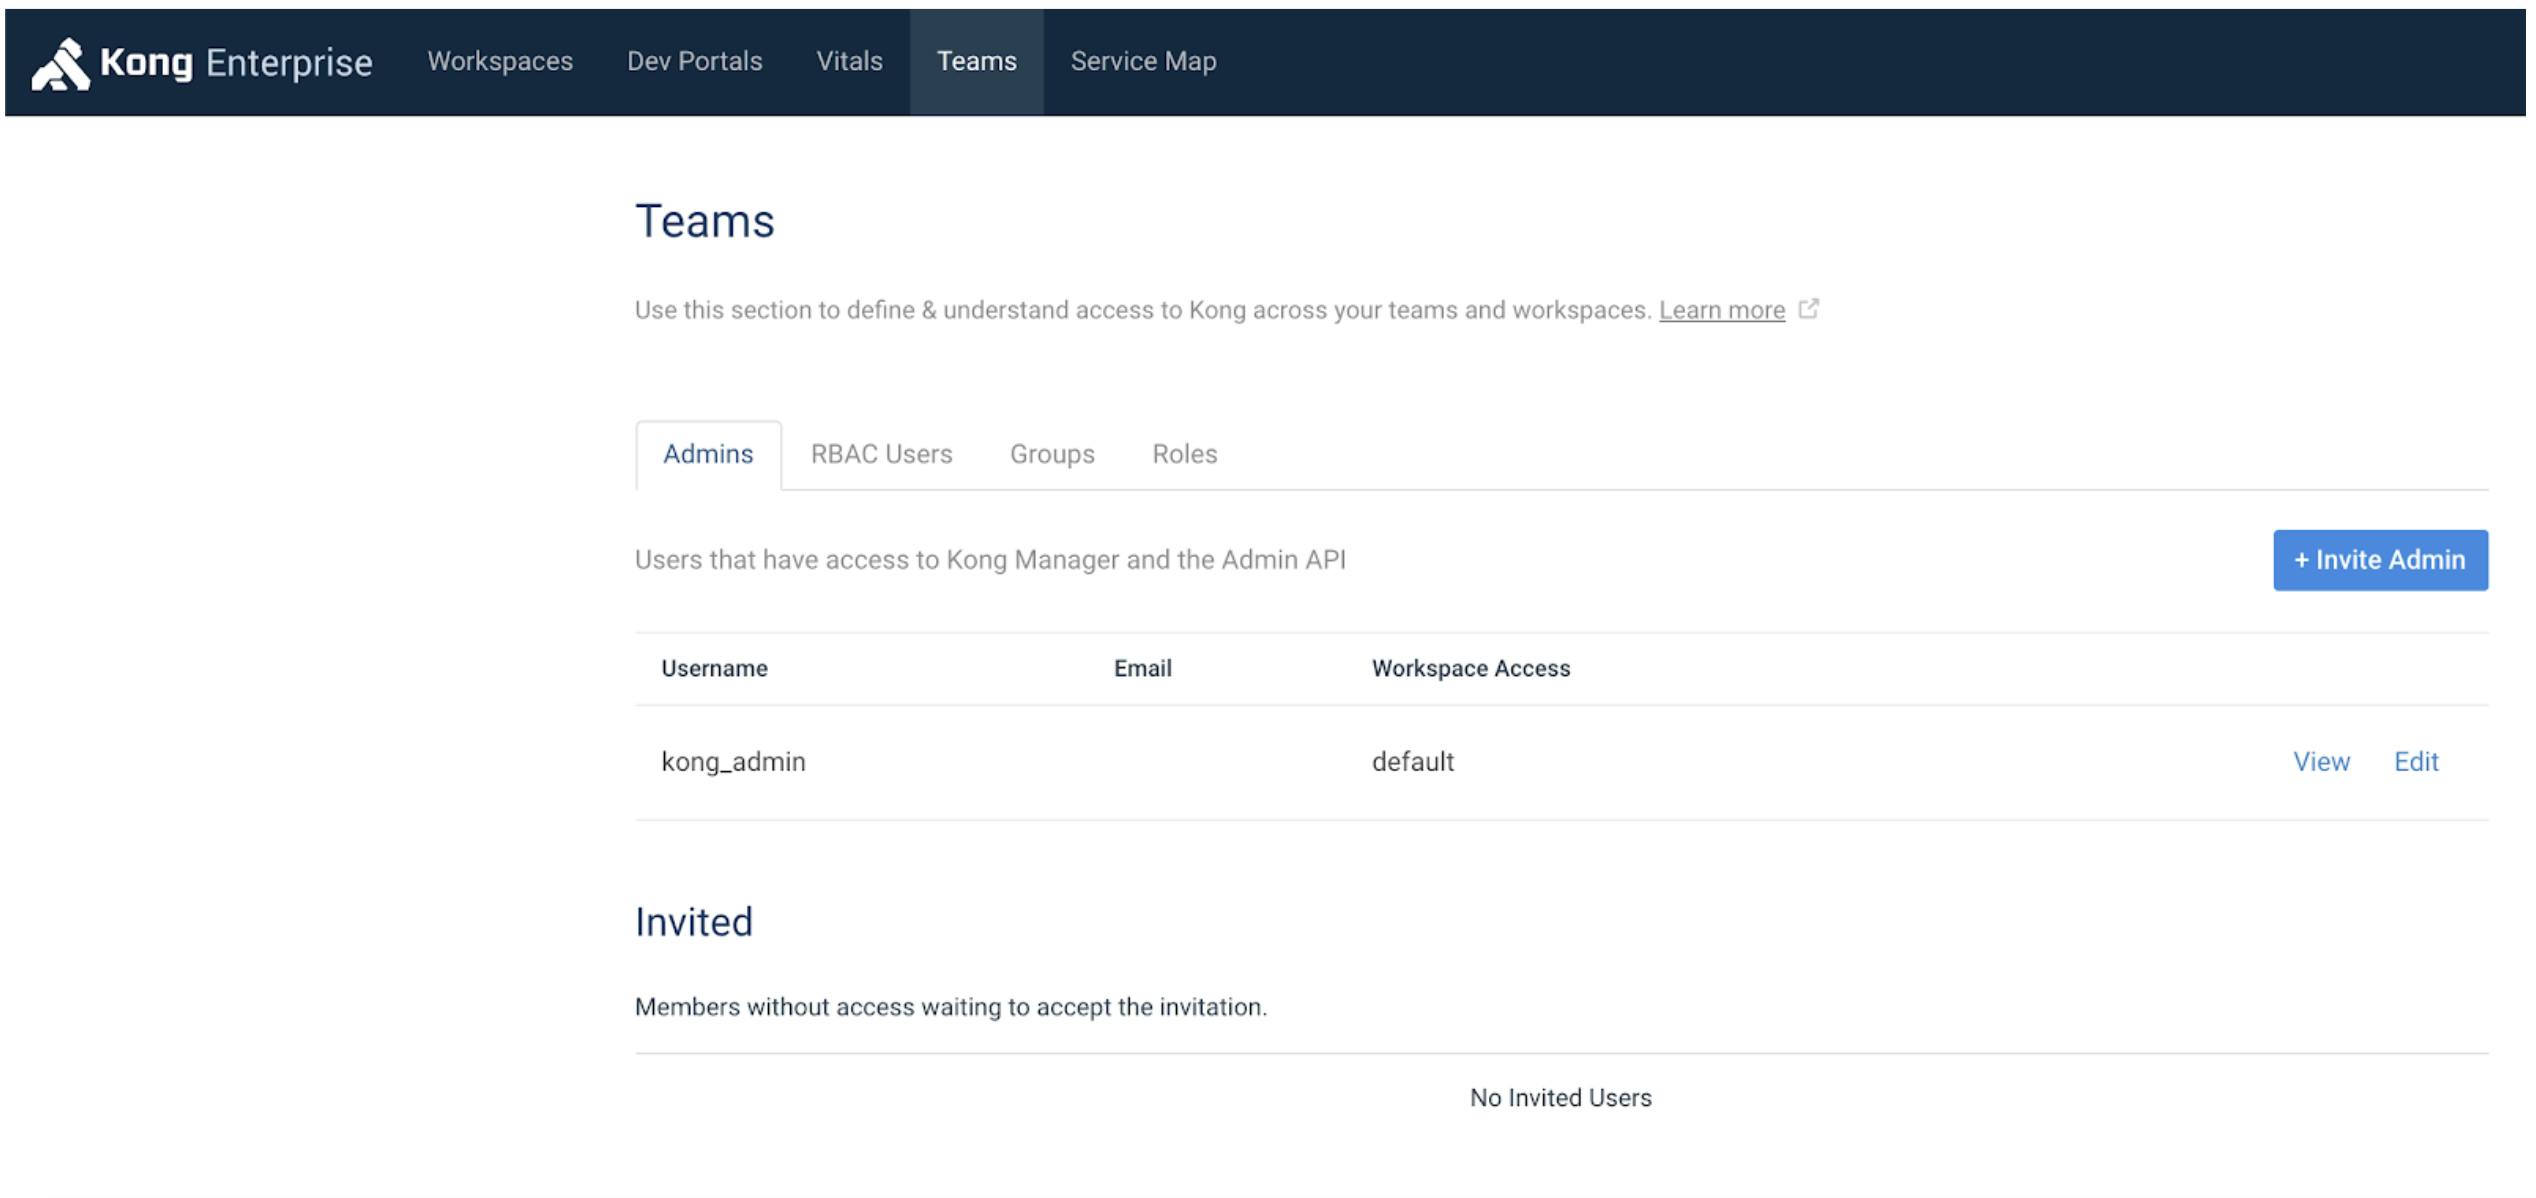
**Create Kong Admins**
The next step is to create Kong Admins that match the names of the users AD that will administer Kong.
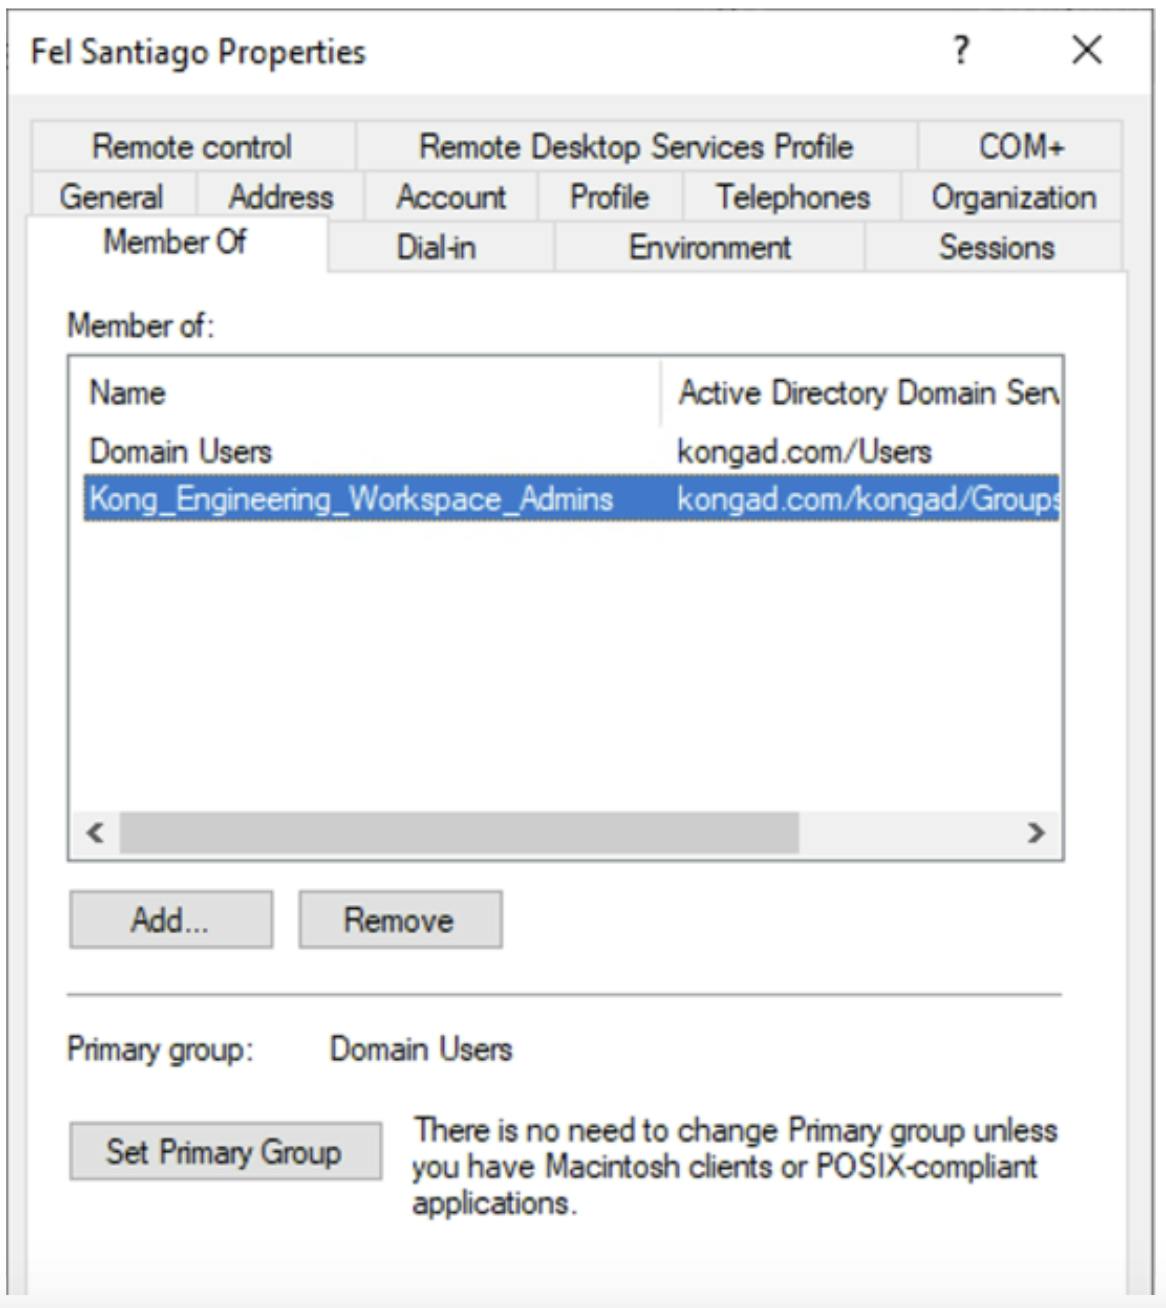
In my AD environment, I have a user with samAccountName of Fel that's a member of the AD group Kong_Engineering_Workspace_Admins.
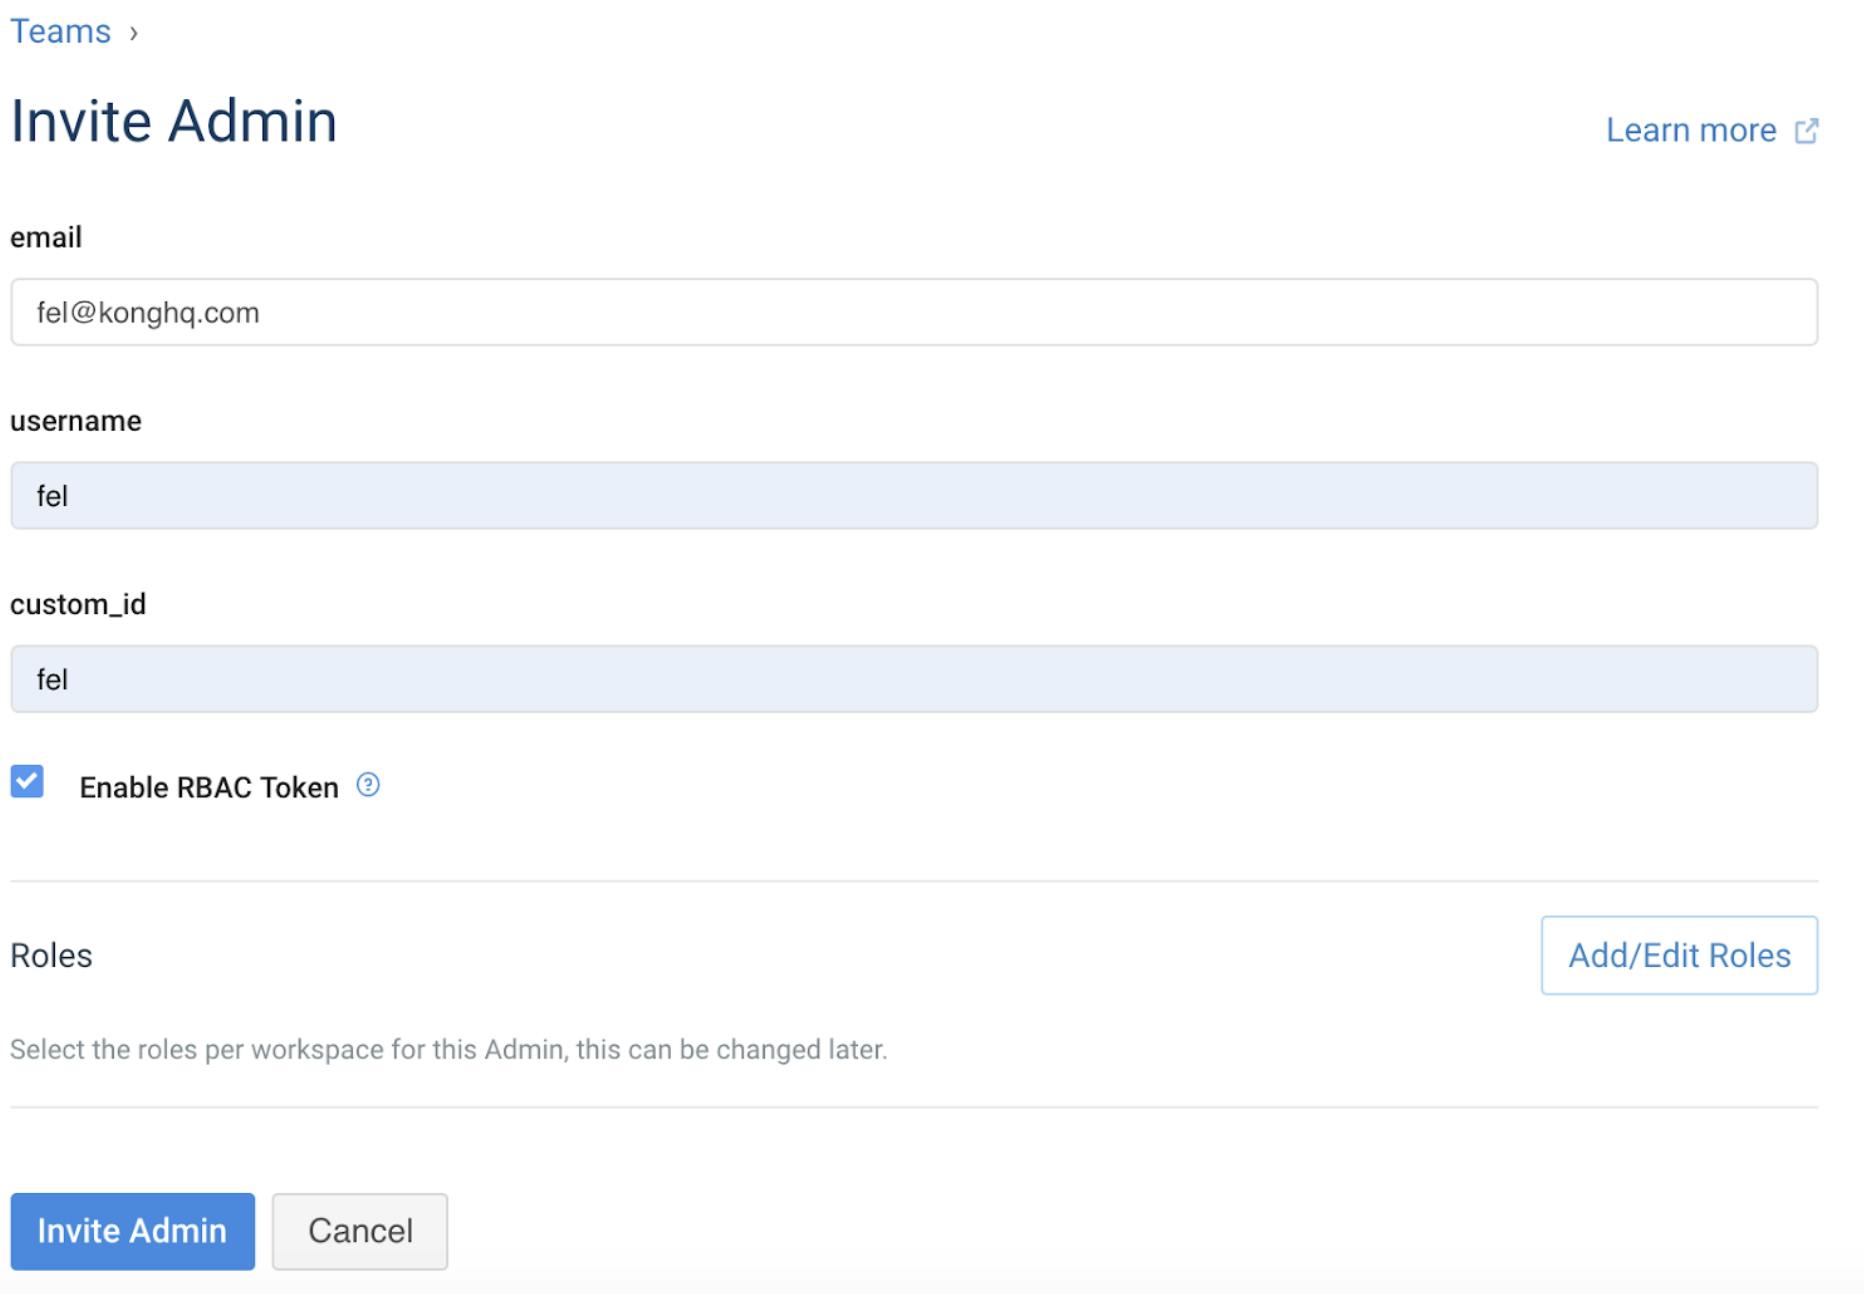
To create a Kong Admin, click on Teams, the Admins tab and click +Invite Admin. Enter an email address, set the username and custom_id to the AD user's samAccountName - Fel in my case. To enable access for this user to the Kong Admin API, check the box Enable RBAC token.
Note we will not select any Roles for the Admin(s) since the user's role will be inherited by the roles their AD group membership is mapped to.
## **Step 3 – Integrate Kong With the Existing AD Environment**
For the purpose of this blog post, we will be conducting a rather simple integration with no TLS.
Log on into the Kong node(s) where Kong Manager is enabled, edit /etc/kong/kong.conf and set the parameters below with the settings specific for your environment.
- attribute – This is the user attribute Kong will look for in AD to authenticate the user
- bind_dn – The distinguished name (DN) of the service account used to bind to the directory to authenticate and look up identities
- base_dn – The distinguished name (DN) used to search for users
- group_base_dn – The distinguished name (DN) to use to search for groups
- group_name_attribute – This is the group attribute Kong will search for groups in AD
- ldap_host – The name of the AD domain
- ldap_password – The password of the bind user configured in bind_dn
Save your configuration and restart Kong:
/usr/local/bin/kong restart
Once Kong is integrated with Active Directory, you can use AD principals to drive access in Kong.
## **Step 4 – Validate the Integration**
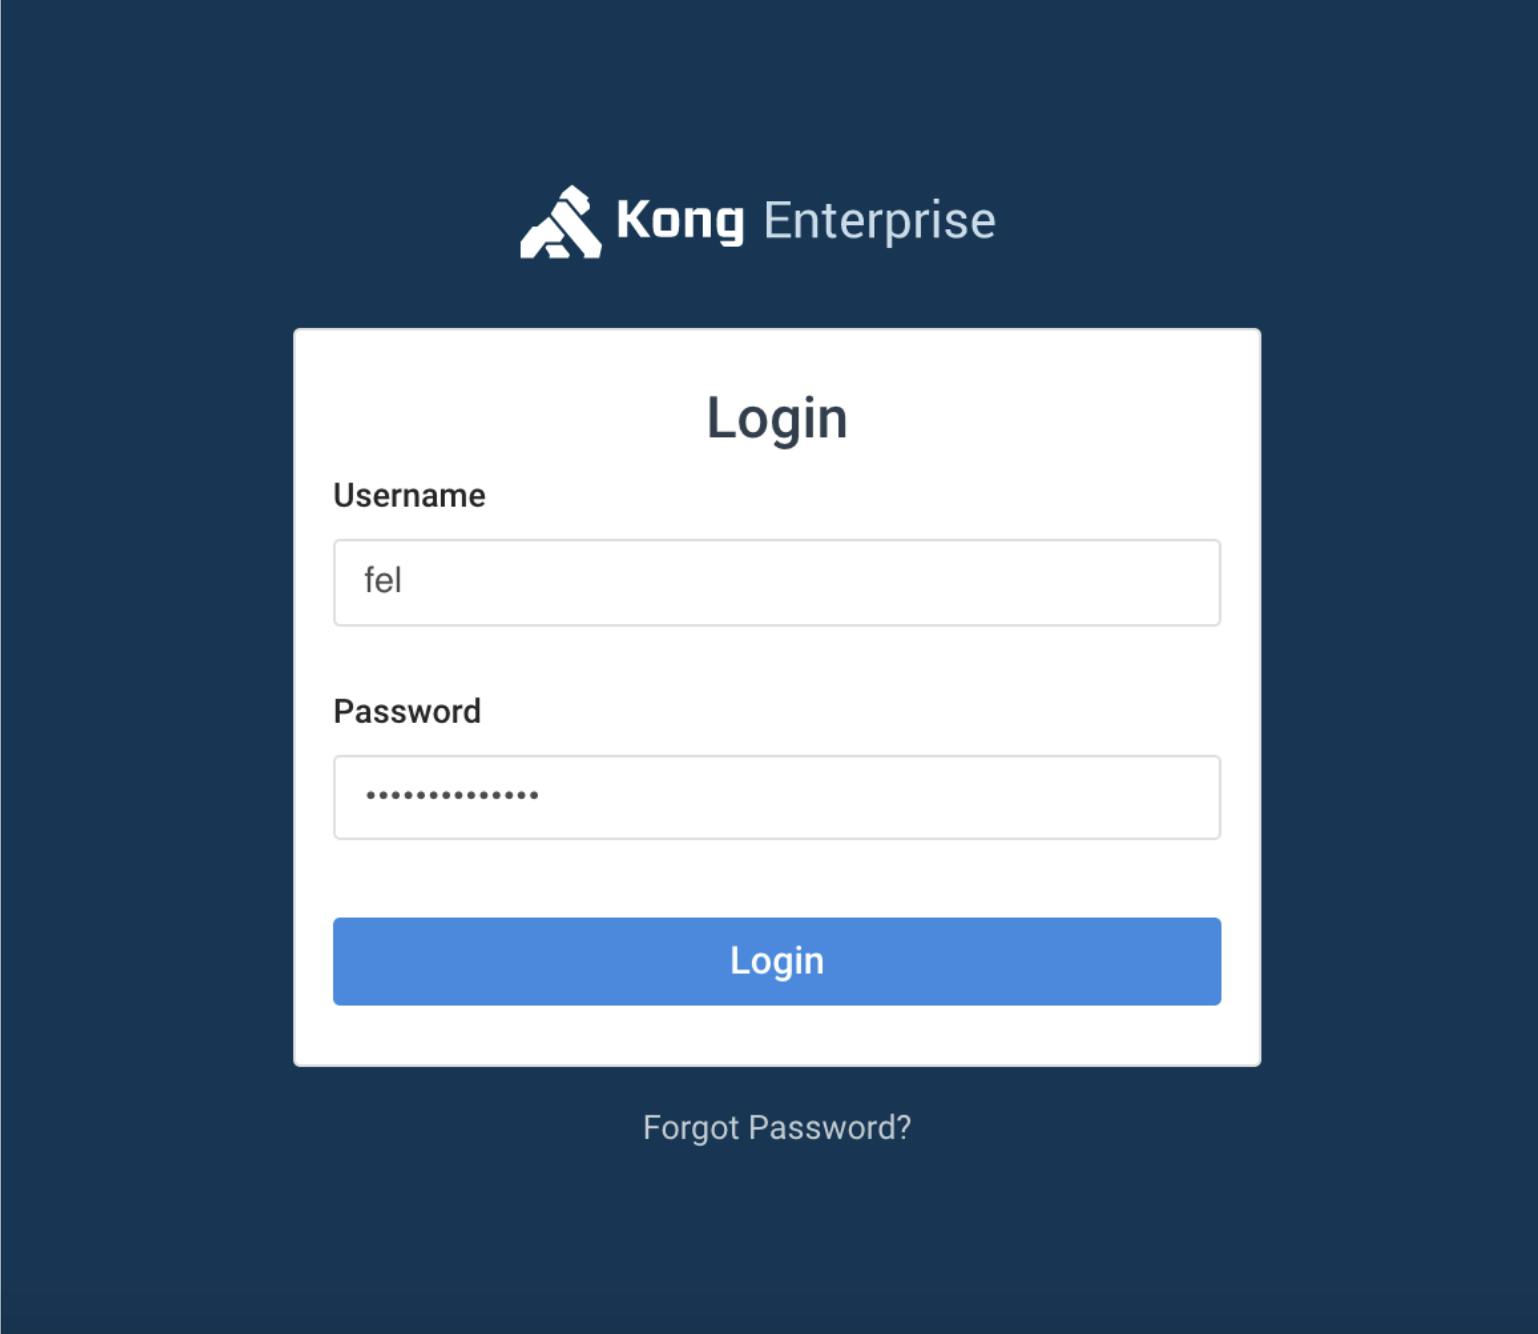
Now it's time to validate the integration. Open a new private/incognito window and visit Kong Manager at http://<your_host>:8002.
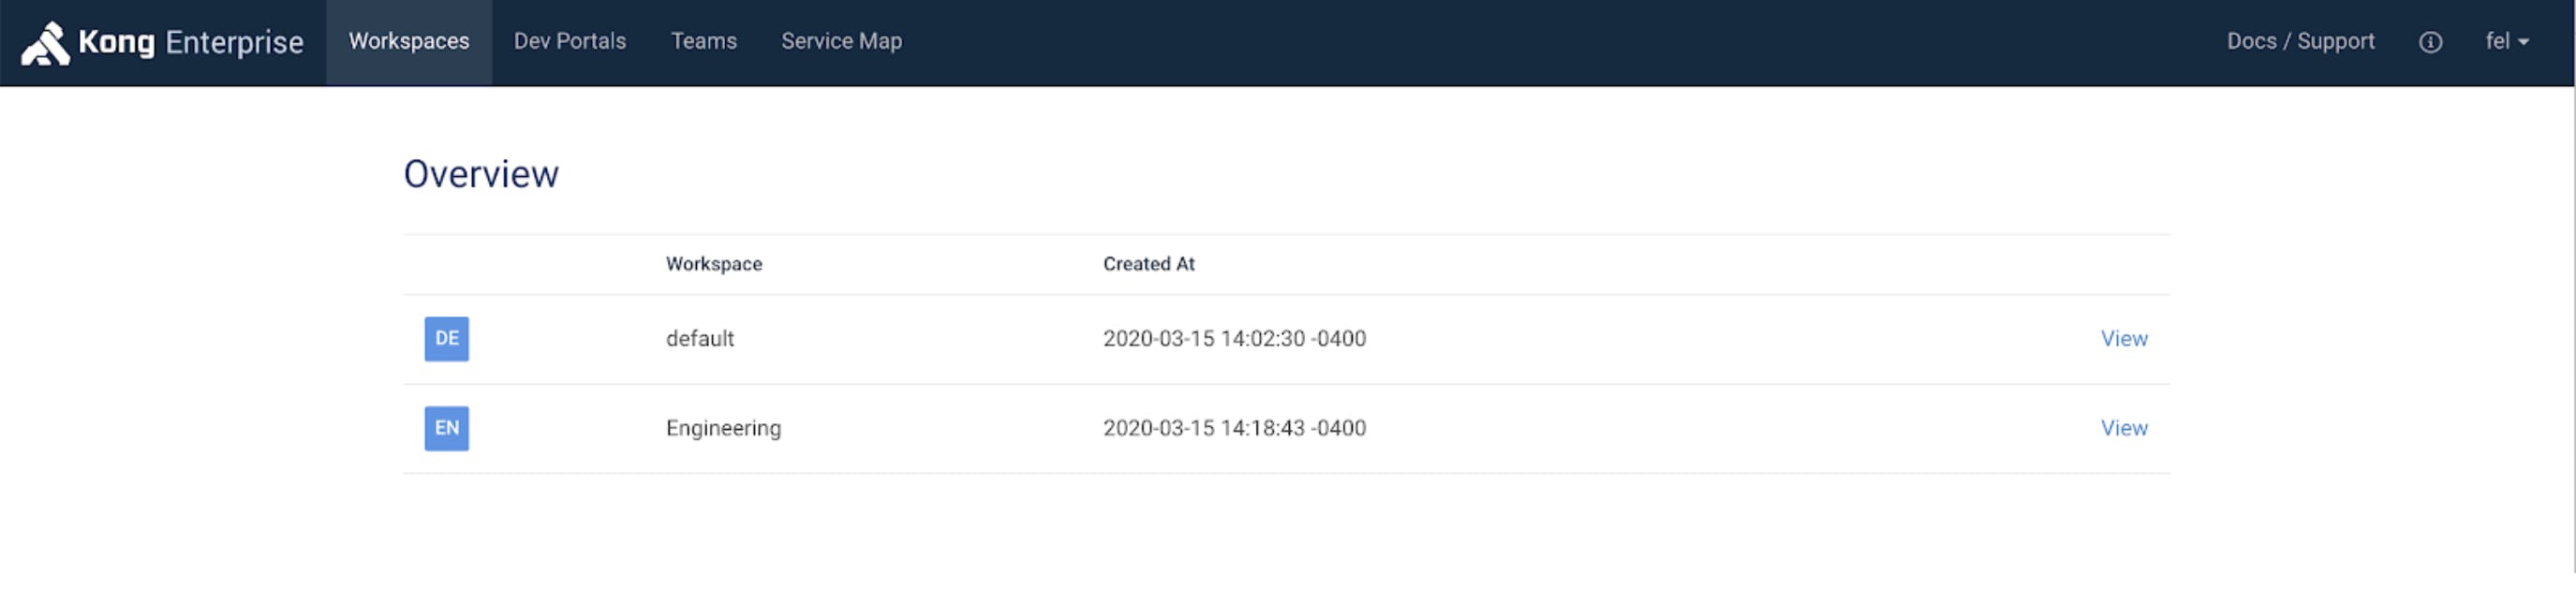
Log on with the Kong Admin(s) configured in Step 2 with the Active Directory password and confirm the user can only access the Engineering Workspace. In my case, the username is fel and entering a correct AD password allows the user to login.
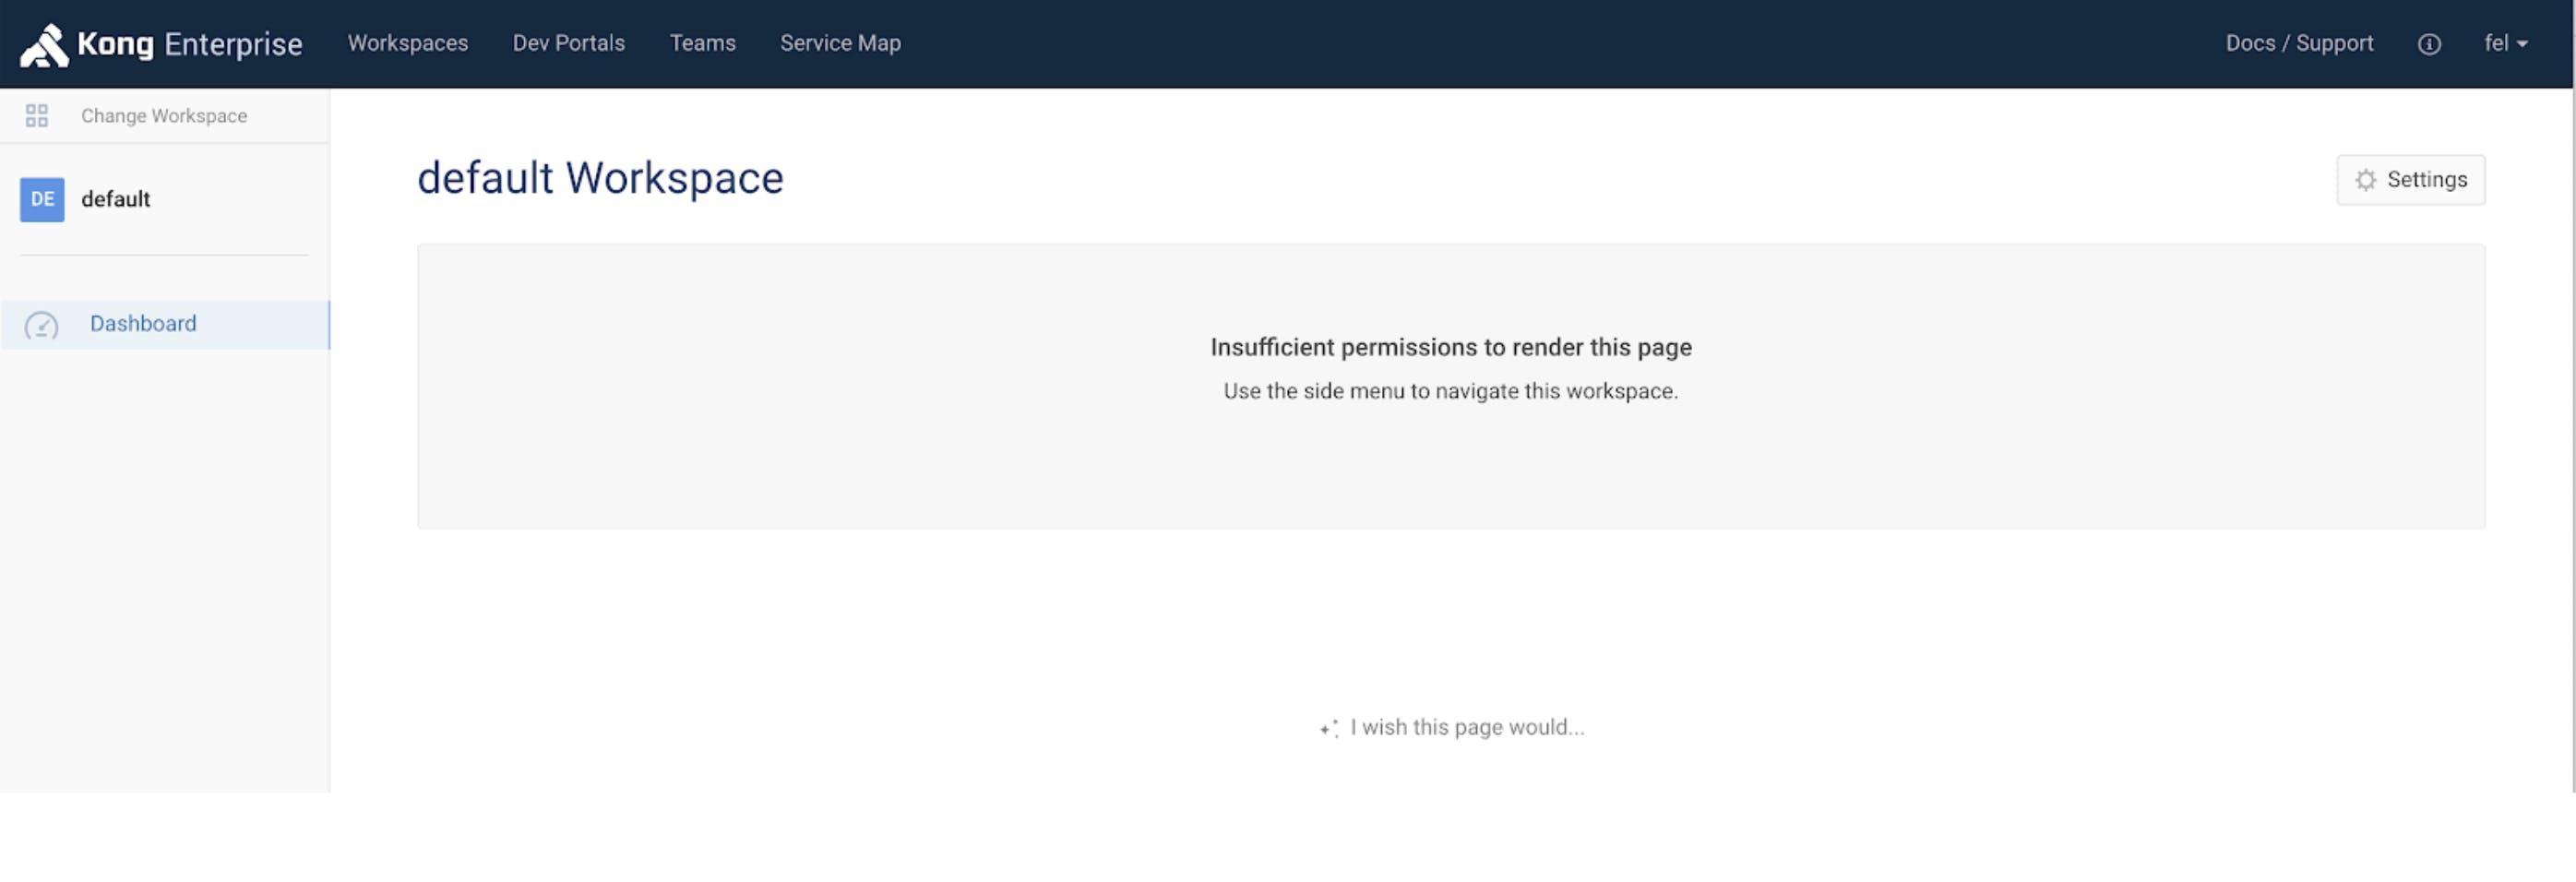
Let's click on the default Workspace to validate if the user has access. As expected, the user has insufficient access.
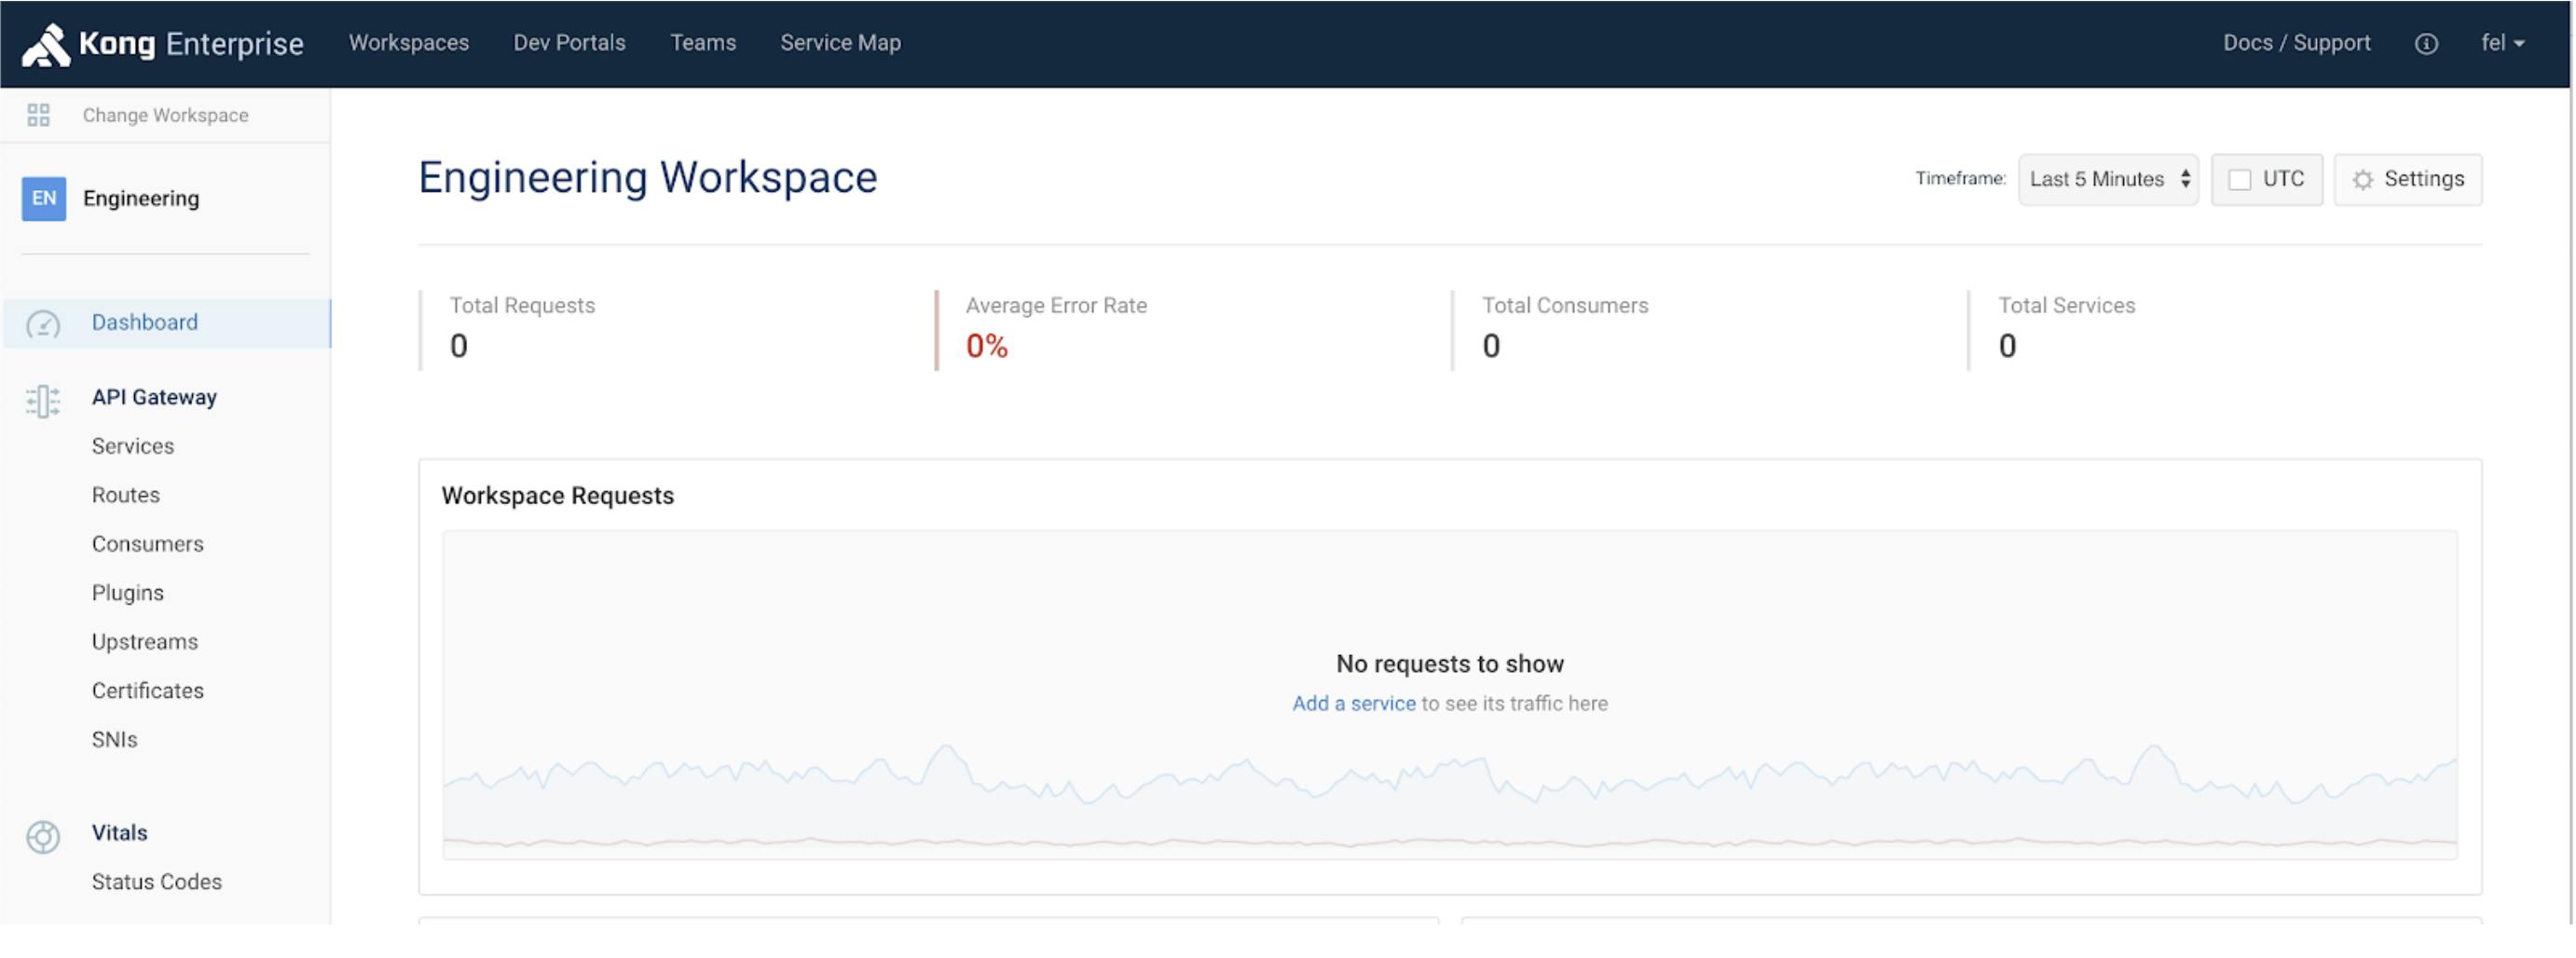
Go back to Workspaces and click on Engineering Workspace, and this time the user fel has full access to the Engineering Workspace. Success!
I hope you found this blog post helpful! In summary, we've looked at how integrating Kong with Active Directory helps customers accelerate the move to decentralized applications by empowering teams for end-to-end delivery while maintaining security and compliance. In a future blog post, we will cover how Kong can deliver these same benefits with any OpenID Connect compatible solution.
Kong and Persistent Systems partner to make migrating off old API management platforms faster and lower risk
The conversation about enterprise AI has shifted. Access to models is no longer the bottleneck. APIs, data pipelines, models, and agents a
We're pleased to announce the launch of Standard Webhooks! Kong has been part of the Technical Committee of this standard with other great companies like Svix (the initiator of the project), Ngrok, Zapier, Twillio, Lob, Mux, and Supabase. This was
There are many different ways to deploy Kong Gateway. In this post, Viktor Gamov (Principal Developer Advocate at Kong) walks through the four most popular ways. Depending on your particular use case, you may find that one or more of these is a goo
Viktor Gamov
# Securing your Services and Applications with Styra Declarative Authorization Service (DAS) & Kong Gateway Enterprise
Jeff Broberg, William Seaton and Peter Sullivan from Styra also contributed to this post API Gateway Authentication (AuthN) and Authorization (AuthZ) are important ways to control the data that is allowed to be transmitted using your APIs. Basically
There are many pros and cons for both GraphQL and REST APIs, but one of the areas where GraphQL really shines is API composition. Taking data from multiple APIs and combining them to make something new is a key part of delivering a useful service.
Routing Tricks and Tips Kong is very easy to get up and running: start an instance, configure a service, configure a route pointing to the service, and off it goes routing requests, applying any plugins you enable along the way. But Kong can do a lo
Kong
# Why Your Kafka Event Streams Need an Event Gateway
You wouldn't expose a REST API without a gateway. What about Kafka?
Before we talk about an event gateway, it's worth grounding ourselves on what an event is. An event is simply a record of something that happened. In modern integration, there are
Warren Vella
# Kong and Persistent: Take the Risk Out of Migration
Kong and Persistent Systems partner to make migrating off old API management platforms faster and lower risk
The conversation about enterprise AI has shifted. Access to models is no longer the bottleneck. APIs, data pipelines, models, and agents a
We're pleased to announce the launch of Standard Webhooks! Kong has been part of the Technical Committee of this standard with other great companies like Svix (the initiator of the project), Ngrok, Zapier, Twillio, Lob, Mux, and Supabase. This was
There are many different ways to deploy Kong Gateway. In this post, Viktor Gamov (Principal Developer Advocate at Kong) walks through the four most popular ways. Depending on your particular use case, you may find that one or more of these is a goo
Viktor Gamov
# Securing your Services and Applications with Styra Declarative Authorization Service (DAS) & Kong Gateway Enterprise
Jeff Broberg, William Seaton and Peter Sullivan from Styra also contributed to this post API Gateway Authentication (AuthN) and Authorization (AuthZ) are important ways to control the data that is allowed to be transmitted using your APIs. Basically
There are many pros and cons for both GraphQL and REST APIs, but one of the areas where GraphQL really shines is API composition. Taking data from multiple APIs and combining them to make something new is a key part of delivering a useful service.
Routing Tricks and Tips Kong is very easy to get up and running: start an instance, configure a service, configure a route pointing to the service, and off it goes routing requests, applying any plugins you enable along the way. But Kong can do a lo
Kong
# Why Your Kafka Event Streams Need an Event Gateway
You wouldn't expose a REST API without a gateway. What about Kafka?
Before we talk about an event gateway, it's worth grounding ourselves on what an event is. An event is simply a record of something that happened. In modern integration, there are
Warren Vella
## Ready to see Kong in action?
Get a personalized walkthrough of Kong's platform tailored to your architecture, use cases, and scale requirements.