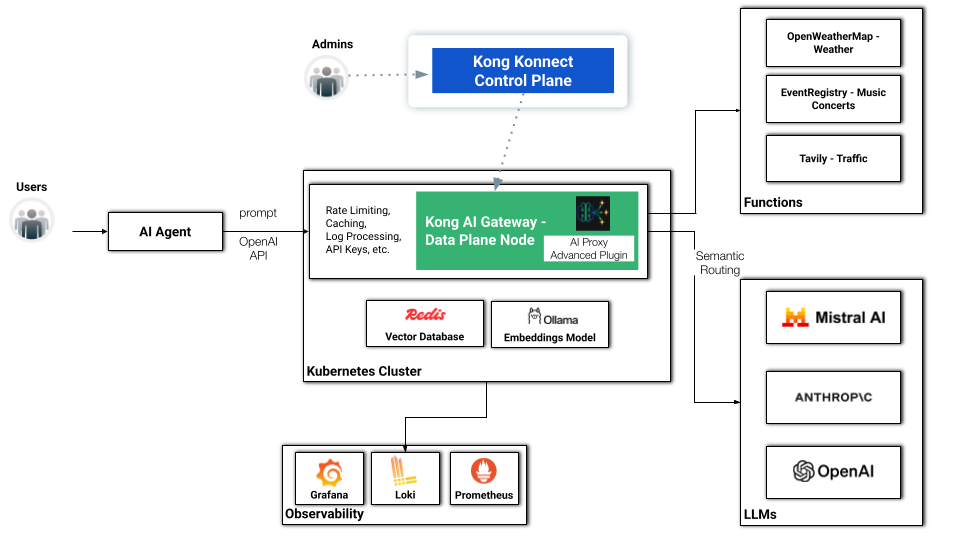
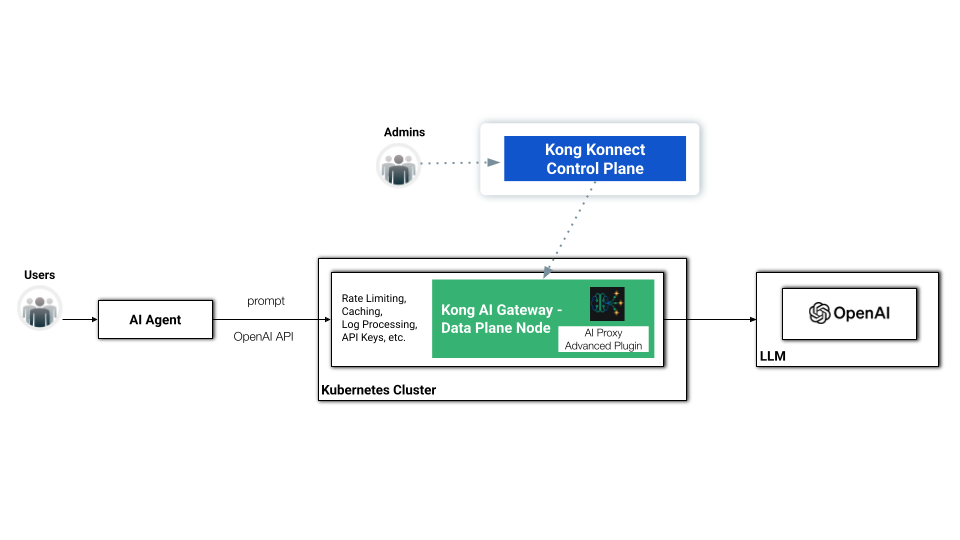
AI Agent with Kong Konnect Data Plane
OpenAI API support
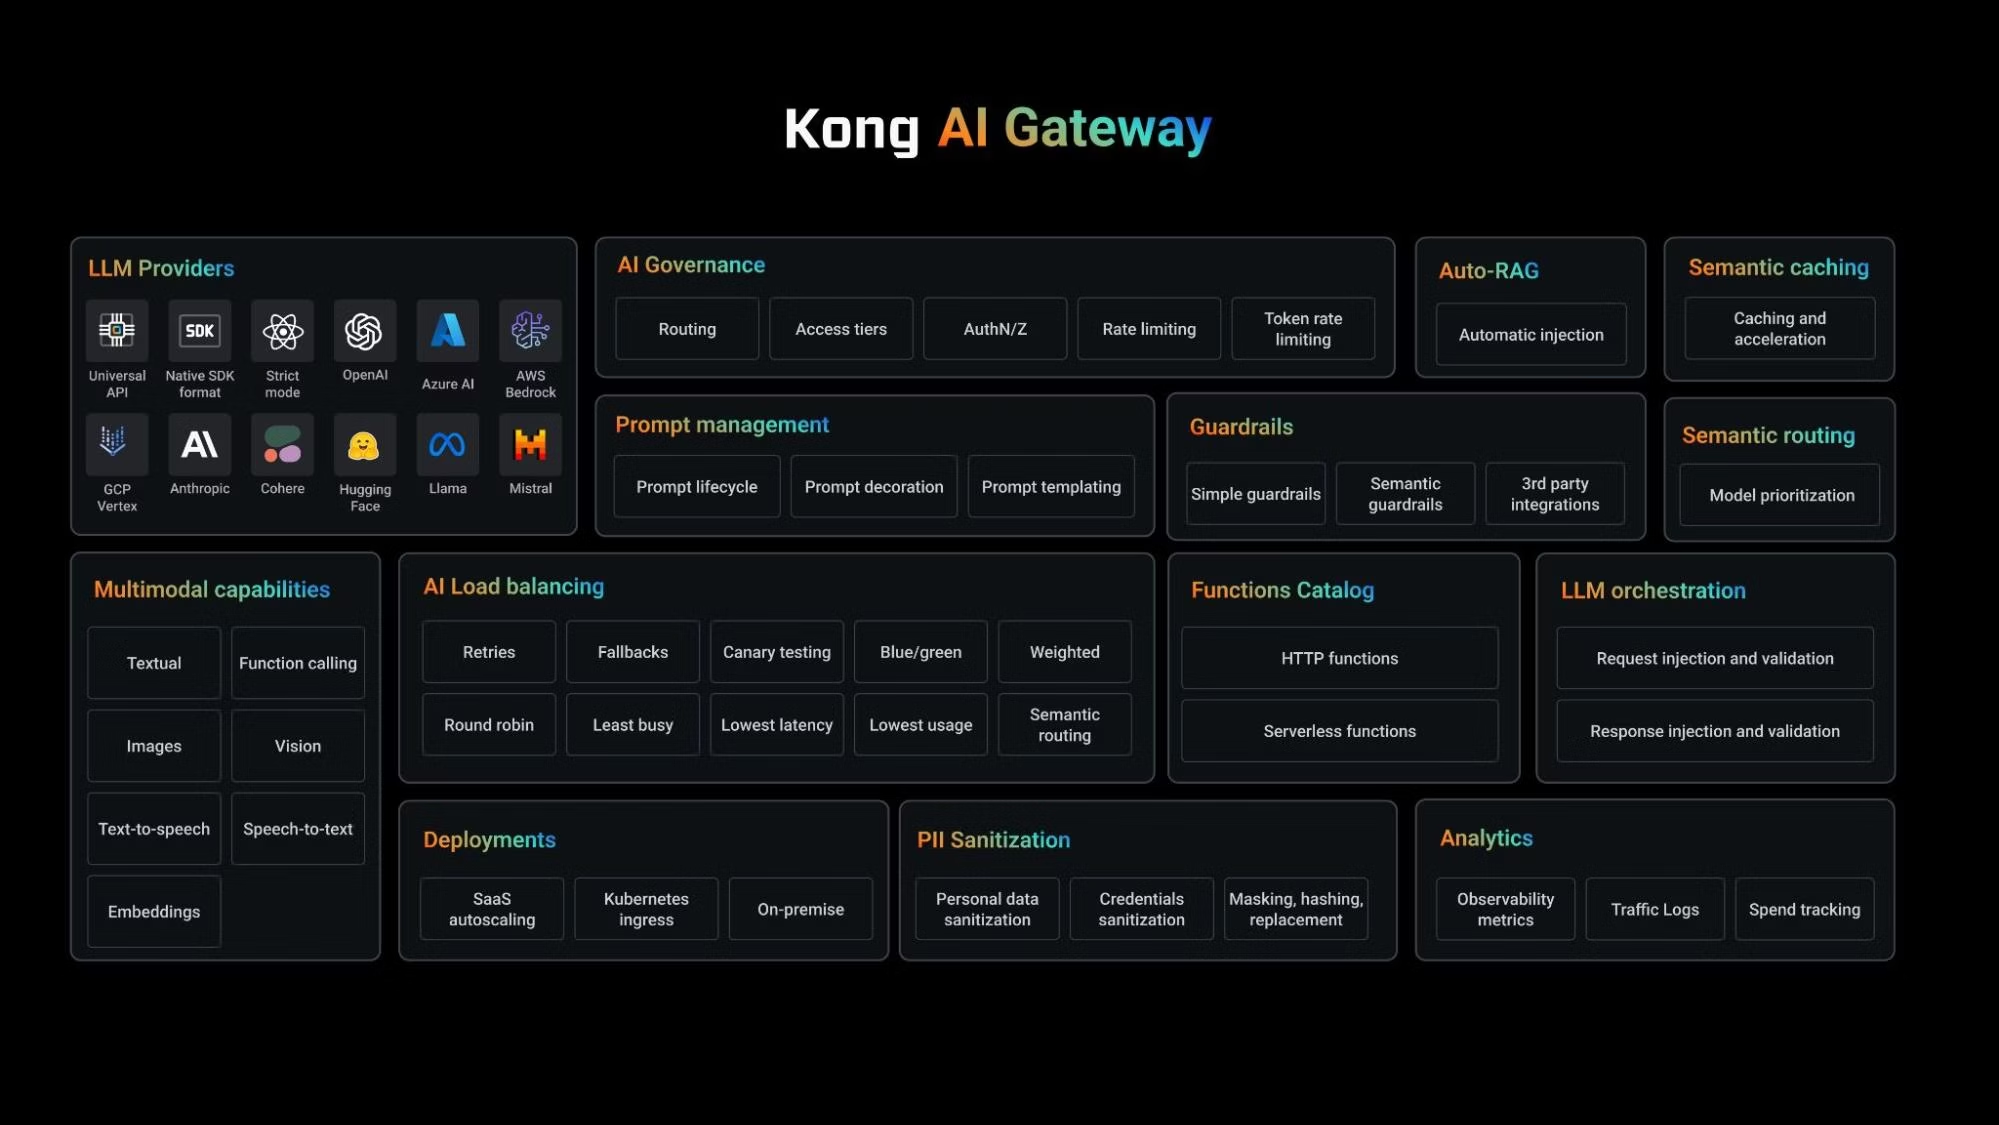
Kong AI Gateway supports the [OpenAI API specification](https://platform.openai.com/docs/overview)OpenAI API specification as well as Bedrock and Gemini as incoming formats. The consumer can then send standard OpenAI requests to the Kong AI Gateway. As a basic example, consider this OpenAI request:
    curl https://api.openai.com/v1/chat/completions \
      -H "Content-Type: application/json" \
      -H "Authorization: Bearer $OPENAI_API_KEY" \
      -d '{
        "model": "gpt-4o",
        "messages": [
          {
            "role": "user",
            "content": "Hello!"
          }
        ]
      }'
When we add Kong AI Gateway, sitting in front of the LLM model, we're not just exposing it but also allowing the consumers to use the same mechanism — in this case, OpenAI APIs — to consume it. That leads to a very flexible and powerful capability when we come to development processes. In other words, Kong AI Gateway normalizes the consumption of any LLM infrastructure, including Amazon Bedrock, Mistral, OpenAI, Cohere, etc.
As an exercise, the new request should be something like this. The request has some minor differences:
- It sends a request to the Kong API Gateway Data Plane Node.
- It replaces the OpenAI endpoint with a Kong API Gateway route.
- The API Key is actually managed by the Kong API Gateway now.
- It does not refer to any model, since it's being resolved by the AI Gateway.
 curl http://$DATA_PLANE_LB/bedrock-route \
  -H "Content-Type: application/json" \
  -H "apikey: $KONG_API_KEY" \
  -d '{
     "messages": [
       {
         "role": "user",
         "content": "Hello!"
       }
     ]
   }'
Minikube installation
We are going to deploy our Data Plane in a [Minikube](https://minikube.sigs.k8s.io/)Minikube Cluster over Docker or Podman. For example, you can start Podman with:
podman machine set --memory 8196
podman machine start
If you want to stop it run:
podman machine stop
Then you can install Minikube with:
minikube start --driver=podman --memory='no-limit'
To be able to consume the Kubernetes Load Balancer Services, in another terminal run:
minikube tunnel
Konnect subscription
Now you have to get access to Konnect. Click on the [Registration](https://konghq.com/products/kong-konnect/register)Registration link and present your credentials. Or, if you already have a Konnect subscription, [log in to it](https://cloud.konghq.com/us)log in to it.
Konnect PAT
In order to interact with Konnect, using command lines, you need a [Konnect Personal Access Token (PAT)](https://docs.konghq.com/konnect/gateway-manager/declarative-config/#generate-a-personal-access-token)Konnect Personal Access Token (PAT). To generate your PAT, go to Konnect UI, click on your initials in the upper right corner of the Konnect home page, then select "Personal Access Tokens." Click on "+ Generate Token," name your PAT, set its expiration time, and be sure to copy and save it as an environment variable also named as PAT. Konnect won’t display your PAT again.
Kong Gateway Operator (KGO), Konnect Control Plane creation and Data Plane deployment
For Kubernetes deployments, Kong provides [Kong Gateway Operator (KGO)](https://docs.konghq.com/gateway-operator)Kong Gateway Operator (KGO), an Operator capable of managing all flavours of Kong installations, including Kong Ingress Controller, Kong Gateway Data Planes, for self-managed or Konnect based deployments.
Our topology comprises a hybrid deployment where a Data Plane, running on Minikube, is connected to the Konnect Control Plane.
Start adding the [KGO Helm Charts](https://github.com/Kong/charts/tree/main/charts/gateway-operator)KGO Helm Charts to your environment:
helm repo add kong https://charts.konghq.com
helm repo update kong
Install the Operator with:
helm upgrade --install kgo kong/gateway-operator \
  -n kong-system \
  --create-namespace \
  --set image.tag=1.6.1 \
  --set kubernetes-configuration-crds.enabled=true \
  --set env.ENABLE_CONTROLLER_KONNECT=true
You can check the Operator's logs with:
kubectl logs -f $(kubectl get pod -n kong-system -o json | jq -r '.items[].metadata | select(.name | startswith("kgo-gateway"))' | jq -r '.name') -n kong-system
And if you want to uninstall it run:
helm uninstall kgo -n kong-system
kubectl delete namespace kong-system
Konnect Control Plane creation
The first thing to do, in order to get your Konnect Control Plane defined, you have to create a Kubernetes Secret with your PAT. KGO requires your secret to be labeled. The commands should be like these ones:
kubectl create namespace kong

kubectl delete secret konnect-pat -n kong
kubectl create secret generic konnect-pat -n kong --from-literal=token='kpat_K6Cgbx…..'

kubectl label secret konnect-pat -n kong "konghq.com/credential=konnect"
Then, the following declaration defines an [Authentication Configuration](https://docs.konghq.com/gateway-operator/latest/reference/custom-resources/#konnectapiauthconfiguration)Authentication Configuration, based on the Kubernetes Secret and referring to a Konnect API URL, and the actual [Konnect Control Plane](https://docs.konghq.com/gateway-operator/1.5.x/reference/custom-resources/#konnectgatewaycontrolplane)Konnect Control Plane. Check the [documentation](https://docs.konghq.com/gateway-operator/latest/get-started/konnect/create-konnectextension/#create-an-access-token-in-konnect)documentation to learn more about it.
cat <<EOF | kubectl apply -f -
kind: KonnectAPIAuthConfiguration
apiVersion: konnect.konghq.com/v1alpha1
metadata:
  name: konnect-api-auth-conf
  namespace: kong
spec:
  type: secretRef
  secretRef:
    name: konnect-pat
    namespace: kong
  serverURL: us.api.konghq.com
---
kind: KonnectGatewayControlPlane
apiVersion: konnect.konghq.com/v1alpha1
metadata:
 name: ai-gateway
 namespace: kong
spec:
 name: ai-gateway
 konnect:
   authRef:
     name: konnect-api-auth-conf
EOF
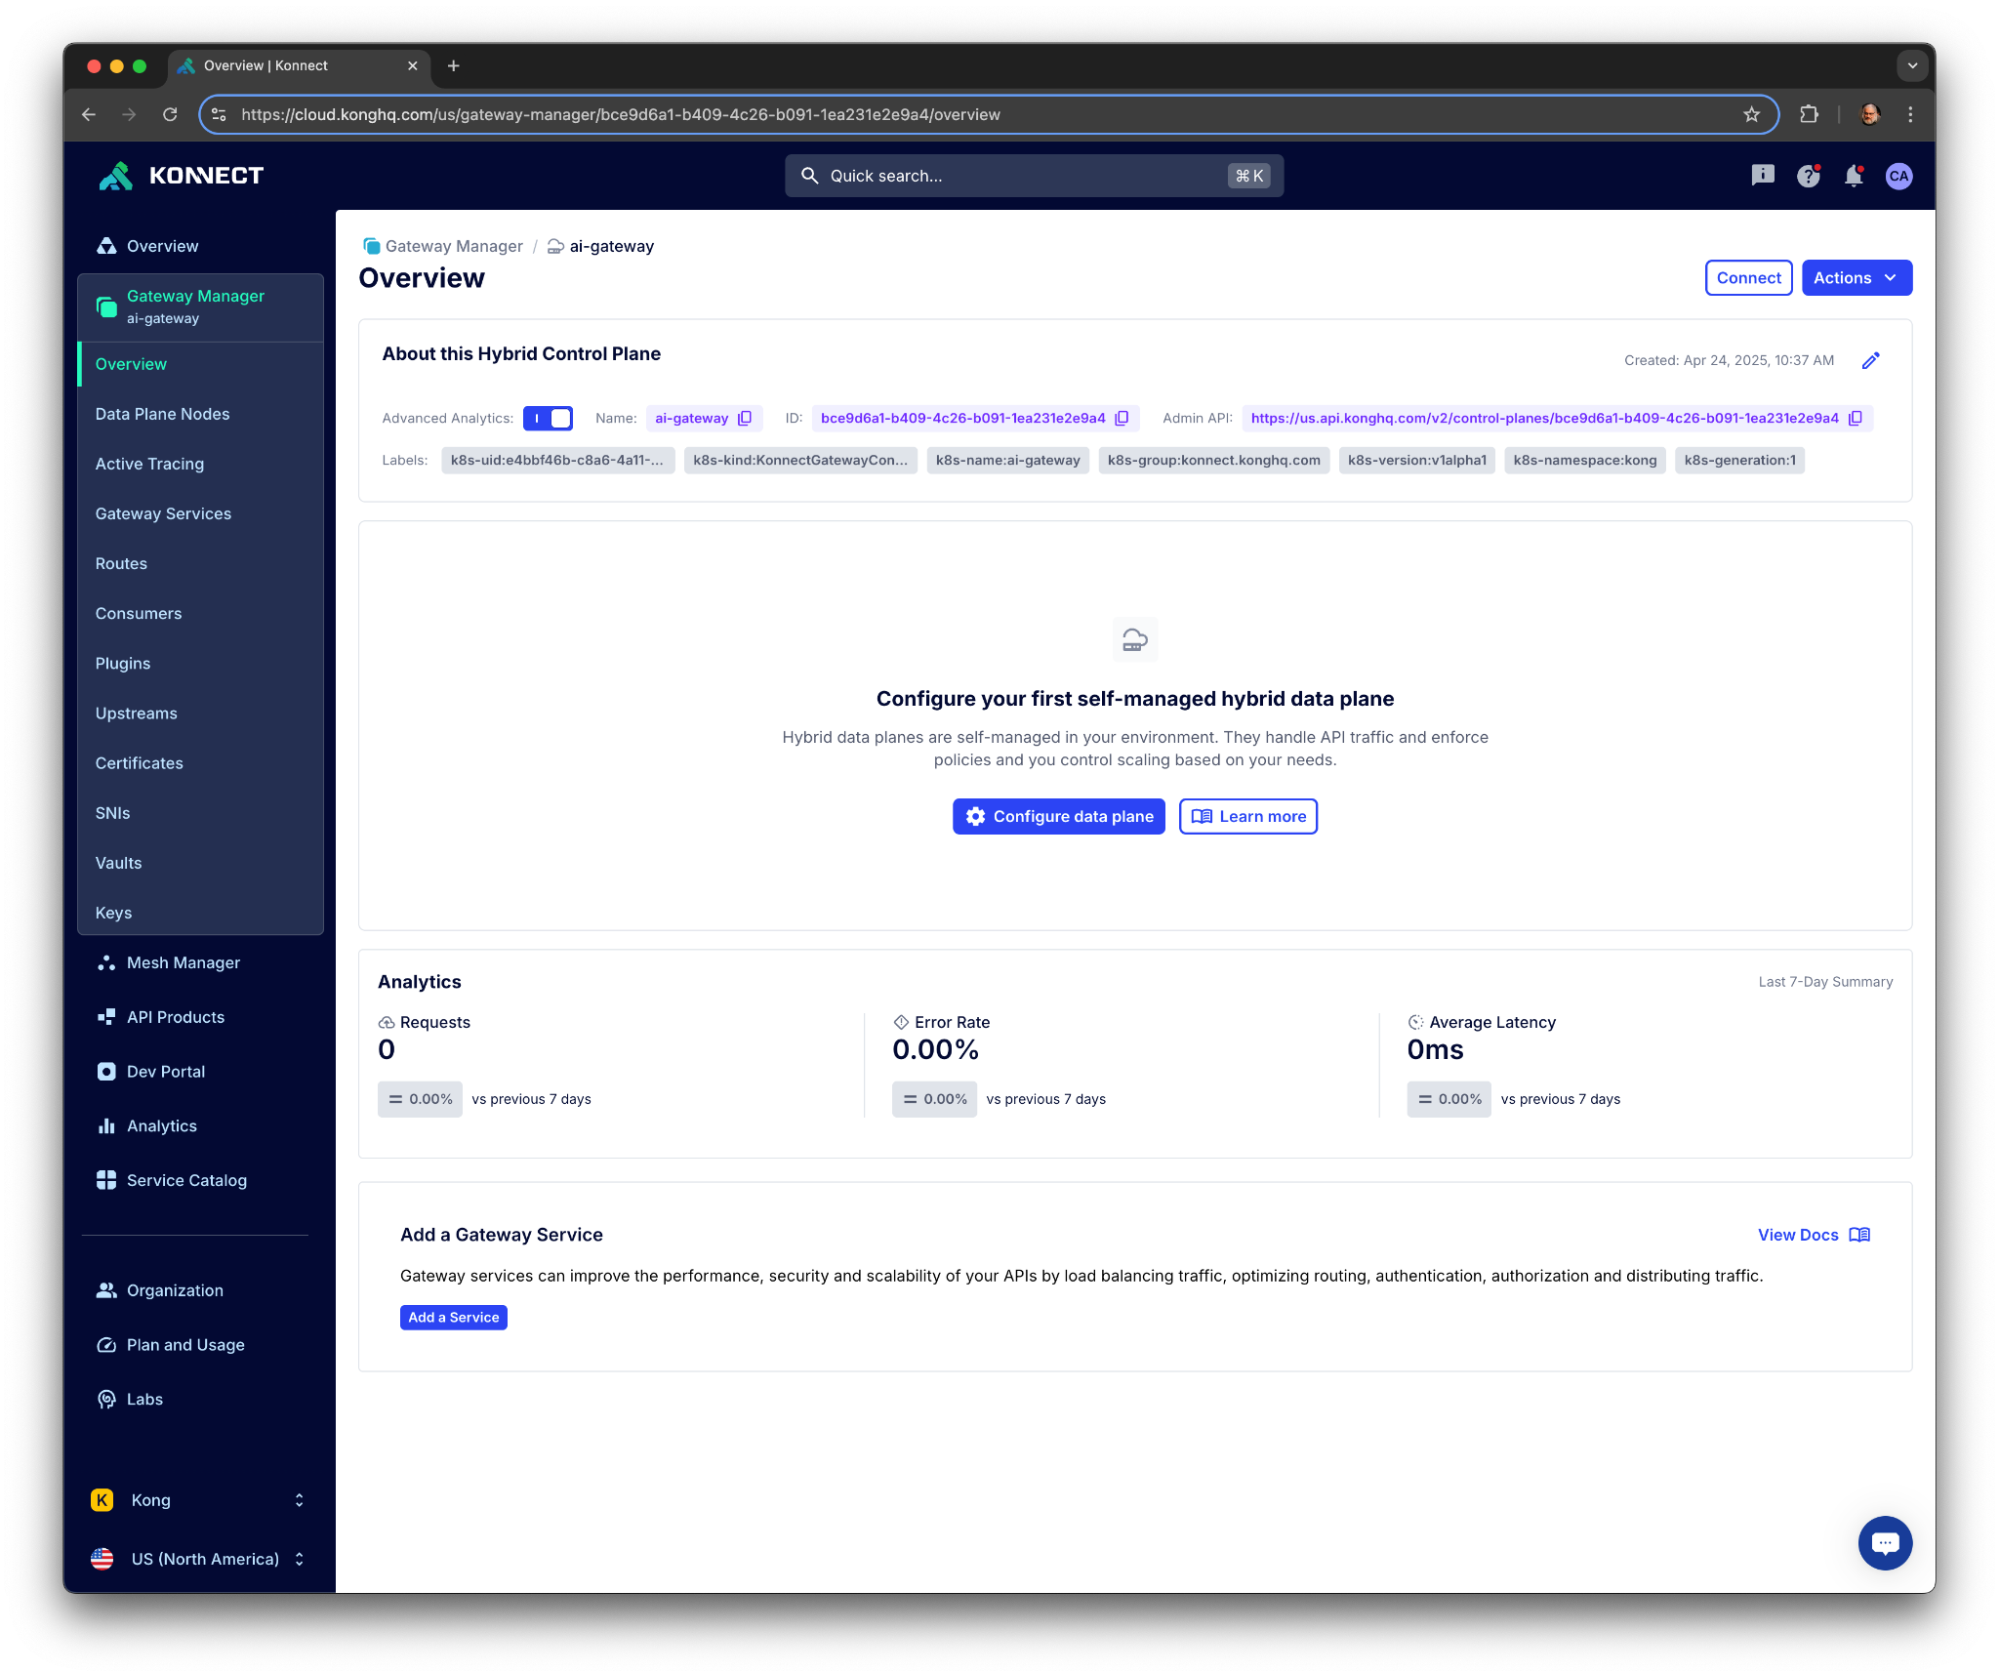
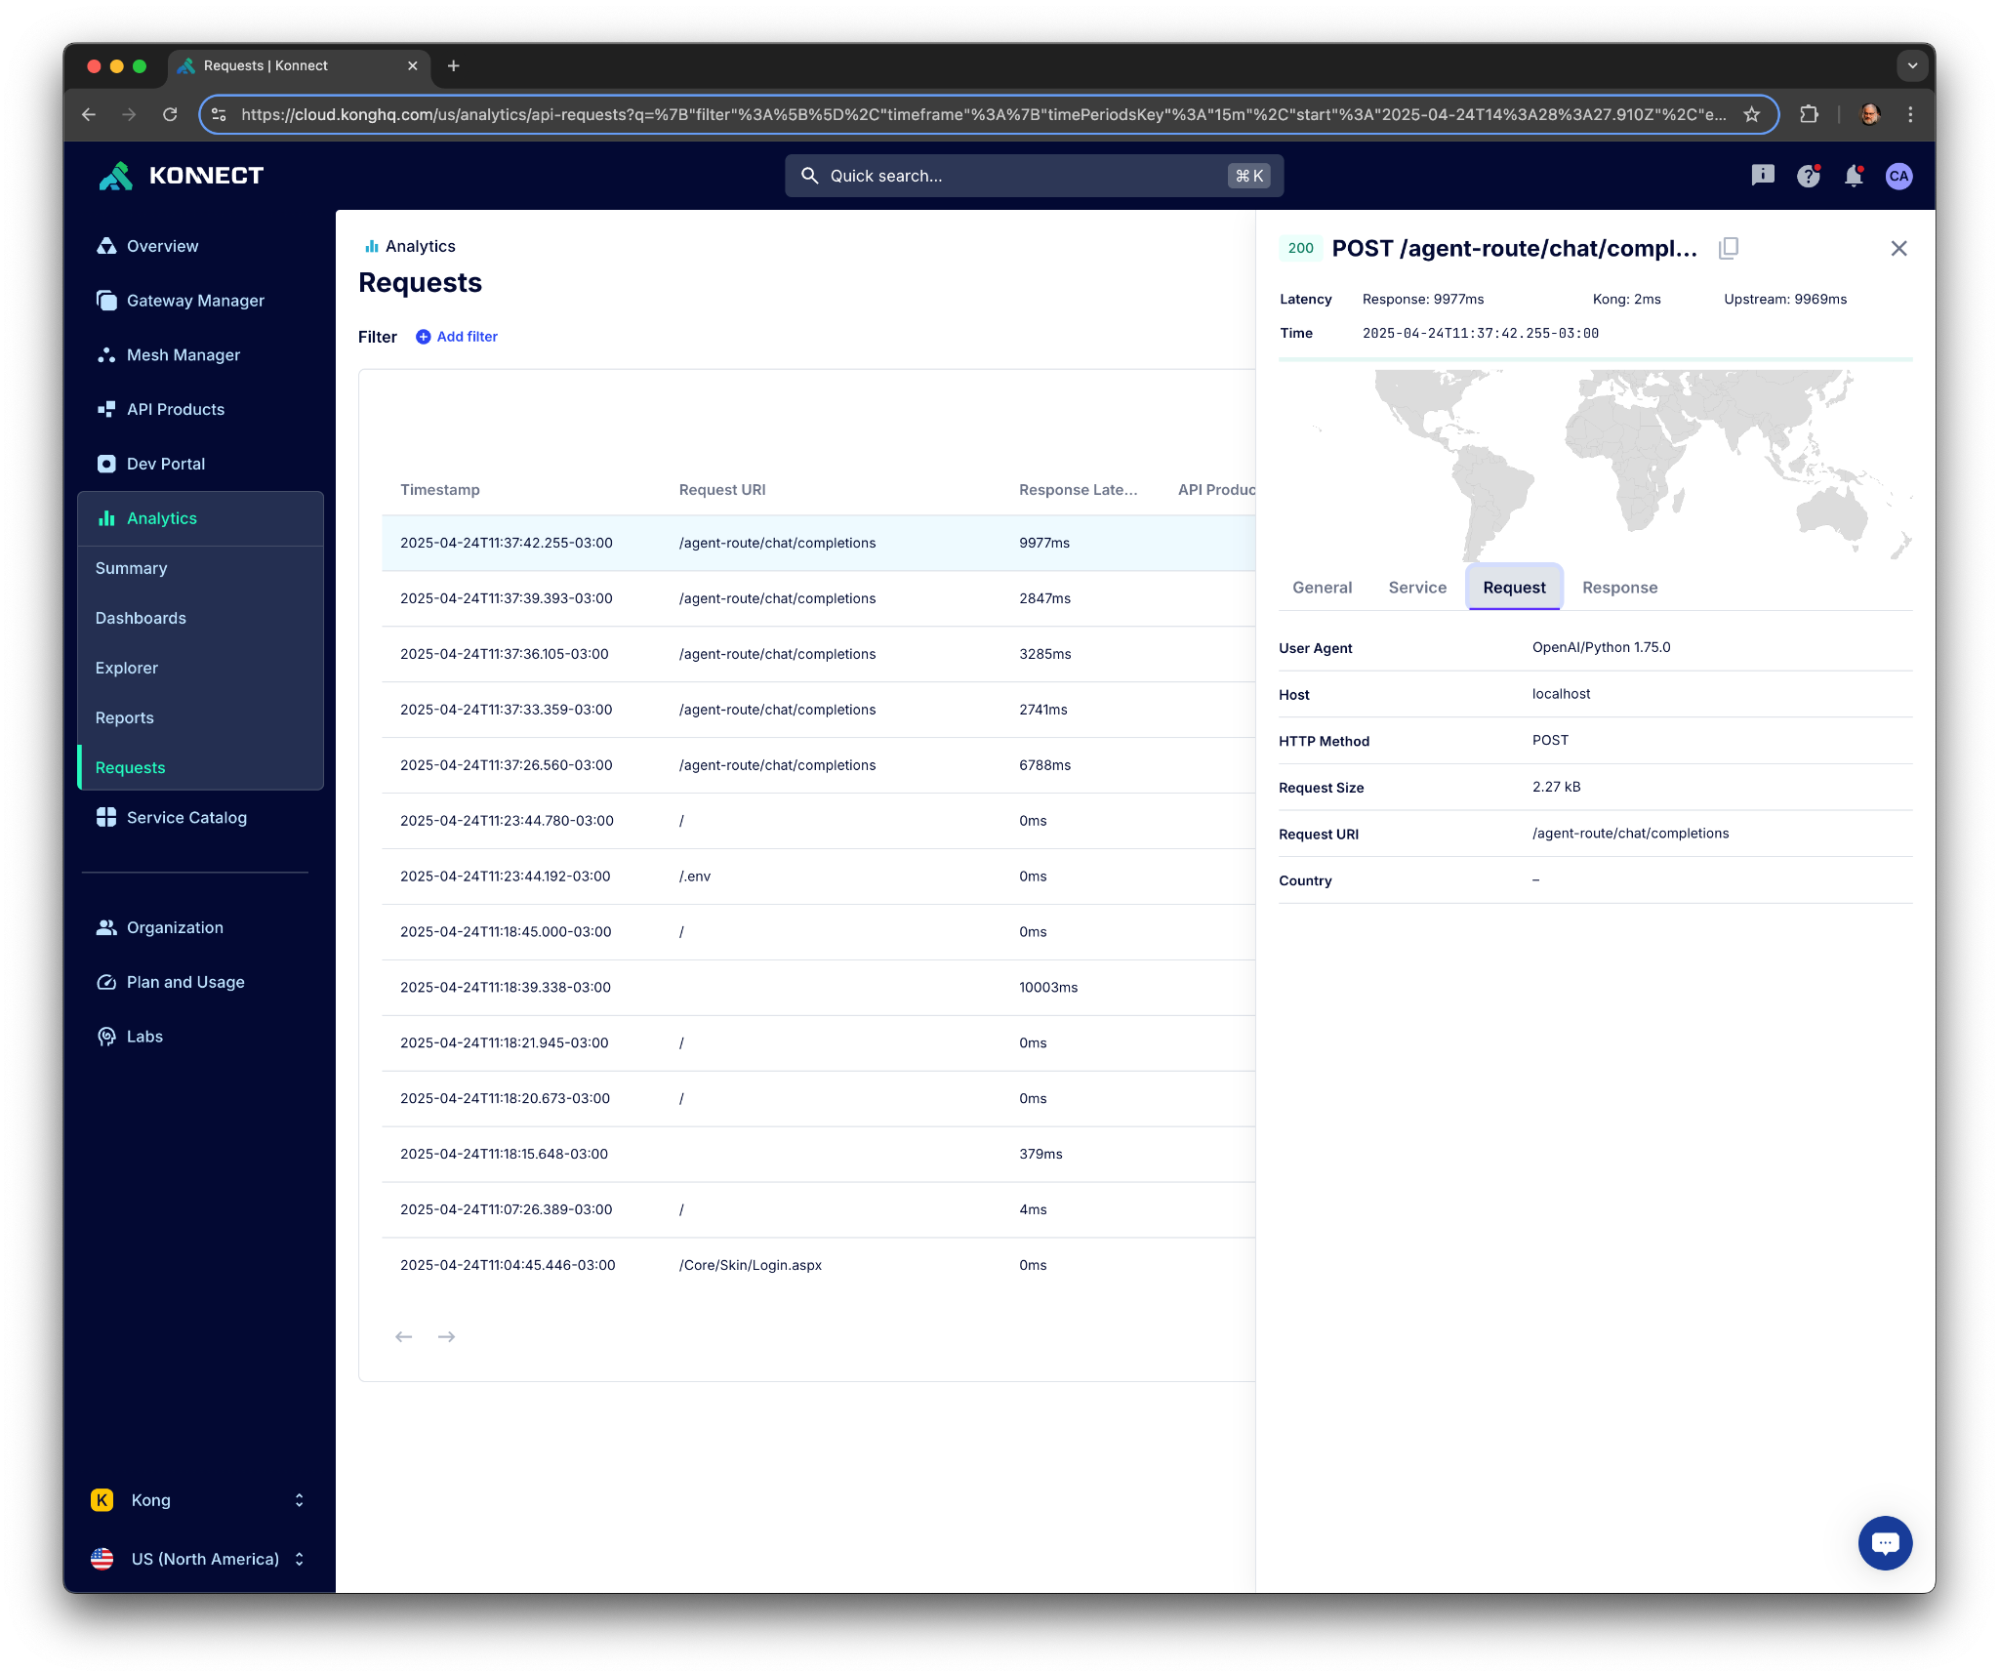
You should see your Control Plane listed in your Konnect Organization: