This post is part of our Kong Champions series, where real Kong users walk you through technical challenges, use cases, and new technology they're using in their day-to-day. Sign up here to become a Kong Champion.
As a Kong user, I've had the opportunity to dive deep into Kong's offerings. I've been actively testing all the new Kong Konnect features they rolled out in April, and I'm thoroughly impressed. These enhancements have taken functionality to a whole new level and have significantly elevated the user experience. It's exciting to see how Kong continues to innovate in the API management space.
This blog post will explore one of the latest innovations in Kong plugins: the SAML Plugin .
What is SAML?
SAML stands for Security Assertion Markup Language. It is an XML-based markup language for security assertions (statements that service providers use to make access-control decisions).
SAML vs OpenID
SAML and OpenID are authentication protocols with distinct purposes.
SAML is used for enterprise Single Sign-On (SSO) scenarios, enabling centralized identity providers to authenticate users across multiple applications using XML-based assertions.
On the other hand, OpenID focuses on decentralized authentication, allowing users to log in to various websites using existing accounts from providers like Google or Facebook through lightweight JSON Web Tokens.
While SAML is prevalent in enterprise environments, OpenID has gained popularity in consumer-facing applications. The choice between them depends on whether centralized federation or decentralized authentication is required.
How does SAML work with Kong Gateway?
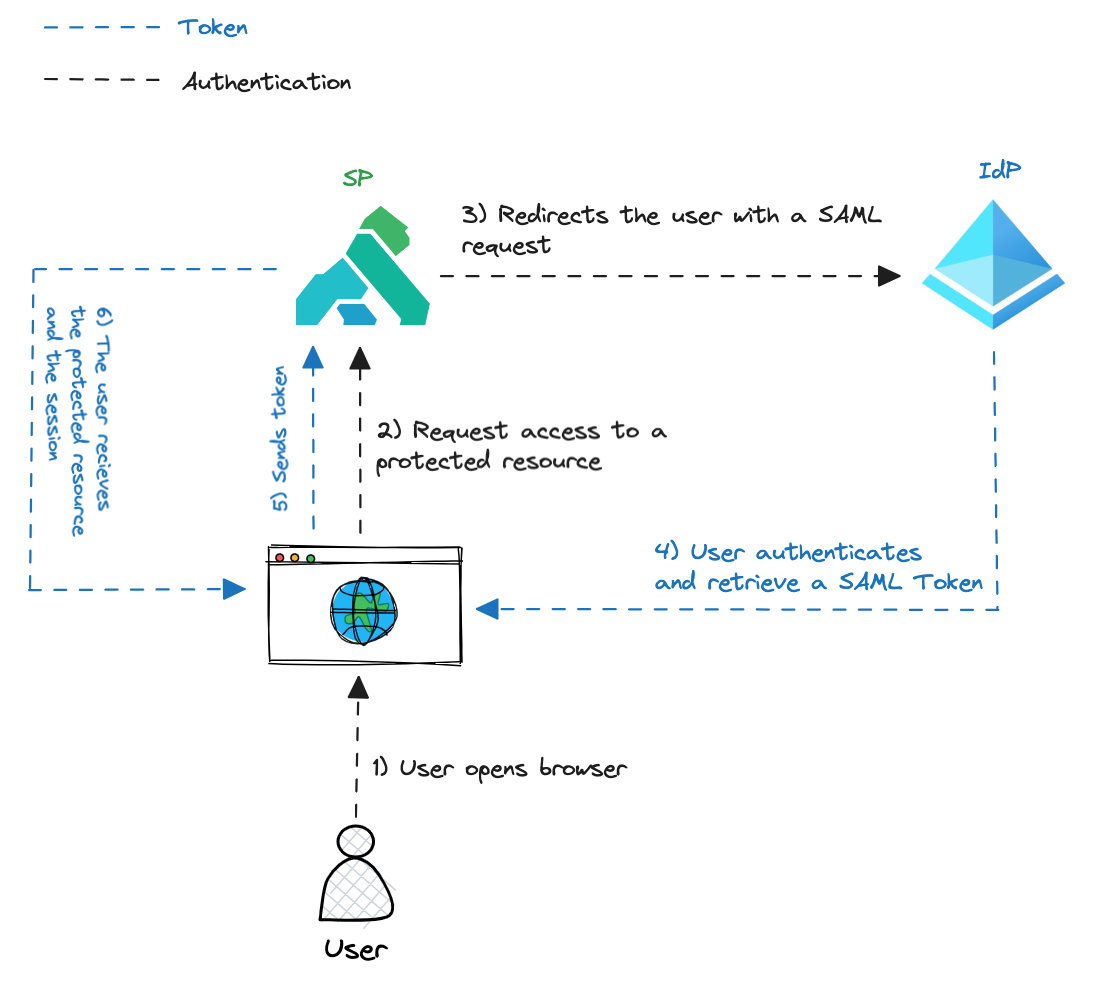
There are three actors required for a SAML authentication flow: a User, an Identity provider (IdP) and a Service Provider (SP).
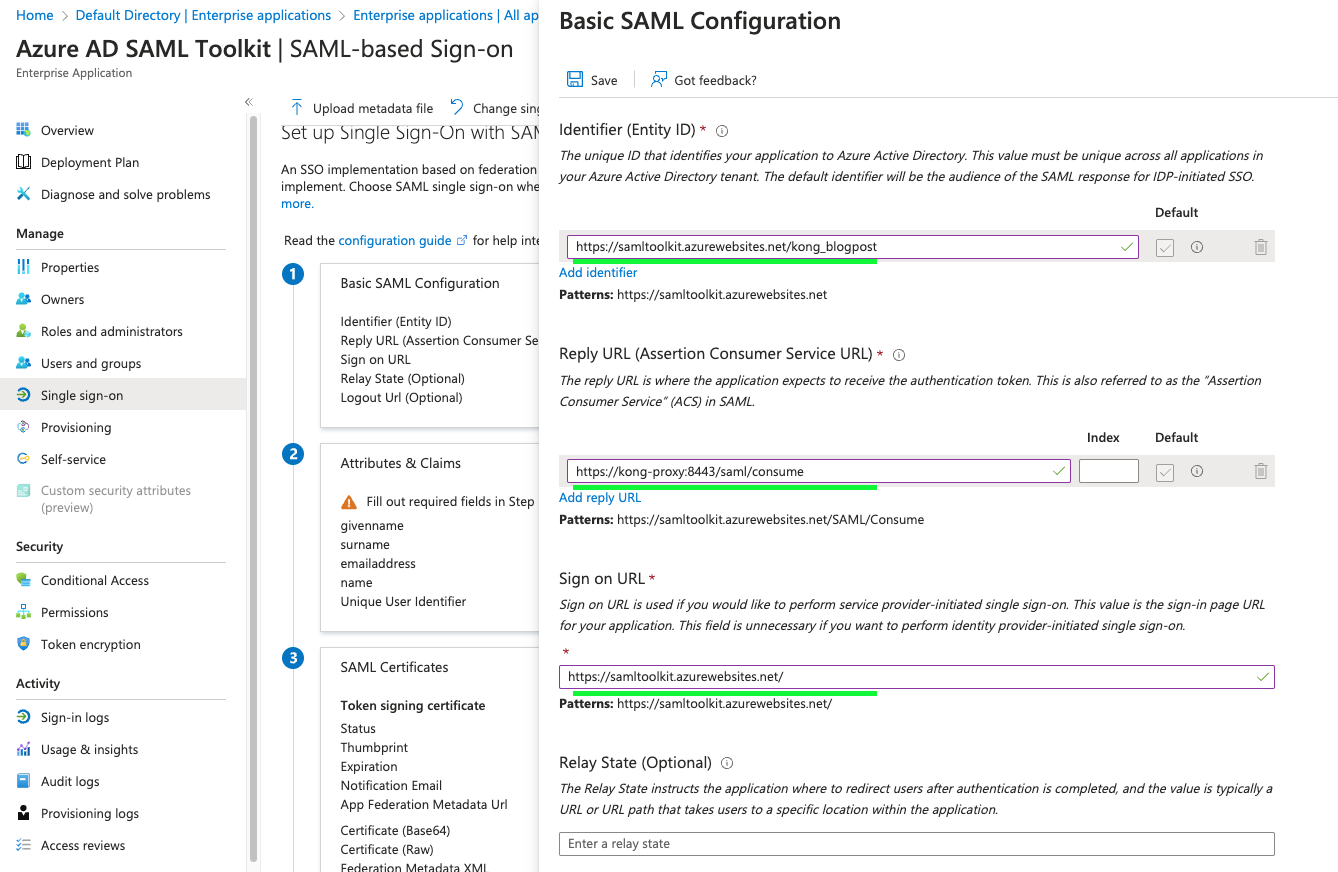
In the Kong plugin, Kong itself is the Service Provider, and right now the only Identity provider supported is Microsoft Azure Active Directory with SAML 2.0.
The user initiates the connection via browser to the SP, the SP redirects to the login page of the IdP.
In our case, Kong intercepts the user request and if no SAML session is found, it will redirect the user to the IdP.
The plugin triggers the redirection to the Identity Provider's (IdP) login page by generating an HTML form. This form includes the authentication request details as hidden parameters and incorporates JavaScript code to automatically submit the form. This approach is necessary because the authentication parameters must be sent to Azure's SAML implementation using a POST request, which is not possible with a simple HTTP redirect response.
When the authentication process has finished, the plugin creates and maintains a session inside of Kong Gateway and a cookie in the browser is used to track the session.


