In this Kong Konnect tutorial, you'll learn how to leverage the platform to manage your API ecosystem from a single easy-to-use interface. We’ll run through how to:
- Use Konnect Runtime Manager to set up your own Kong Gateway runtime instance in Docker.
- Expose, secure, and manage your first API Product using Konnect API Products.
- Publish an API to your Developer Portal to share documentation with your users and developers.
1. Set Up a Runtime Instance
Let’s create an API gateway Runtime Instance. We'll use this to proxy traffic to our service implementation. To do this, we will need to set up a Runtime Group and add a Runtime Instance of the Kong Gateway. Start by navigating to the Runtime Manager, which you can find on the left-hand navigation.
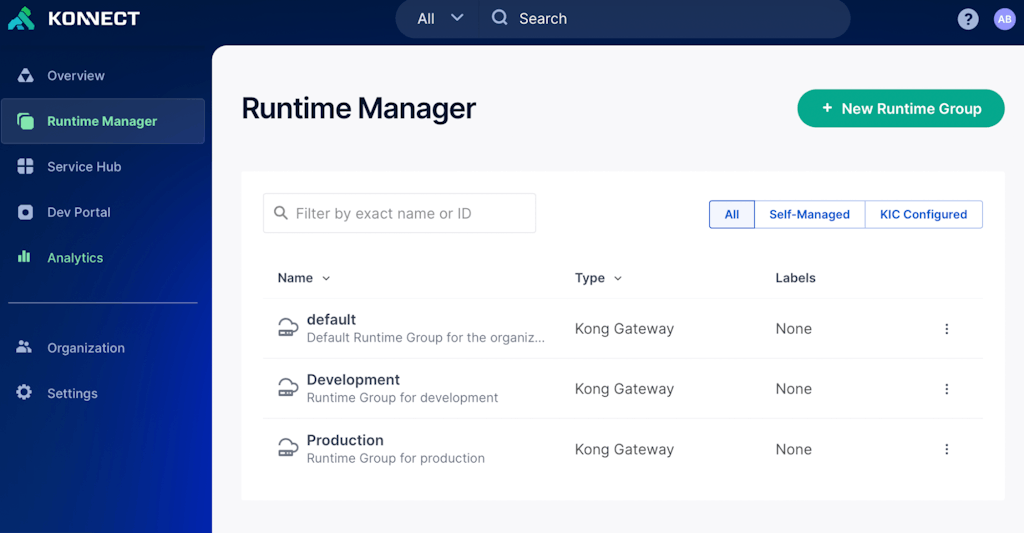
Every Konnect organization will have a preloaded Runtime Group named "default" which we will use throughout this article to manage our Runtime Instances.
The Runtime Manager is where you can create and manage your API gateway runtime groups and instances.
Each Runtime Instance corresponds to a Kong Gateway running within your infrastructure. You can deploy these gateways in nearly any environment. Whether you’re running in your own data center, the cloud, VMs, containers, or Kubernetes, you can manage each Runtime Instance in Konnect.
To get started, select the Runtime Group you'd like to add your Runtime Instance to. I'll choose "default" as my choice. Next, click the + New Runtime Instance button under the Runtime Instances section towards the bottom of the screen. You will then be presented with options for your Runtime Instance deployment.

Konnect currently supports quickstart instructions for all major operating systems and cloud providers. Feel free to choose the one that best fits your needs but I'll choose the Mac OS docker script option. For this option, click Generate Script and you will be presented with a complete script that you can copy and paste into your terminal to create a local Runtime Instance and automatically connect it to your Konnect Runtime Group.
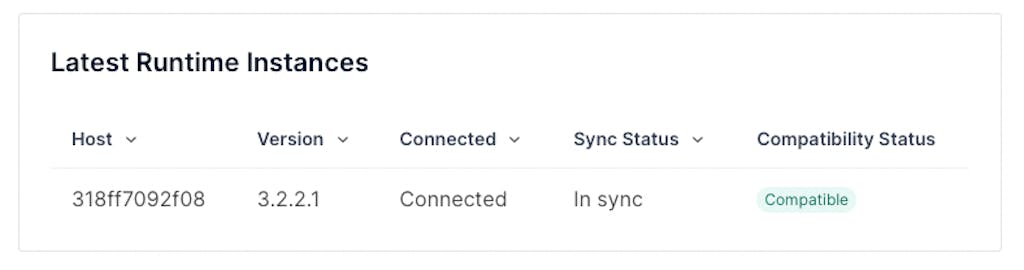
Go ahead and give it a shot. After a few min, you will see your local Runtime Instance show up in the section at the bottom of the screen in a section labeled Latest Runtime Instances.
2. Expose a Service
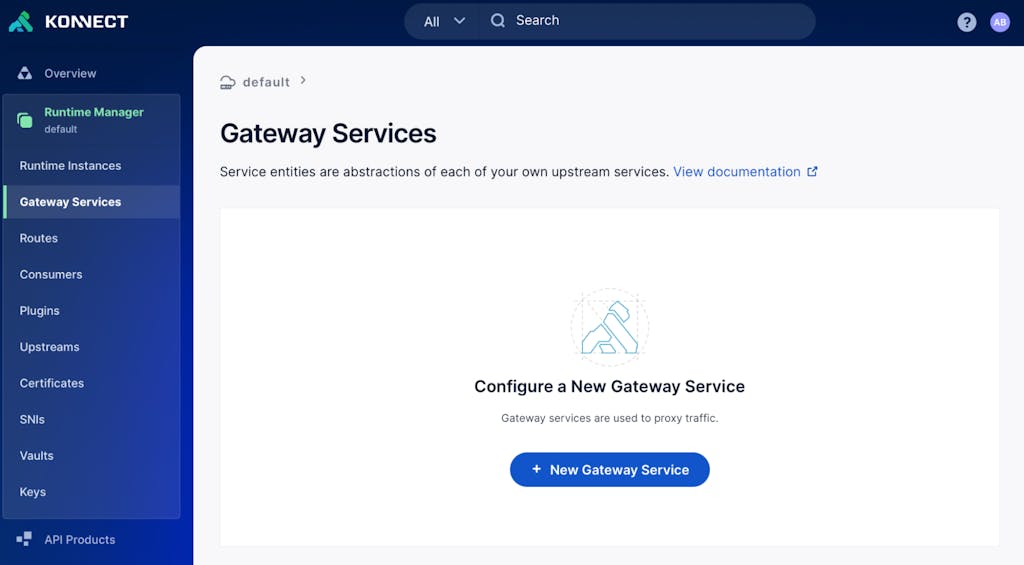
With the API gateway deployed and running, let’s create our first service. To create a service, navigate to the Gateway Services section on the left-hand navigation bar. Next, click the + New Gateway Service button in the center of the screen.
Here you will configure the Kong Gateway to proxy incoming traffic to the services that will be doing the processing of the traffic. API requests go to the gateway, and then the gateway proxies those requests to the Upstream URL implementation you defined. Click Save once you have named the service and specified the URL of your upstream service.

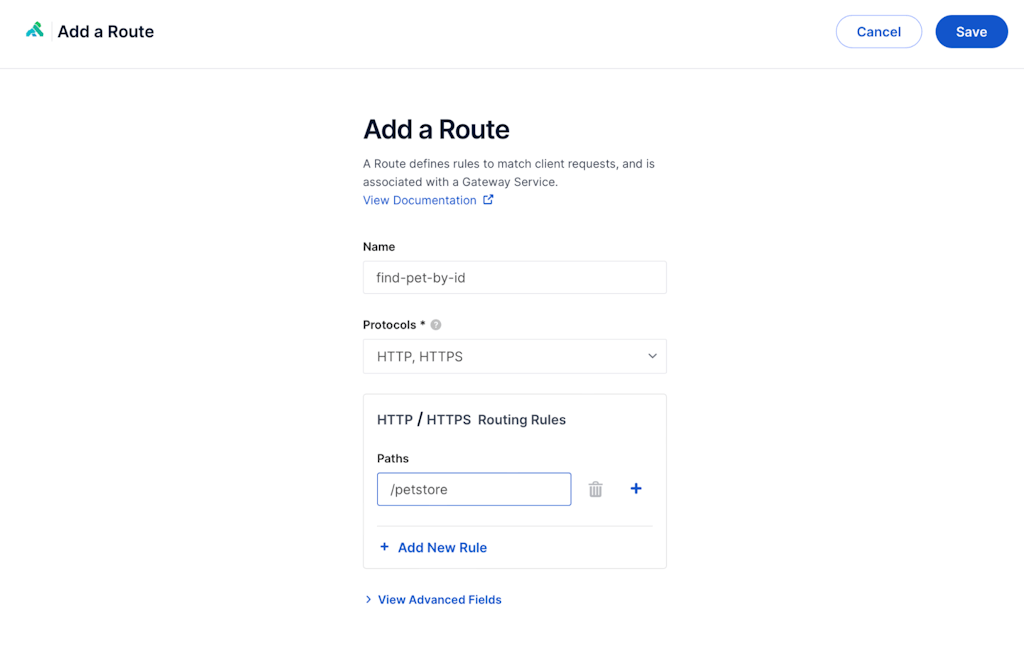
Once you create your service, you will be prompted to configure a route. A route tells the gateway which requests should go to which upstream service.
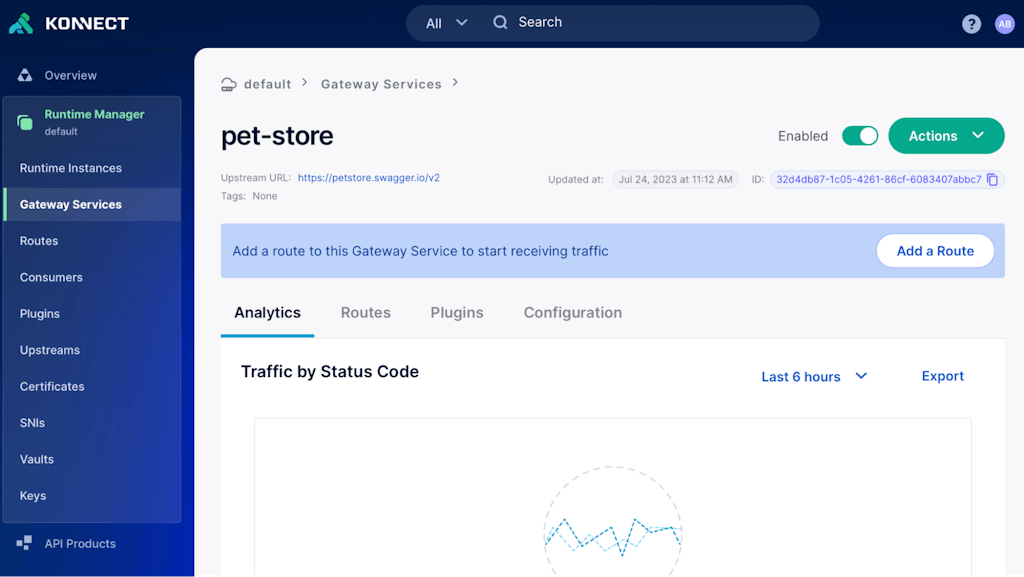
Let’s create a route by clicking the Add a Route button. In this case, we should direct anything under the "/pet-store" path to this service. We've exposed the service to Kong Gateway, and it's ready to receive API requests.
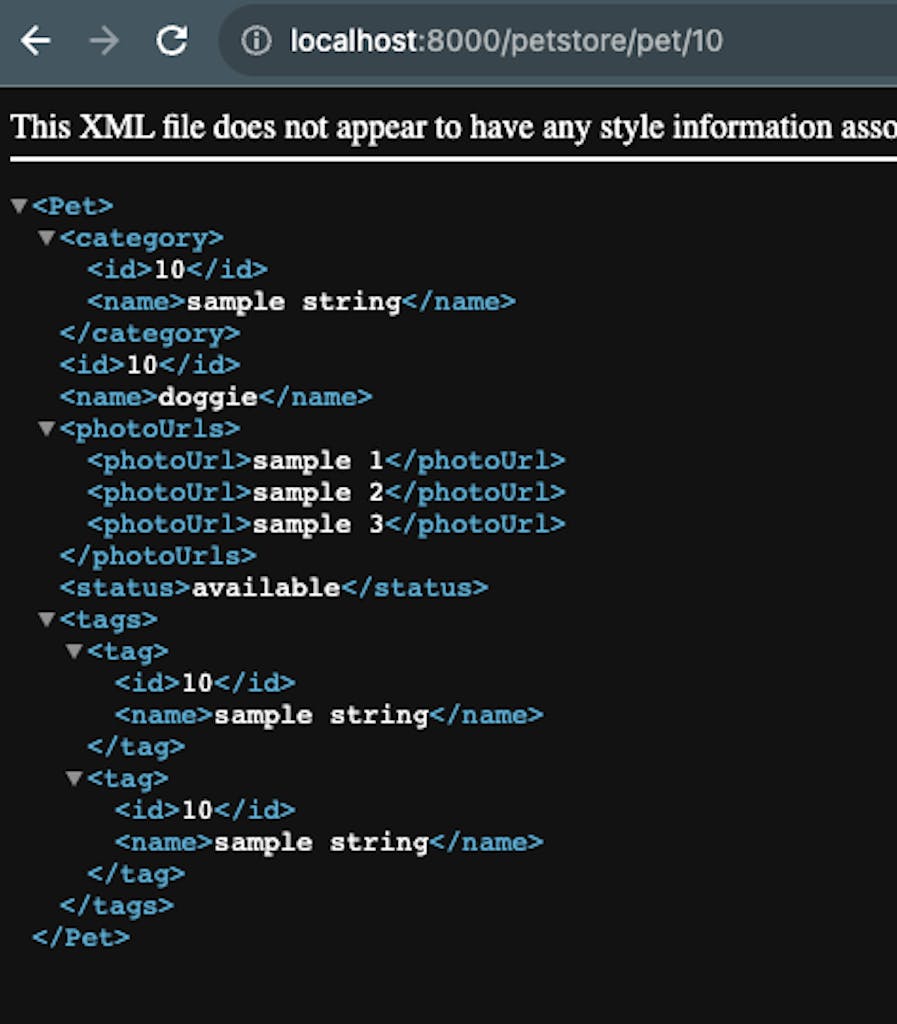
Feel free to try it out by opening a browser and navigating to http://localhost:8000/petstore/pet/10. You should see the same response as going directly to https://petstore.swagger.io/v2/pet/10.
3. Protect the Service
With our service defined and exposed, let's apply a Kong plugin to protect the service from accidental or malicious overuse. To do this, we’re going to be using the Rate Limiting plugin. Rate limiting lets you restrict how often each user can call your API.
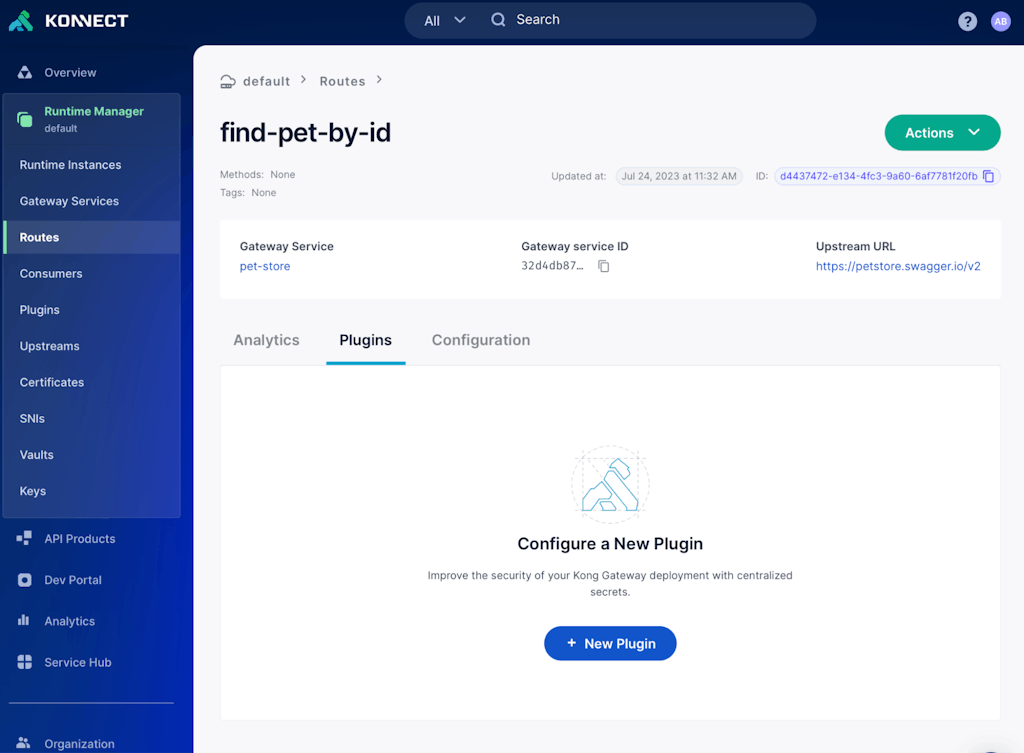
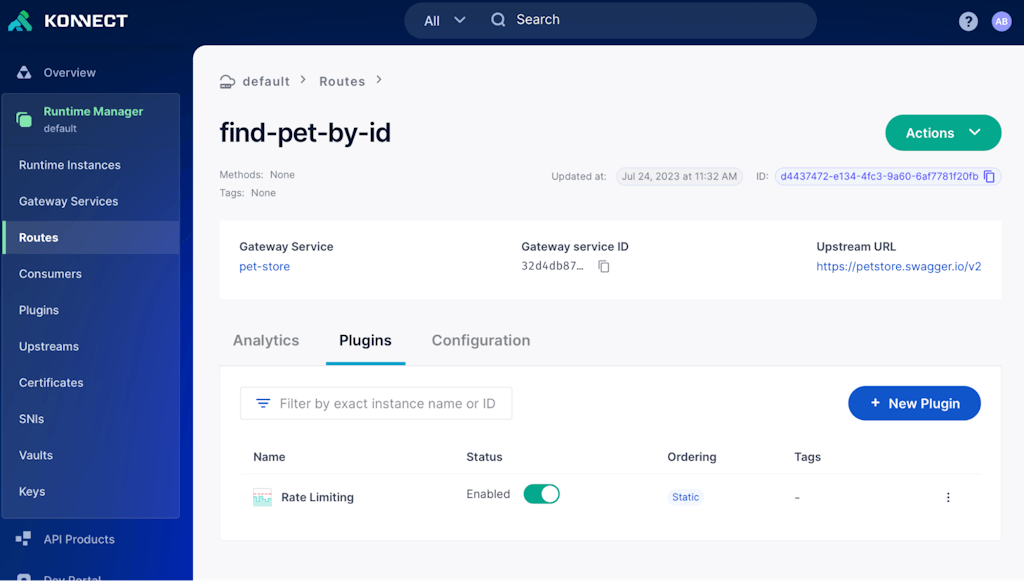
To create this plugin, navigate to the Plugins tab when viewing the "find-pet-by-id" Route we created in the previous step and click the + New Plugin button at the bottom of the screen.
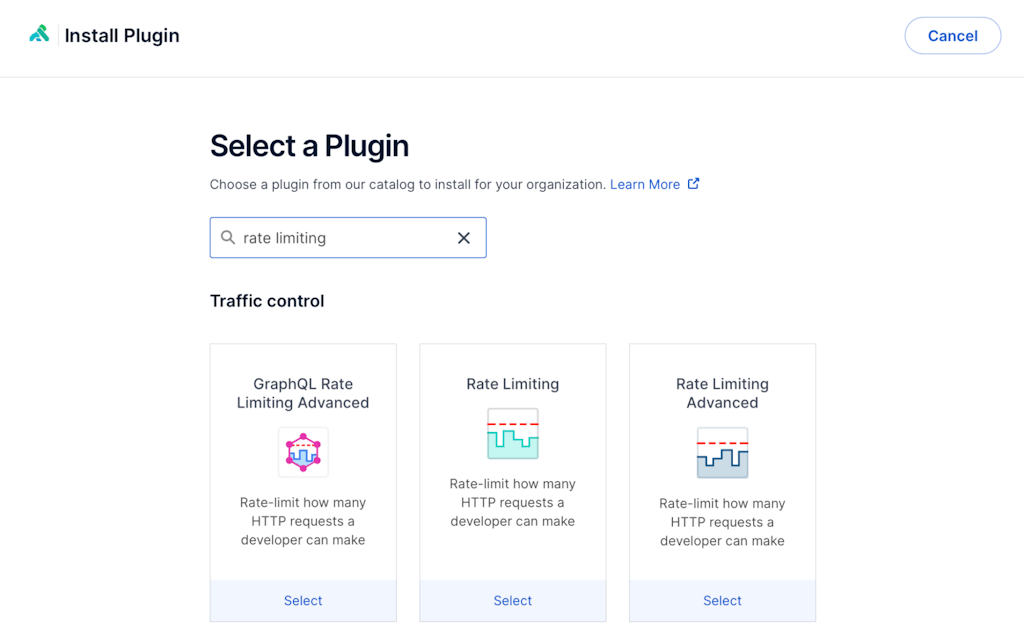
From the plugin listing, you can then filter for rate limiting. And then click Select to configure this plugin.
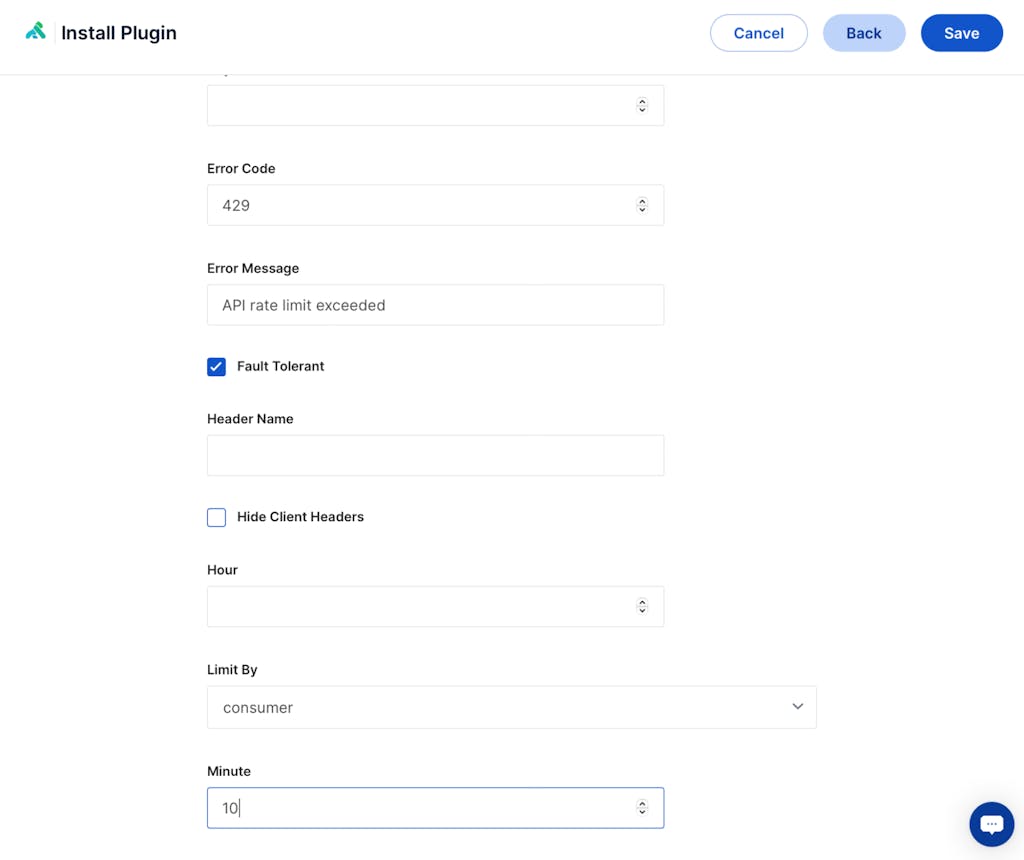
In this case, I want to apply a rate limit of 10 requests per minute. And once you apply the local policy and set the configuration, click Save to activate the plugin and start rate limiting traffic.
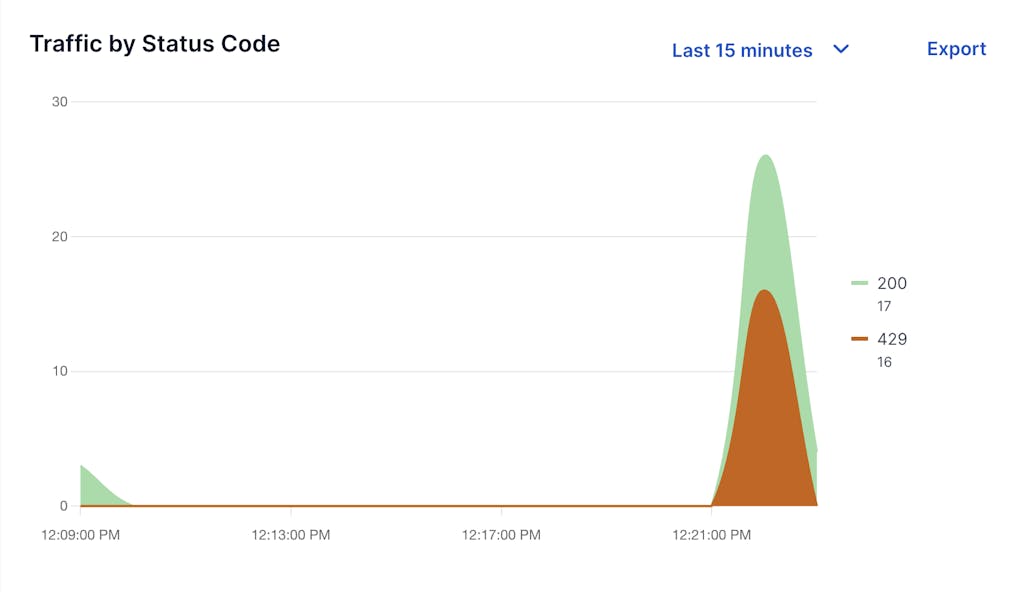
To test this out, I will attempt to call my route repeatedly. With the rate limit in place, I can use the Vitals data to see 429 errors returning to the client. These errors prove that the rate limit is in effect and the API is safe from someone sending too many requests.
4. Improve Service Performance
With our service protected, let’s show how we can improve our service performance with the Proxy Cache Plugin. Kong Gateway stores cached responses from our upstream service. That way, when the same client requests the same data, the cache can serve the response directly. Caching ensures that our upstream service does not get bogged down with unnecessary repeated requests.
To enable caching for a service, click the + New Plugin link in the Plugins section of the "find-pet-by-id" Route overview page as you did earlier for the Rate Limiting plugin.
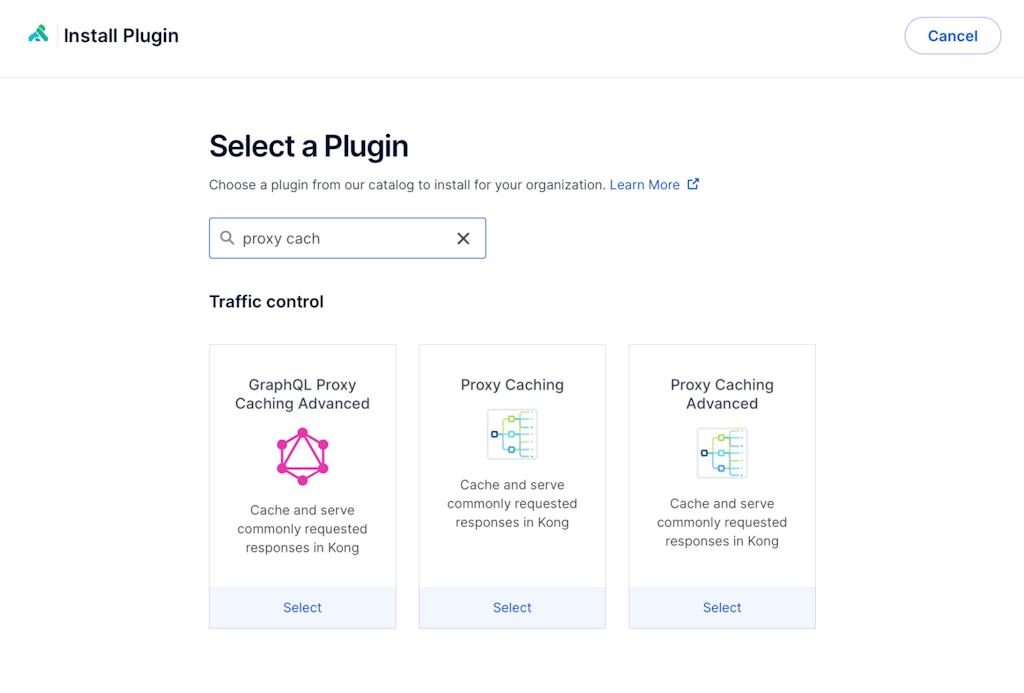
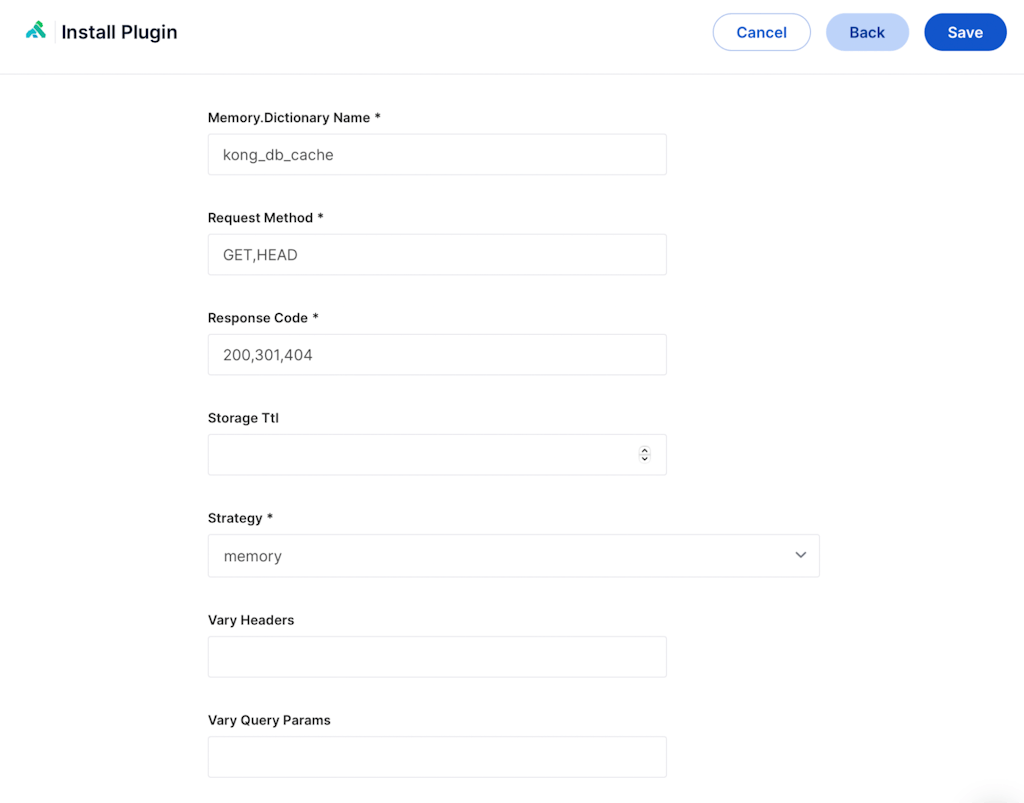
From the plugin listing, filter for cache. And then click Select on the Proxy Caching plugin to open the configuration.
For this use case, we’re just using the default configuration with the Config.Strategy set to memory. With a configuration set, click Save to activate and enable this plugin.
Now when you make the request as before you will notice additional headers of X-Cache-Key and X-Cache-Status in the response. When you make another request with the same values you should see the headers reporting the latency to dramatically reduce.
5. Secure the Service
Let’s walk through how we can secure our service with key authentication. By adding key authentication, we’re controlling the data allowed to send from our gateways. We’ll also be able to identify unique consumers accessing the API.
To do this, we'll enable the Key Authentication plugin for our service and then create a consumer for which we can use to authenticate.
To enable the plugin, do the same as we did for the last two plugins by clicking the + New Plugin link in the Plugins section of the "find-pet-by-id" Route overview page. From the plugin listing, filter for key authentication, click Select and then click Save to activate this plugin for this service.
With the plugin activated, the system will reject any requests that don't include a valid API. To show this, let’s move over to Insomnia (or your browser window) and issue the requested service with the plugin. When I issue a request to my /pet-store service, I get a 401 Unauthorized status and error saying “No API key found in this request.”

Learn more about Kong's API gateway authentication plugins, including OpenID Connect.
Create a Consumer
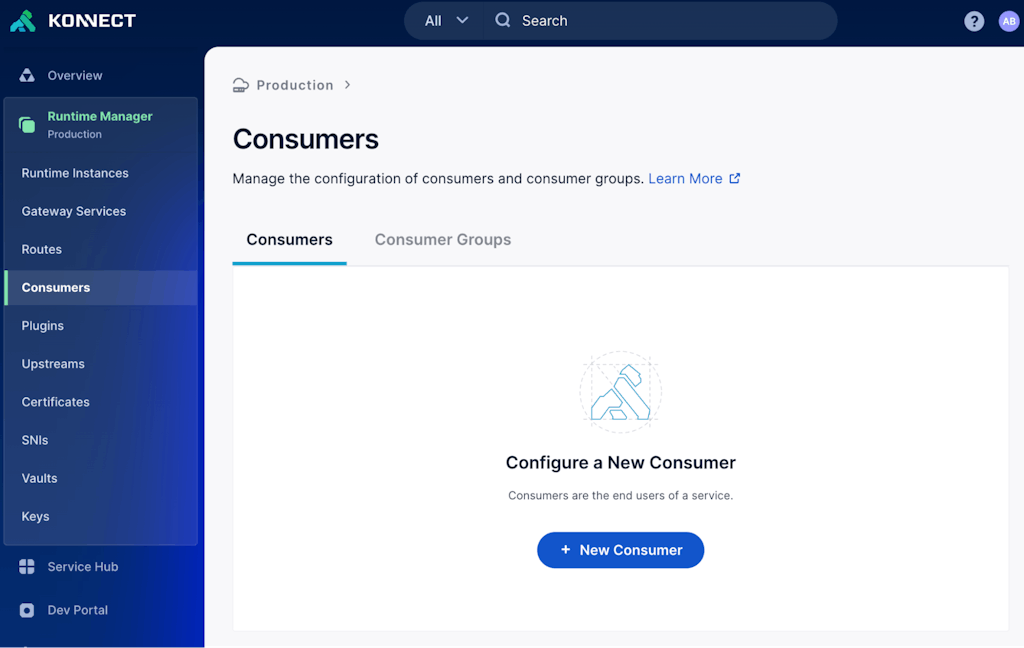
To access our API with key authentication enabled, let’s create an API consumer that we can use. First, you will have to navigate to the "default" Runtime Group that you created. You can find consumers in the left-hand navigation. Then, click +New Consumer.
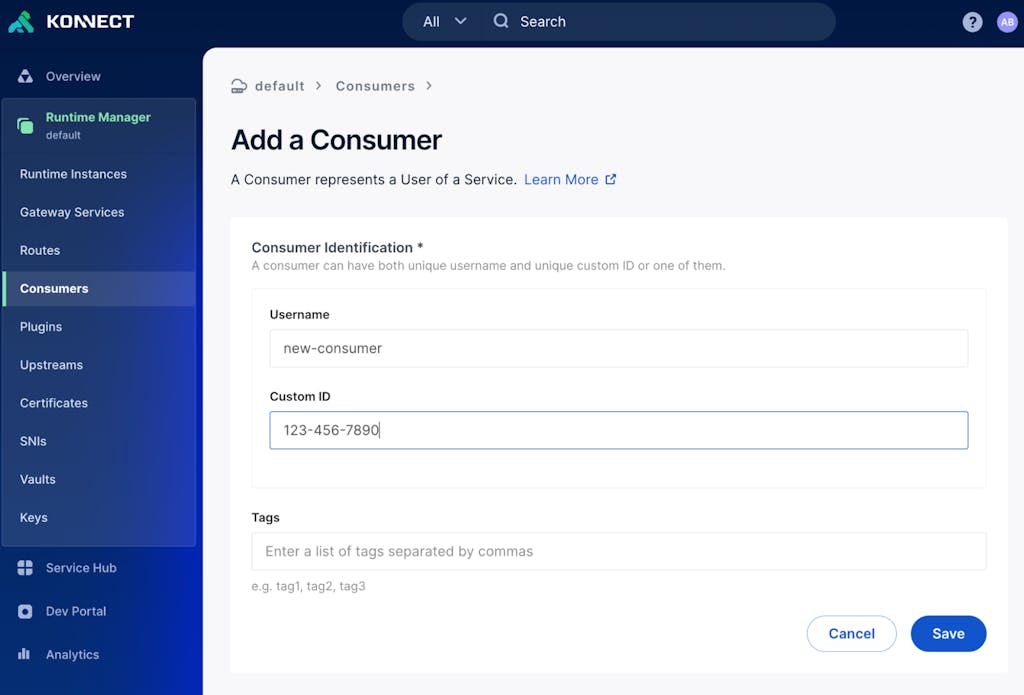
In the "Create a Consumer" form, provide a Username and/or Custom ID to identify this consumer. And then click Save to create them.
Create a Key Auth Credential
With the consumer created, you can click on the consumer and then access their credentials from the credentials tab.
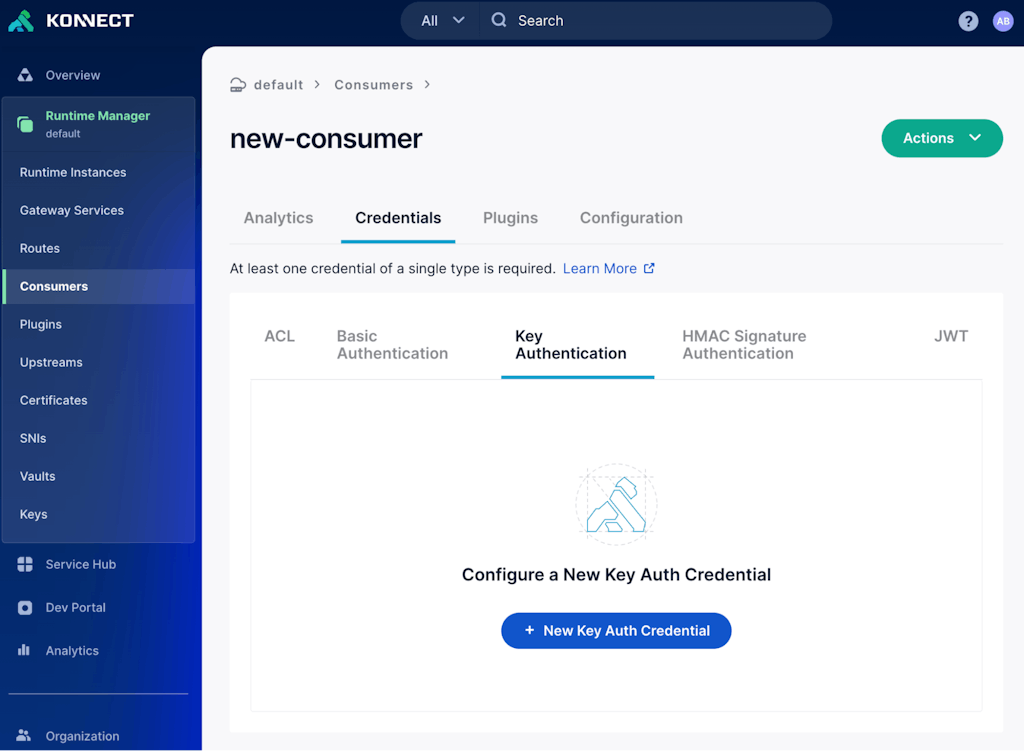
From here, you can specify a key value or leave it bland and we’ll auto-generate a new key auth credential. Click Save to store the credential in Konnect.
Copy the key from the Consumer details page under Credentials → Key Authentication.

With the key copied, we can add it to our request by either inserting it into the header or the API key field. With the header set, I’ll issue the same request in Insomnia. With the key included in the request, we can successfully authenticate with Kong Gateway.

6. Publish, Locate, and Consume the Service
With our service exposed and ready to use, we need to create an API Product in order to be able to add it to the Konnect Developer Portal. API Products bundles and manages multiple services. Each API product consists of at least one API product version, and each API product version is connected to a Gateway service. You can document your services and publish API products to a Developer Portal for consumption.

We will start by clicking on the + API Product button in the middle of the screen and entering a name for our new Pet Store Product.

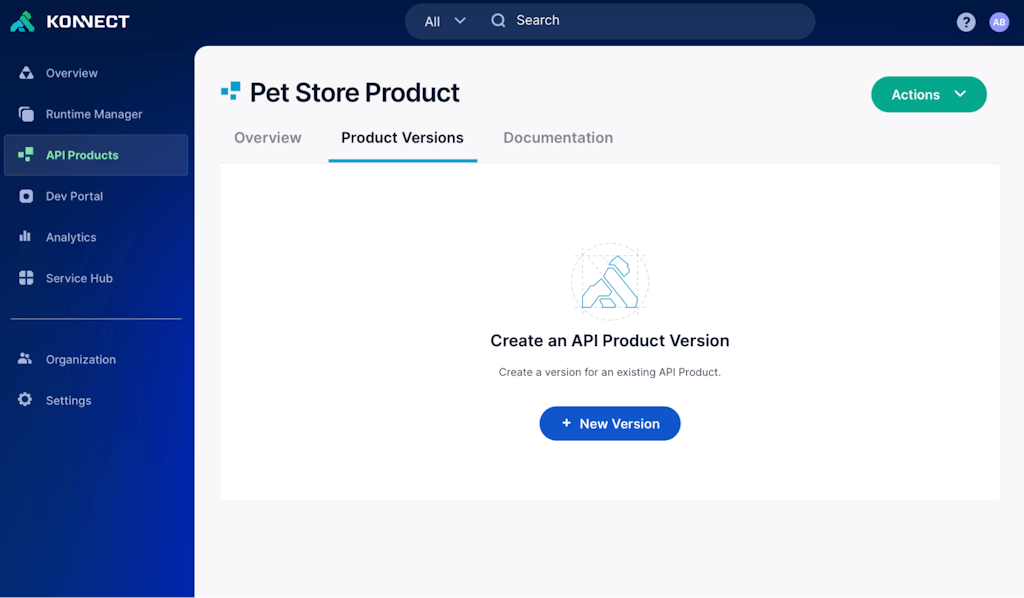
Once the base API Product has been created we need to add an API Product Version to attach the Service we created earlier and add documentation. To do this, click on the Product Versions tab while viewing the API Product overview page then click the + New Version button.
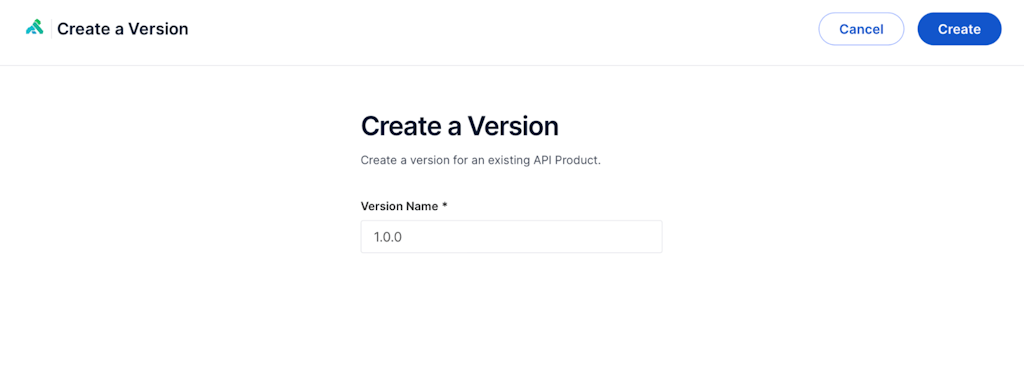
We use semantic versioning at Kong so I'll start with 1.0.0 as my first version and click the Create button in the upper right of the screen.
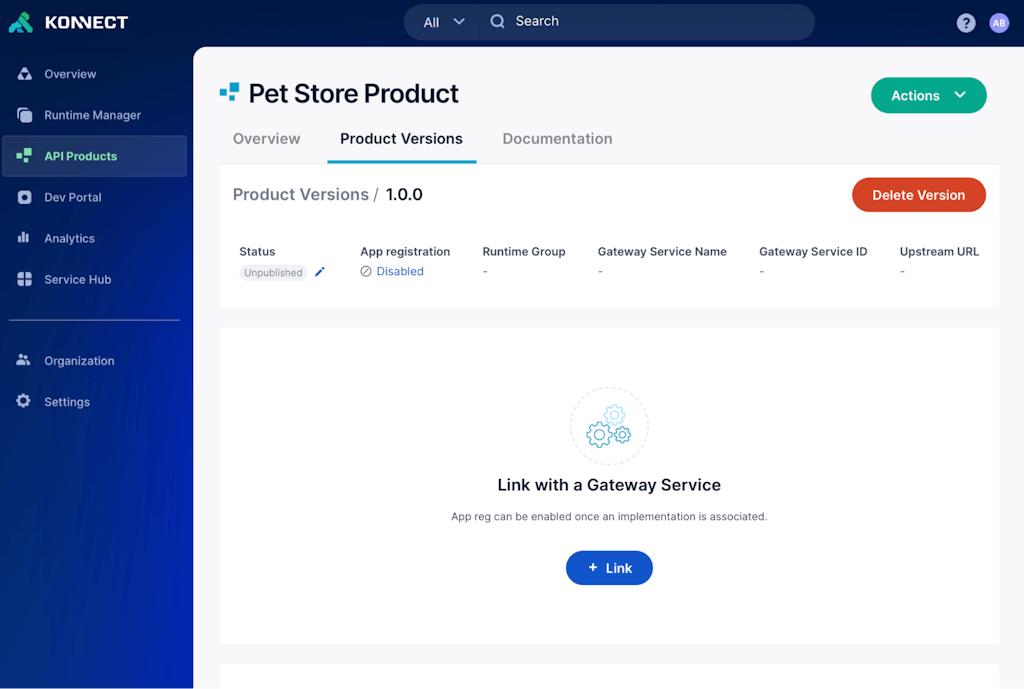
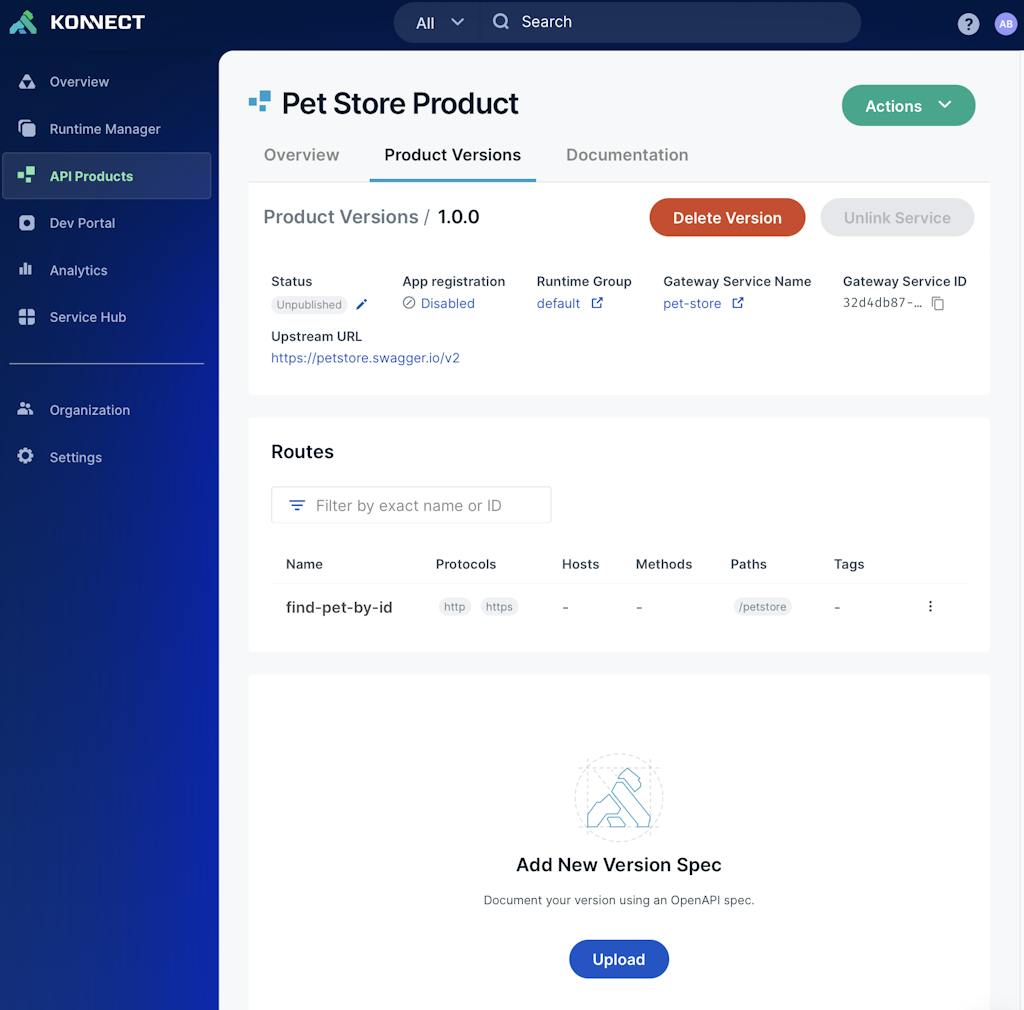
Our next step is to link the previously exposed Service by clicking the + Link button from the API Product Version overview page.
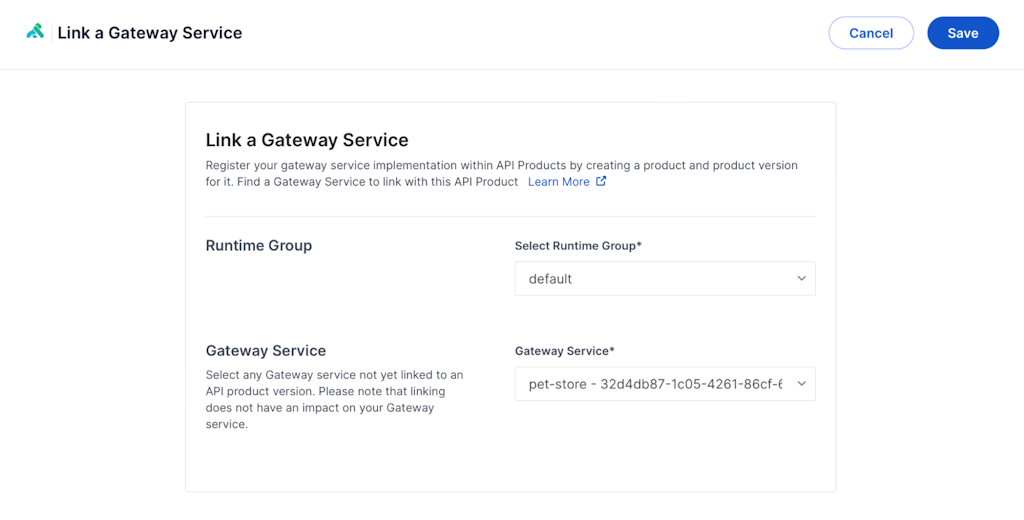
I will select the "default" Runtime Group and "pet-store" service that we have been working with in this guide.
Before publishing this version of the service, we will have to upload a spec file. I've created a simple OpenAPI Spec file that describes the single route that we've configured along with the ApiKeyAuth security scheme to match the Key Authorization Plugin we added earlier.
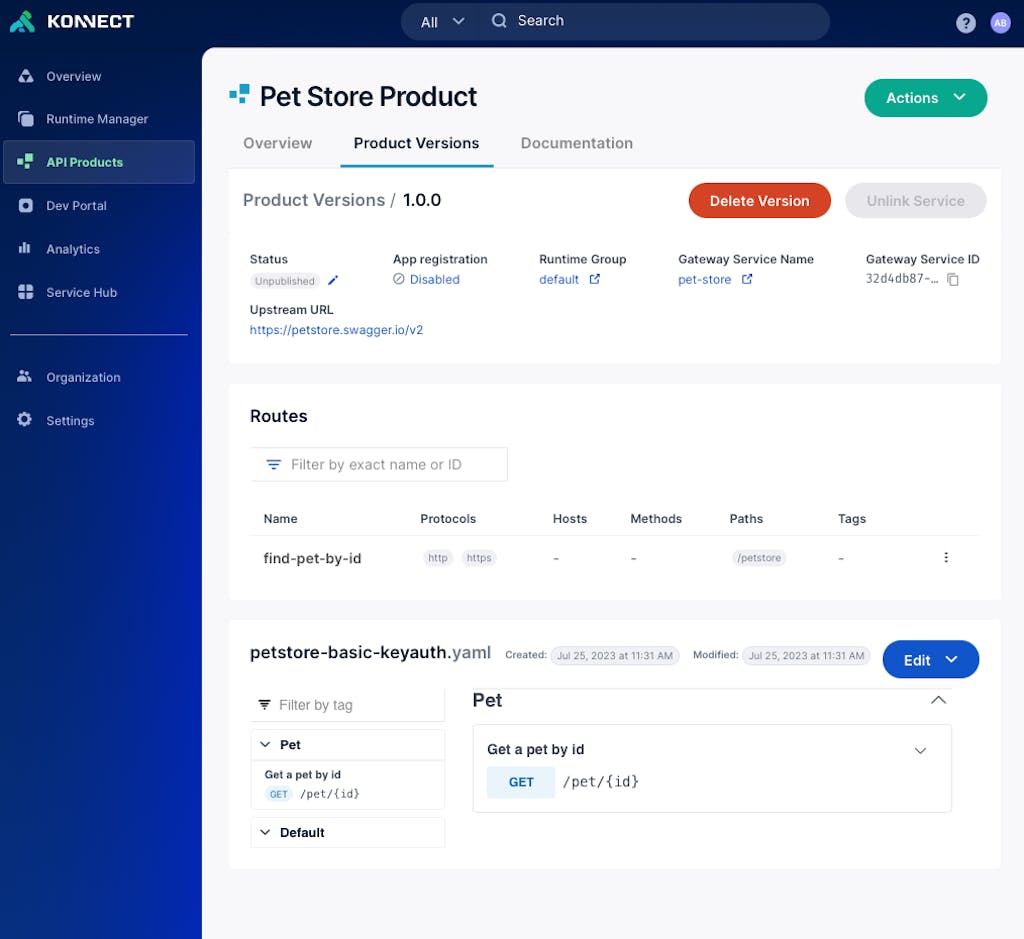
The next step is to upload that spec to our API Product Version. You can do this at the bottom of the API Product Version detail page.
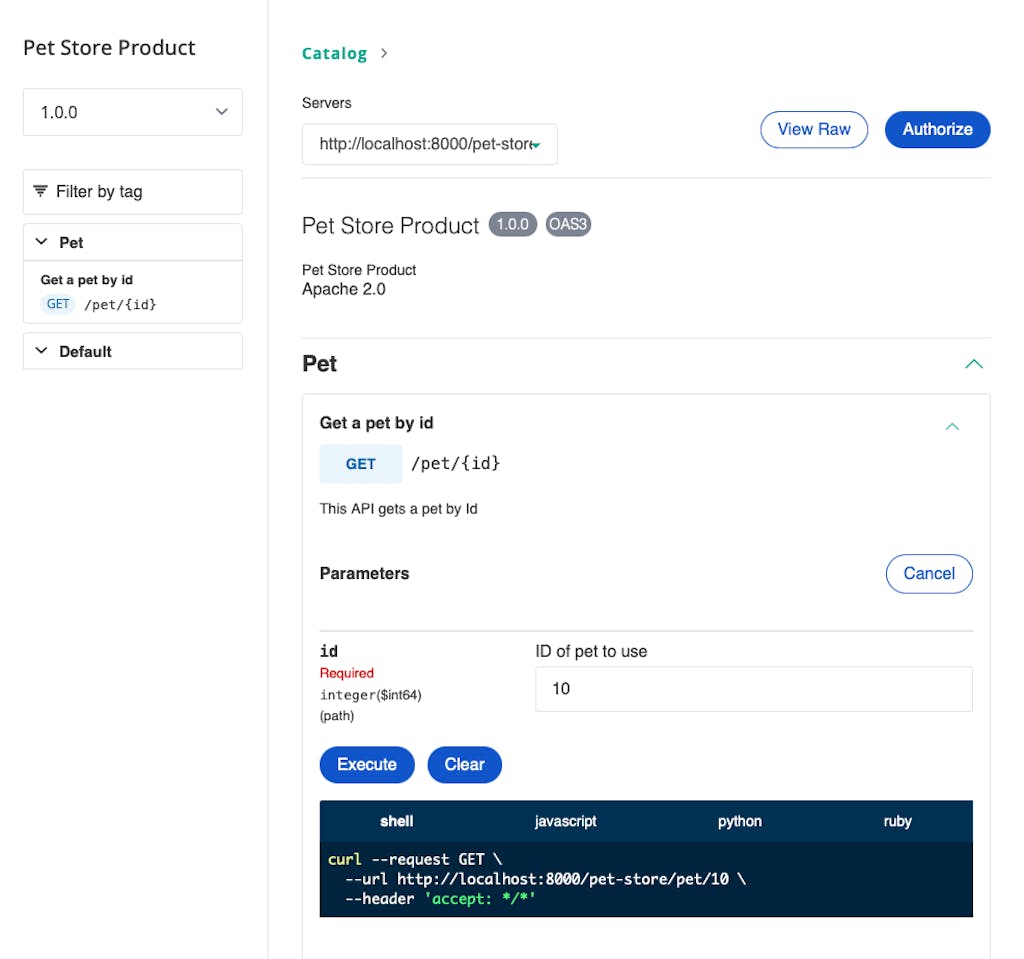
You should now see an interactive UI for that was generated from your spec file.
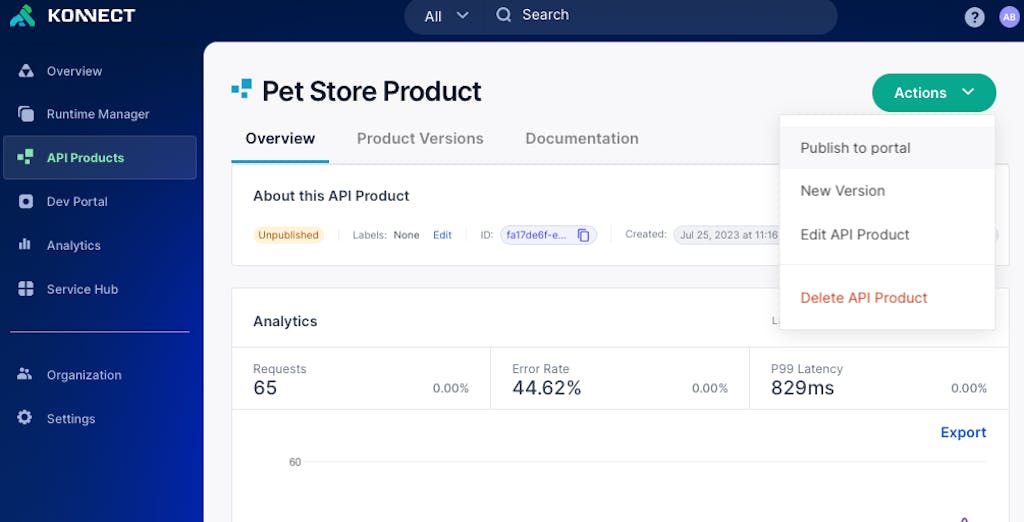
To start, let’s publish our API Product in the developing portal. To do this, click on the API Product to view the overview page and then use the Publish the Portal option under the Actions dropdown at the top right.
You will then have to publish the API Product Version as well to have it show up in your externally facing Developer Portal. To do this, navigate to the version we've created (1.0.0). From there, click on the pencil icon next to the status listed in the "Status" field. That will bring up a modal showing the options for API Product Version status

Change the version status to "Published" and click the Save button.
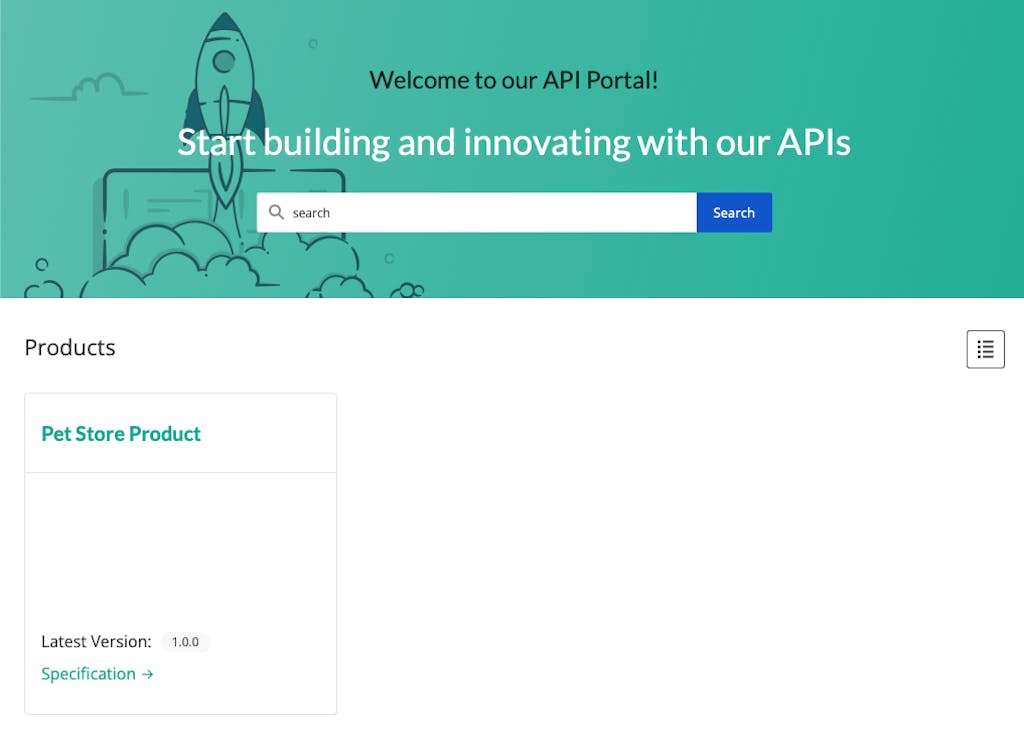
Once it's published, navigate to the Dev Portal section on the left-hand navigation. From here, you can see any API products that are currently published and customize the appearance of the developer portal.
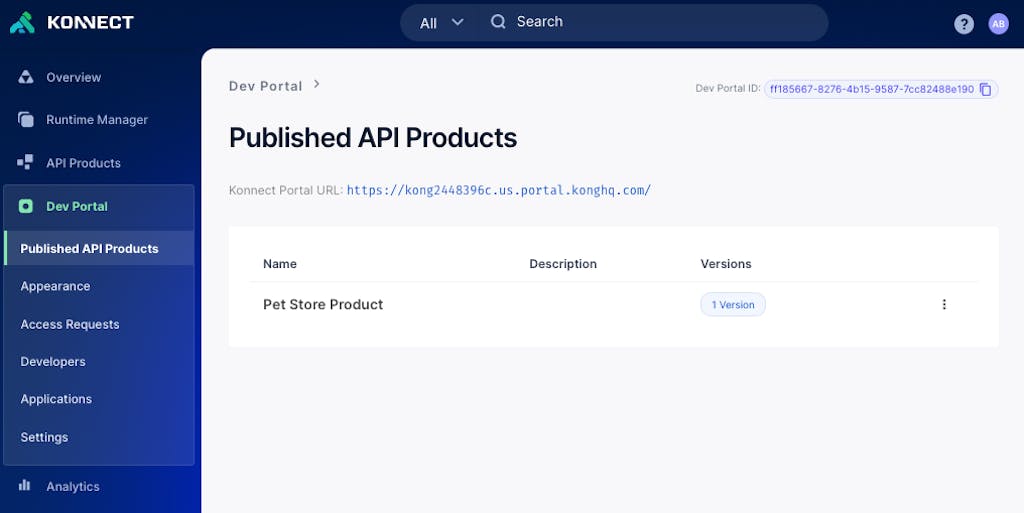
From the Developer Portal itself, users can see which API products are available.
Users can send requests right here from the browser.
Once you’re ready, you can send out a link to the Developer Portal and start onboarding your users.
Leverage the Power of Kong Konnect
In this Kong Konnect tutorial, you've learned how to deploy, configure and publish your APIs from a single, easy-to-use interface. Now your developers can focus on what really matters: building the functionality that powers your business.
Start a free trial or contact us if you have any questions as you're getting set up.
Once you've set up Konnect, you may find these other tutorials helpful:
Developer agility meets compliance and security. Discover how Kong can help you become an API-first company.