# Protecting Services With Kong Gateway Rate Limiting
Guanlan Dai
The Kong Gateway Rate Limiting [plugin](https://docs.konghq.com/hub/kong-inc/rate-limiting)plugin is one of our most popular traffic control add-ons. You can configure the plugin with a policy for what constitutes "similar requests" (requests coming from the same IP address, for example), and you can set your limits (limit to 10 requests per minute, for example). This tutorial will walk through how simple it is to enable rate limiting in your [Kong Gateway](https://konghq.com/kong)Kong Gateway.
Rate limiting is remarkably effective and ridiculously simple. It's also regularly forgotten. Rate limiting is a defensive measure you can use to prevent your server or application from being paralyzed. By restricting the number of similar requests that can hit your server within a window of time, you ensure your server won't be overwhelmed and debilitated.
You're not only guarding against malicious requests. Yes, you want to shut down a bot that's trying to discover login credentials with a brute force attack. You want to stop scrapers from slurping up your content. You want to safeguard your server from DDOS attacks.
But it's also vital to limit non-malicious requests. Sometimes, it's somebody else's buggy code that hits your API endpoint 10 times a second rather than one time every 10 minutes. Or, perhaps only your premium users get unlimited API requests, while your free-tier users only get a hundred requests an hour.
If you’re interested in rate limiting for Kubernetes services, check out this video:
## Mini-Project for Kong Gateway Rate Limiting
In our mini-project for this article, we're going to walk through a basic use case: Kong Gateway with the Rate Limiting plugin protecting a simple API server. Here are our steps:
- Create Node.js Express API server with a single "hello world" endpoint.
- Install and set up Kong Gateway.
- Configure Kong Gateway to sit in front of our API server.
- Add and configure the Rate Limiting plugin.
- Test our rate limiting policies.
After walking through these steps together, you'll have what you need to tailor the Rate Limiting plugin for your unique business needs.
To get started, we'll create a simple API server with a single endpoint that listens for a GET request and responds with "hello world." At the command line, create a project folder and initialize a Node.js application:
~/$ mkdir project
~/$ cd project
~/project$ yarn init
// Accept all defaults
Then, we'll add Express, which is the only package we'll need:
/* PATH: ~/project/index.js
*/const express = require('express')
const server = express()
const port = 3000server.get('/', (req, res) => { console.log(req.headers)
res.status(200).send('Hello world!')
})
server.listen(port, () => { console.log(`Server is listening on http://localhost:${port}`)})
Now, spin up your server:
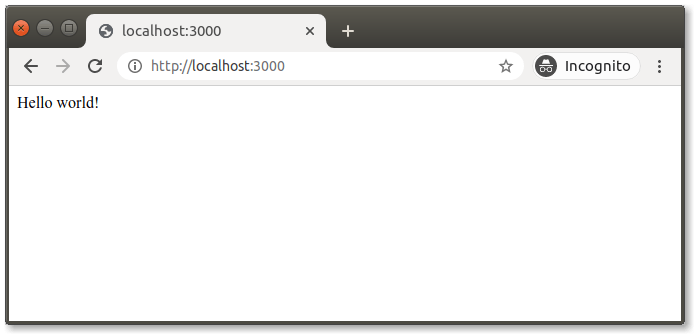
In your browser, you can visit http://localhost:3000. Here's what you should see:
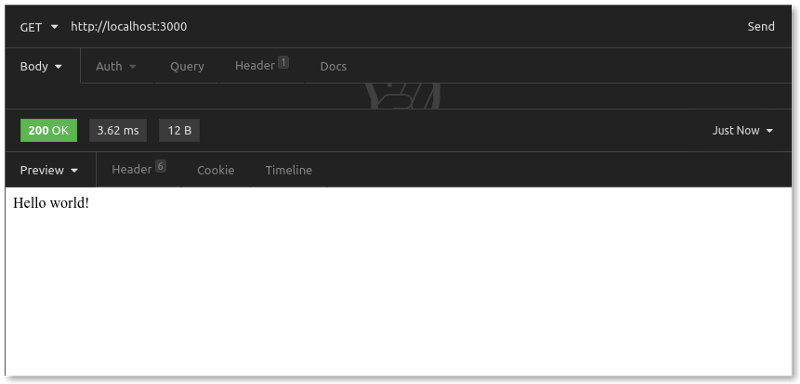
Our Node.js API server with its single endpoint is up and running. We have our 200 OK response.
Keep that terminal window with the node running. We'll do the rest of our work in a separate terminal window.
## Install and Set Up Kong Gateway
Let's walk through what this configuration does. After setting the syntax version (2.1), we configure a new upstream service for which Kong will serve as an API gateway. Our service, which we name my-api-server, listens for requests at the URL http://localhost:3000.
We associate a route (arbitrarily named api-routes) for our service with the path /api. Kong Gateway will listen for requests to /api, and then route those requests to our API server at http://localhost:3000.
~/project$ sudo kong start
Note that, by sending our request to port 8000, we are going *through* Kong Gateway to get to our API server.
We've added the entire plugins section underneath our my-api-server service. We specify the name of the plugin, rate-limiting. This name is *not* arbitrary but refers to the actual rate-limiting plugin in the Kong package.
At this point, we've sent 10 requests over several minutes. But you'll recall that we configured our plugin with hour: 12. That means our 11th and 12th requests will be successful. However, the system will reject our 13th request even though we haven't exceeded the five-per-minute rule . That's because we'll have exceeded the 12-per-hour rule.
For example, let's say that all users of our API server need to send requests with a unique API key set in headers as x-api-key. We can configure Kong to apply its rate limits on a per-API-key basis as follows:
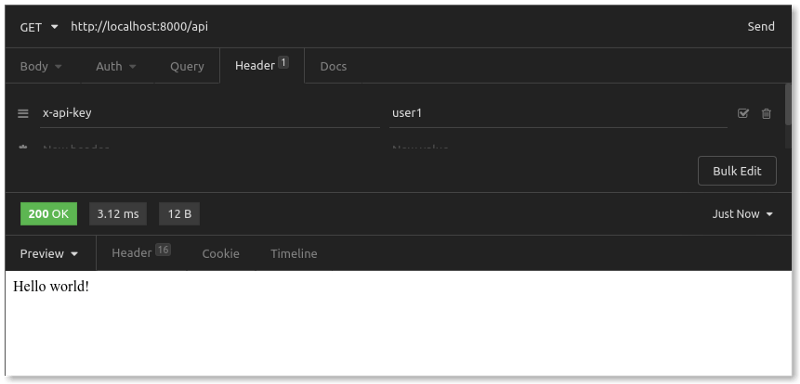
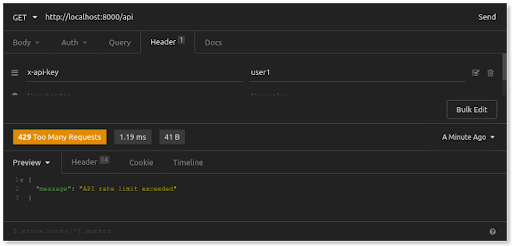
Back in Insomnia, we'll adjust our GET request slightly by adding a new x-api-key header value. Let's first set the value to user1. We send the request multiple times. Our first five requests return a 200 OK:
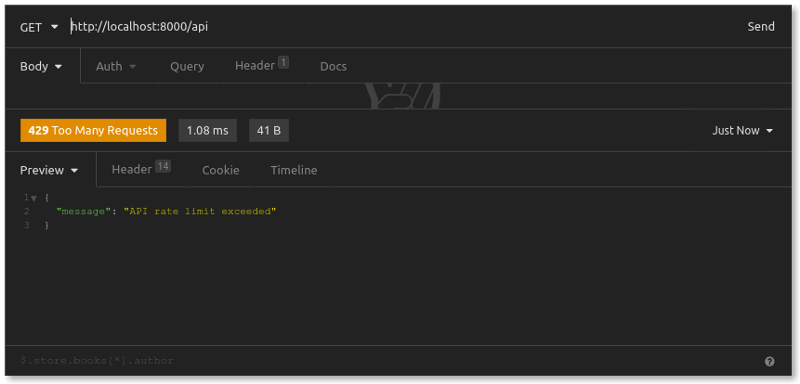
When we exceed the five-per-minute rule, however, this is what we see:
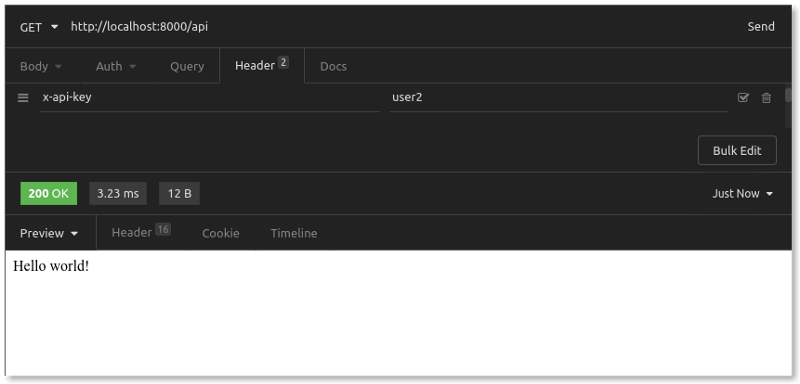
If we change the x-api-key to a different value (for example, user2), we immediately get 200 OK responses:
Requests from user2 are counted separately from requests from user1. Each unique x-api-key value gets (according to our rate limiting rules) up to five requests per minute and up to 12 requests per hour.
However, request counters with this strategy are only *mostly* accurate. If you want basic protection for your server, and it's acceptable if you miscount a request here and there, then the local policy is sufficient.
The documentation for the Rate Limiting plugin instructs those with needs where "every transaction counts" to use the cluster (writes to the database) or redis (writes to Redis key-value store) policy instead.
Let's briefly recap what we did in our mini-project. We spun up a simple API server. Then, we installed and configured Kong Gateway to sit in front of our API server. Next, we added the Rate Limiting plugin to count and limit requests to our server, showing how Kong blocks requests once we exceed certain limits within a window of time.
Lastly, we demonstrated how to group (and count) requests as "similar" with the example of a header value. Doing so enabled our plugin to differentiate counts for requests coming from two different users so that you can apply that rate limit to each user separately.
Traditional APIs are, in a word, predictable. You know what you're getting: Compute costs that don't surprise you Traffic patterns that behave themselves Clean, well-defined request and response cycles AI APIs, especially anything that runs on LLMs
Deepanshu Pandey
# Beyond Static Routing: Modernizing API Logic with Conditional Policy Execution
Imagine you have a single Service, order-api . You want to apply a strict rate limit to most traffic, but you want to bypass that limit—or apply a different one—if the request contains a specific X-App-Priority: High header. Previously, you had t
How OAuth 2.0 Token Exchange Reshapes Trust Between Services — and Why the API Gateway Is Exactly the Right Place to Enforce It
Modern applications don’t run as a single monolithic. They are composed of services — frontend APIs, backend microservi
Veena Rajarathna
# Kong Konnect EKS Marketplace Add-on for Kong Gateway Data Planes
Today, we’re excited to release the Kong Konnect EKS Marketplace add-on as a means to deploy your Kong Gateway dataplanes in AWS. The add-ons are a step forward in providing fully managed Kubernetes clusters. It is here to simplify the post-procurem
In the Kubernetes world, the Ingress API has been the longstanding staple for getting access to your Services from outside your cluster network. Ingress has served us well over the years and can be found present in several dozen different implementa
Modern software design relies heavily on distributed systems architecture, requiring all APIs to be robust and secure. GraphQL is no exception and is commonly served over HTTP, subjecting it to the same management concerns as any REST-based API. In
Rick Spurgeon
# Using Kong Gateway to Adapt SOAP Services to the JSON World
While JSON-based APIs are ubiquitous in the API-centric world of today, many industries adapted internet-based protocols for automated information exchange way before REST and JSON became popular. One attempt to establish a standardized protocol sui
Hans Hübner
# Practical Strategies to Monetize AI APIs in Production
Traditional APIs are, in a word, predictable. You know what you're getting: Compute costs that don't surprise you Traffic patterns that behave themselves Clean, well-defined request and response cycles AI APIs, especially anything that runs on LLMs
Deepanshu Pandey
# Beyond Static Routing: Modernizing API Logic with Conditional Policy Execution
Imagine you have a single Service, order-api . You want to apply a strict rate limit to most traffic, but you want to bypass that limit—or apply a different one—if the request contains a specific X-App-Priority: High header. Previously, you had t
How OAuth 2.0 Token Exchange Reshapes Trust Between Services — and Why the API Gateway Is Exactly the Right Place to Enforce It
Modern applications don’t run as a single monolithic. They are composed of services — frontend APIs, backend microservi
Veena Rajarathna
# Kong Konnect EKS Marketplace Add-on for Kong Gateway Data Planes
Today, we’re excited to release the Kong Konnect EKS Marketplace add-on as a means to deploy your Kong Gateway dataplanes in AWS. The add-ons are a step forward in providing fully managed Kubernetes clusters. It is here to simplify the post-procurem
In the Kubernetes world, the Ingress API has been the longstanding staple for getting access to your Services from outside your cluster network. Ingress has served us well over the years and can be found present in several dozen different implementa
Modern software design relies heavily on distributed systems architecture, requiring all APIs to be robust and secure. GraphQL is no exception and is commonly served over HTTP, subjecting it to the same management concerns as any REST-based API. In
Rick Spurgeon
# Using Kong Gateway to Adapt SOAP Services to the JSON World
While JSON-based APIs are ubiquitous in the API-centric world of today, many industries adapted internet-based protocols for automated information exchange way before REST and JSON became popular. One attempt to establish a standardized protocol sui
Hans Hübner
## Ready to see Kong in action?
Get a personalized walkthrough of Kong's platform tailored to your architecture, use cases, and scale requirements.