Archived post below.
You've decided to install Kong Gateway. Congrats! You're almost ready to accelerate your microservices journey with the world's most popular open source API gateway. This article and video will guide you through the short version of our tutorial. If you prefer, here are some more detailed instructions.
If you haven't already, make sure you've installed Kong before getting started. It should only take a few minutes.
To check that you've started Kong, make a quick request to port 8001 (the default for the Kong admin API). A response status code of 200 means that Kong is up and running.
Now, let's get started.
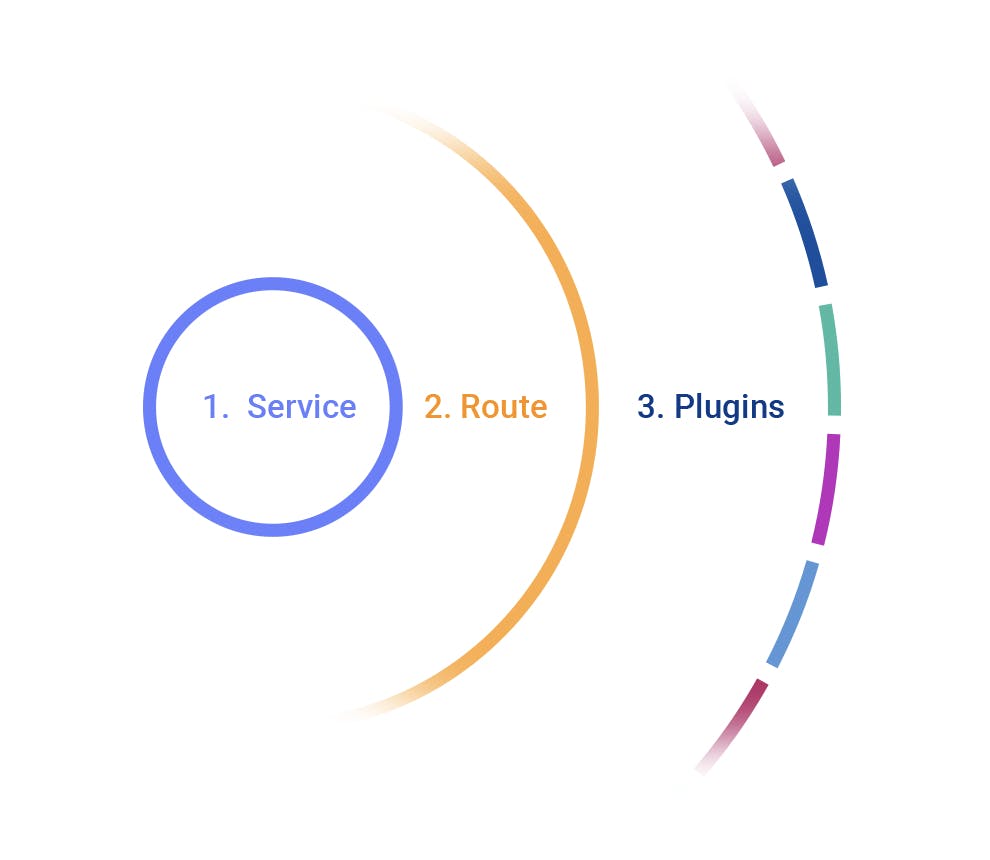
3 Steps to Getting Started

- Add a Service. This is the ID that Kong Gateway uses to refer to the upstream APIs and microservices it manages.
- Add a Route to the Service. Routes specify how (and if) requests are sent to their Services after they reach the API gateway. A single Service can have many Routes.
- Add plugins, which provide a modular system for modifying and controlling Kong’s capabilities. For example, to secure your API gateway, you could require an access key to set up using the key-auth plugin. Plugins provide a wide array of functionality, including access control, caching, rate limiting, logging and more.
Watch the video guide below, or keep reading for the full written guide with screenshots.
Add a Service
Kong exposes a RESTful Admin API on port 8001 that allows you to change Kong configurations, such as adding Services and Routes via the command line. Begin by making a post request to the Admin API/Service Route.
Then, create a new example Service that points to the Mockbin API. Press enter, and the system will generate the response status code of 201. You'll see the name example Service within the response JSON as well as some other information.

Add a Route
Next, create a new Route for the Service. Start by making a post request to the admin API. Hit the example Service you created earlier and then hit the Route’s endpoint for that example Service. Specify the host headers of example.com.
Now that you have a Route and a Service, you're ready to proxy your request through Kong Gateway. Go ahead and issue a curl command, but this time use port 8000.
If you receive a successful response, Kong will now forward requests made to localhost port 8000 to the URL you configured back in step one, the Mockbin API.
If you make the same request again and this time strip out the header, you’ll see a code of 200, which means a successful request. It’s a proxy via Kong 1.3, so you can see the version, and you can also see how much latency the Kong proxy is adding to the request. As you make more and more requests, the number should get lower because Kong can cache the response and request that you make.

Add a Plugin
Now that you have your Route and Service set up, you'll need to add a plug-in to secure your Service. To configure the key-auth plugin for the Service you configured in Kong Gateway, issue the following curl request. Once again, you'll be utilizing the admin API to create a plugin.
Start by hitting the example Service you started in earlier steps to add a plugin called key-auth. After making the request, the key-auth plugin will have some information in the response JSON.
Then, make the same request to port 8000. You'll immediately get a 401 saying that it’s unauthorized. The request is still proxied through Kong; Kong is just looking for the key authentication. So, now that you’ve configured the key-auth plugin, you see how quickly you can secure any Services. Additionally, you can specify plugins to services, routes or consumers. Key authentication allows you to choose who can access your services, giving you more control over your microservices.

Next, configure the key-auth plugin and add a Consumer to your Service. Create a Consumer through the restful API. Once again, utilize the admin API to hit the Consumer’s endpoint and adding a Consumer named Jason.
Afterward, you'll see a 201 created as well as an ID for Jason.
To provision key credentials for your Consumer, use the admin API once again as a post-request through the Consumers/Jason/key-auth endpoint. Where it says key=ENTER_KEY_HERE, enter the ID that you see in Jason’s response JSON.
After successful creation, Jason now has the credentials necessary to make the request. If you go back and make the request to port 8000, you still keep the host header, example.com, but now you have to add a field called apikey. Take the key for Jason, and plug it in. Now you see the request starts to work again. Strip the body and just look at the header, and you'll get a response of 200.

That's it! You've successfully added a Service, created a Route for that Service, and secured that Service using a key-auth plugin with a Consumer named Jason. For more information, visit our documentation page.
Have questions or want to stay in touch with the Kong community? Join us wherever you hang out:
⭐ Star us on GitHub
🐦 Follow us on Twitter
🌎 Join the Kong Community
🍻 Join our Meetups
❓ ️Ask and answer questions on Kong Nation
💯 Apply to become a Kong Champion


