In this tutorial, you’ll learn a prevalent scenario: moving an app from a VM to a container and running the container in Kubernetes. We'll cover how to containerize your app, no matter which platform hosts it—even if it's on-prem.
For this scenario, you will build a small server using Python's [Flask](https://flask.palletsprojects.com/en/1.1.x)Flask framework. When this server receives a request, it will return a response that says, “Hello World!” The focus of this post isn't on Python or the application. We'll be using it as an example of how to make an existing VM-based app work in a container.
First, within your project's directory, create a subfolder called app. Inside this subfolder, create a file called app.py which:
- Imports the Flask library
- Initializes the Flask constructor and stores it in a variable called app
- Configures a single route that maps root ("/") to a function called home()
Your container will also need to install the server's dependencies, which in this case, is just Flask. To do that, we list Flask as a dependency in a file called requirements.txt. The file will be inside of the same directory as the app.py file:
Flask
## Creating a Dockerfile and Docker Image for the Application
Docker is one of the most popular tools for setting up a containerized image. Docker itself is just a platform to run something called a Dockerfile. A Dockerfile is a list of commands that define how your container should be initialized, configured and run. The Dockerfile creates a container image.
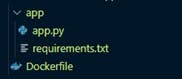
First, create an empty text file in your project directory called Dockerfile—just like that, no extension. The folder structure should look like the screenshot below:
Every Dockerfile starts with a line that imports a base image. Base images come pre-installed with various niceties. You can probably find an image to begin with on the [Docker Hub](https://hub.docker.com)Docker Hub, regardless of your programming language or preferred operating system.
The Dockerfile to containerize the Flask server will use the latest version of Python. The line to define that looks like this:
# Use the latest Python image
FROM python:latest
That's all we need for the initialization step; we can move on to the configuration. Next, we want to create a directory where our server files can go. We also need to install the dependencies from requirements.txt, just as we did on our local machine. Adding the following lines will perform these steps:
# Create and specify a working directory for the application
RUN mkdir /build
WORKDIR /build


# Copy the "app" directory into the working directory
COPY app/ /build

# Copy the requirements
COPY app/requirements.txt /build

# Install the requirements
RUN pip3 install -r requirements.txt
In this Dockerfile, copy the files from the app subfolder and place them in a directory in the Docker image called "build." We are then installing the dependencies using pip, which is Python's package manager.
Last, we need to run the server. We can do so by ending the file with the following lines:
# Run the Flask web API at start-up of the container
CMD ["python","app.py"]
## Building the Docker Image
To build the Docker image, open a terminal to the directory that contains the “app” directory and the Dockerfile. Run the following command to build the Docker image:
~$ docker build -t flaskwebapi .
The -t option provides a name, which we can use to refer to the image in the future. After you run the command above, you should see an output in the terminal similar to the screenshot below.
To check and confirm the successful creation of the Docker image, run:
docker image ls
The output should be a table similar to the one below, showing information about the image like name and creation date:
Finally, let's run the image locally to verify that the server works. In the terminal, enter the following command:
kubectl is now configured to use "minikube" cluster and "default" namespace by default
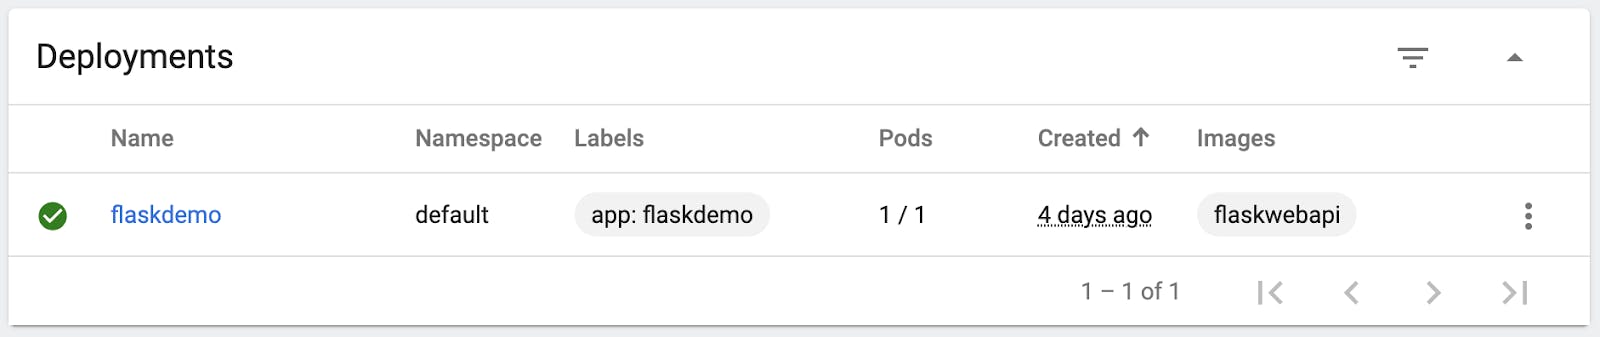
Now, all we should need to do is deploy our image to minikube.
However, before doing that, we need to rebuild our image. Why? Well, we built our image *before* minikube was installed and configured. Minikube is only able to track local images after configuration. To do so, you can rebuild the image with the same command as before:
Did it work? minikube comes with a dashboard to show you how your container fleet is performing. Of course, it's a bit much for this little app, but it can be helpful to get acquainted with just how much Kubernetes can do. Run minikube dashboard, and check out the accompanying metrics.
## Setting Up the Kong Ingress Controller
With the Flask web app now deployed to minikube, we can continue exploring more Kubernetes best practices locally. That way, we’ll prepare ourselves for when we need to move from VM to Kubernetes in production.
Kubernetes services are relatively low-level processing, including setting up an ingress controller. Tools like Kong exist to make managing these services much easier.
To get Kong's Ingress Controller running on minikube, we'll need to deploy it to our cluster, just as we did with our image. minikube lets you create deployments via manifests on the web to simplify the deployment process. Run the following command locally to get started:
kubectl create -f https://bit.ly/k4k8s
Let's verify that this all went through:
kubectl get services -n kong
You should see some metadata, including names, ports and IP addresses like this:
You should get back a URL like http://127.0.0.1:64035/. The Kong Ingress Controller is now set up and ready to use with your environment.
The final thing to do is create an ingress configuration for our Flask API. Much like with our deployment, we need to define a manifest here. In our example, we'll just expose the Flask server and make it available for external requests:
Getting an application to run is rarely an easy task, and deploying it onto a platform like Kubernetes for the first time can seem like a lot of effort. After going through the process several times, the sequence generally remains the same. No matter if you're testing Kubernetes locally, on bare metal or in the cloud.
After moving from VM to Kubernetes, managing your Kubernetes environment comes with its own challenges. That’s where services like Kong come in to make management easier, more reliable and faster with a single operating environment for containers, microservices and APIs.
Distributed architectures have become an integral part of modern digital landscape. With the proliferation of cloud computing, big data, and highly available systems, traditional monolithic architectures have given way to more distributed, scalable,
Paul Vergilis
# Getting Started With Kong Istio Gateway on Kubernetes With Kiali for Observability
Have you ever found yourself in a situation where all your service mesh services are running in Kubernetes, and now you need to expose them to the outside world securely and reliably? Ingress management is essential for your configuration and ope
Viktor Gamov
# Managing Docker Apps With Kubernetes Ingress Controller
Think back to when your development team made the switch to Dockerized containers. What was once an application requiring multiple services on virtual machines transitioned to an application consisting of multiple, tidy Docker containers. While the
Alvin Lee
# Configuring a Kubernetes Application on Kong Konnect
Hello, everyone! Viktor Gamov, a developer advocate with Kong here. In this article, I would like to show you how to set up service connectivity using Kong Konnect and Kubernetes . I will deploy an application in Kubernetes, configure a runtime t
Viktor Gamov
# Implement a Canary Release with Kong for Kubernetes and Consul
From the Kong API Gateway perspective, using Consul as its Service Discovery infrastructure is one of the most well-known and common integration use cases. With this powerful combination more flexible and advanced routing policies can be implemented
Kong
# How to Use Kong Gateway With K3s For IoT and Edge Computing on Kubernetes
Once upon a time, we had these giant structures where thousands of people would congregate to share ideas, pamphlets filled to the margins with buzz words and cheap, branded t-shirts. Yep, tech conferences - oh what a relic of the past that I miss.
Welcome to our second hands-on Kuma guide! The first one walked you through securing your application with mTLS using Kuma. Today, this guide will walk you through Kuma's new L4 traffic routing rules. These rules will allow you to easily impleme
Kevin Chen
# Unpacking Distributed Applications: What Are They? And How Do They Work?
Distributed architectures have become an integral part of modern digital landscape. With the proliferation of cloud computing, big data, and highly available systems, traditional monolithic architectures have given way to more distributed, scalable,
Paul Vergilis
# Getting Started With Kong Istio Gateway on Kubernetes With Kiali for Observability
Have you ever found yourself in a situation where all your service mesh services are running in Kubernetes, and now you need to expose them to the outside world securely and reliably? Ingress management is essential for your configuration and ope
Viktor Gamov
# Managing Docker Apps With Kubernetes Ingress Controller
Think back to when your development team made the switch to Dockerized containers. What was once an application requiring multiple services on virtual machines transitioned to an application consisting of multiple, tidy Docker containers. While the
Alvin Lee
# Configuring a Kubernetes Application on Kong Konnect
Hello, everyone! Viktor Gamov, a developer advocate with Kong here. In this article, I would like to show you how to set up service connectivity using Kong Konnect and Kubernetes . I will deploy an application in Kubernetes, configure a runtime t
Viktor Gamov
# Implement a Canary Release with Kong for Kubernetes and Consul
From the Kong API Gateway perspective, using Consul as its Service Discovery infrastructure is one of the most well-known and common integration use cases. With this powerful combination more flexible and advanced routing policies can be implemented
Kong
# How to Use Kong Gateway With K3s For IoT and Edge Computing on Kubernetes
Once upon a time, we had these giant structures where thousands of people would congregate to share ideas, pamphlets filled to the margins with buzz words and cheap, branded t-shirts. Yep, tech conferences - oh what a relic of the past that I miss.
Welcome to our second hands-on Kuma guide! The first one walked you through securing your application with mTLS using Kuma. Today, this guide will walk you through Kuma's new L4 traffic routing rules. These rules will allow you to easily impleme
Kevin Chen
## Ready to see Kong in action?
Get a personalized walkthrough of Kong's platform tailored to your architecture, use cases, and scale requirements.